
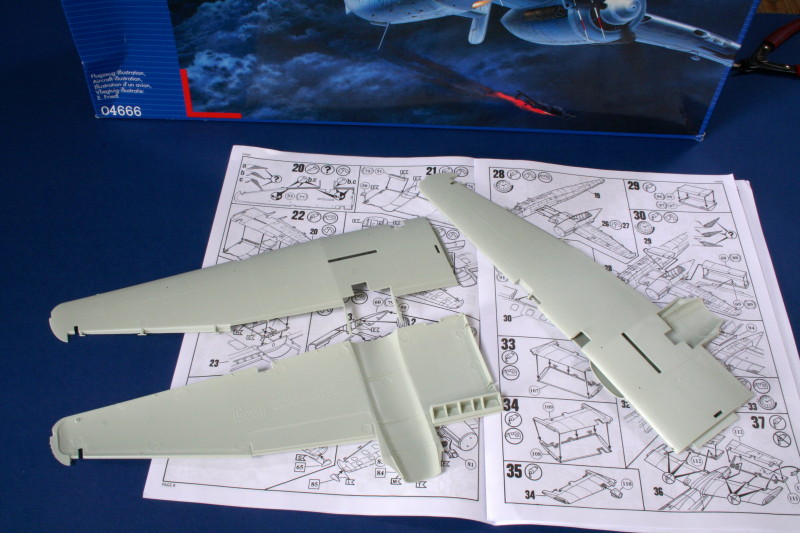
Revell 1/32 Heinkel He 219 'UHU'
By Iain Ogilvie
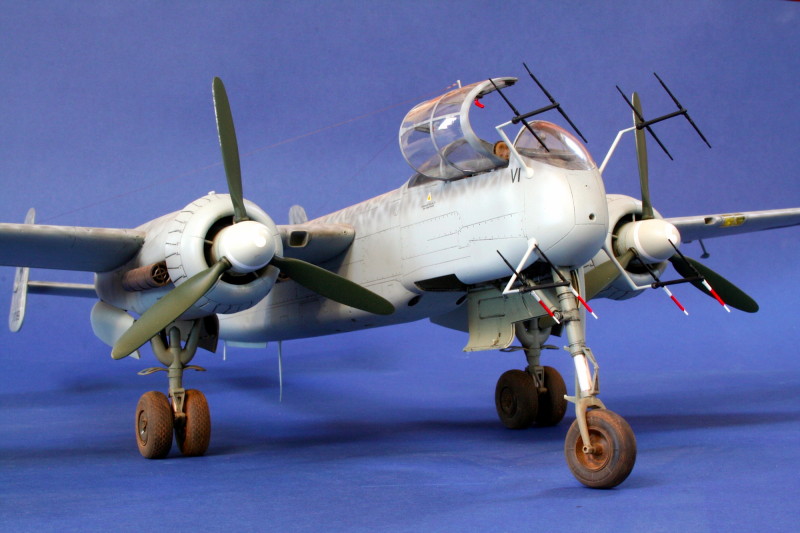
Revell 1:32 Heinkel He219 'UHU' - with a few 'tweaks' along the way...
The He 219 is yet another one of those aircraft types we'd never have imagined being released in 1:32 - but not only have we got one available - we have two to choose from. From that perspective I'll re-iterate a frequent comment that, as large scale aviation modellers, we've really never had it so good!
It also frames this modelling 'journey' nicely. What started as a quick build to clear the pallet, when the kit was first released, turned into a quest to analyse the Revell kit in more detail and fix a number of things that we found. The catalyst to this was the appearance of test shots of the rival Zoukei-Mura at the IPMS (UK) Scale Modelword show at Telford in 2012. Comparison was inevitable and, whilst not perfect in this modellers opinion, comparison of the Revell and Zoukei-Mura kits with available drawings and hundreds of photographs flagged up a number of areas where the Japanese kit was superior in shape - albeit not in every area, as we'll see.
With the recent completion of my build I've been asked to provide a condensed overview of what was done - so here it is - a condensed version of a 53-page, 793-post build thread! A planned three-week build turned into a 15 month build saga - but I learned a huge amount about this glamorous looking airframe in the process which, to be fair, is one of the things I enjoy about this great hobby anyway!
Before we get started, I'd like to re-iterate what I've said elsewhere - I don't claim this to be definitive in terms of accuracy - the build is my interpretation of what a Heinkel He 219 should like like based upon the information I had available and a lot of help from fellow forum members, without whom she'd probably still be sat in a box in the loft. Special mention must be made of the help received from two fellow modellers in particular - Matt Low and Nigel Frampton - who did a lot of backroom research and helped form the conclusions I finally arrived at.
Making a Start
OK - let's make a start - I'll post a concise list of tweaks made at the end for reference if anyone fancies having a go at these mods themselves.
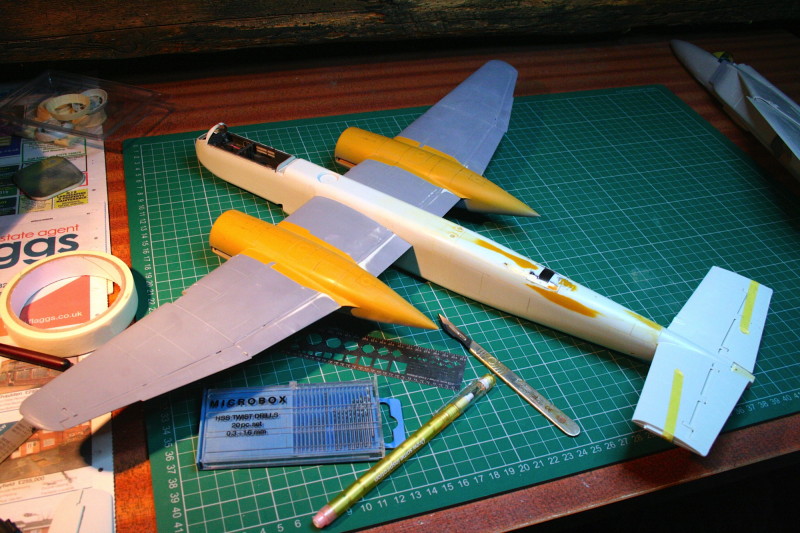
With the initial plan being a quick and simple build I made a start on numerous sub assemblies - nothing complex here - although I did get ahead of myself by assembling the nacelles to the wings - later mods would have been easier had I not done this!

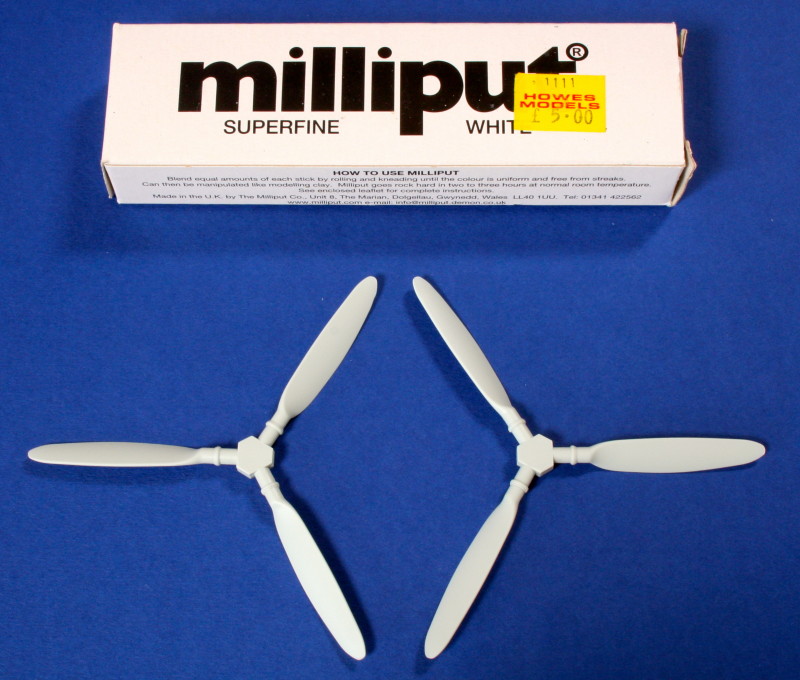
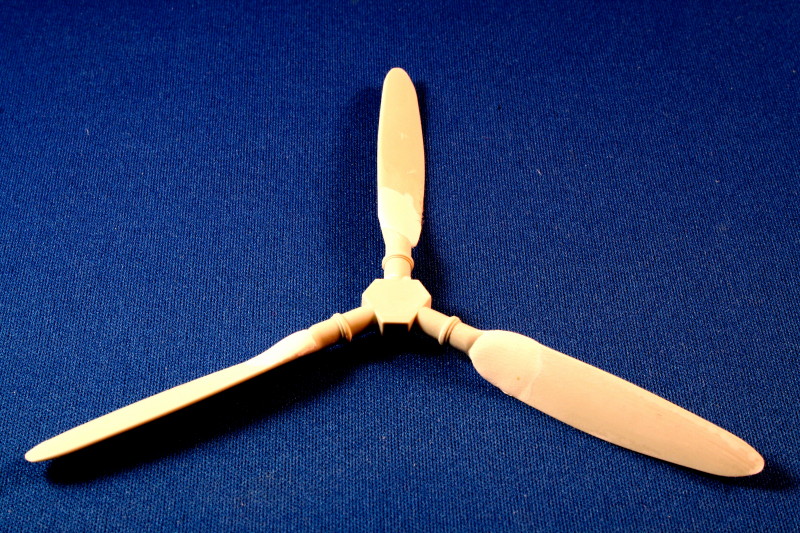
Props
First thing picked up on forums when the kit was released was the poor shape of the prop blade roots - easily fixed with epoxy putty, time and sanding sticks:

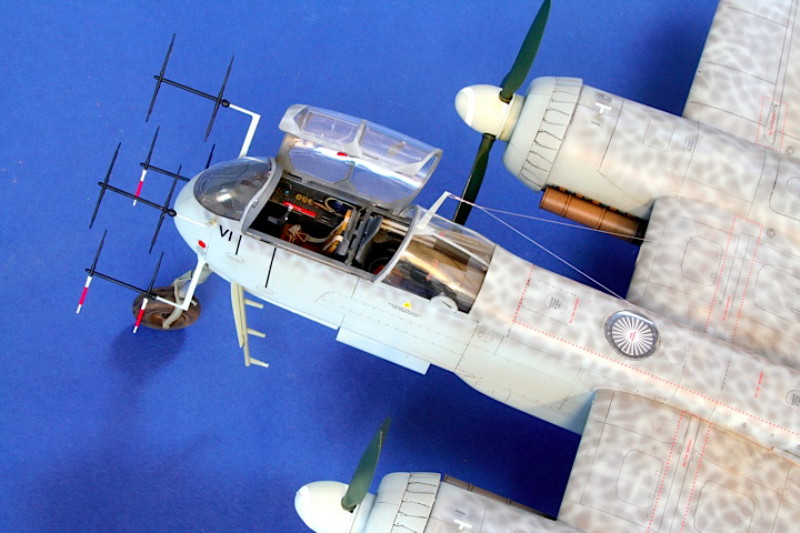
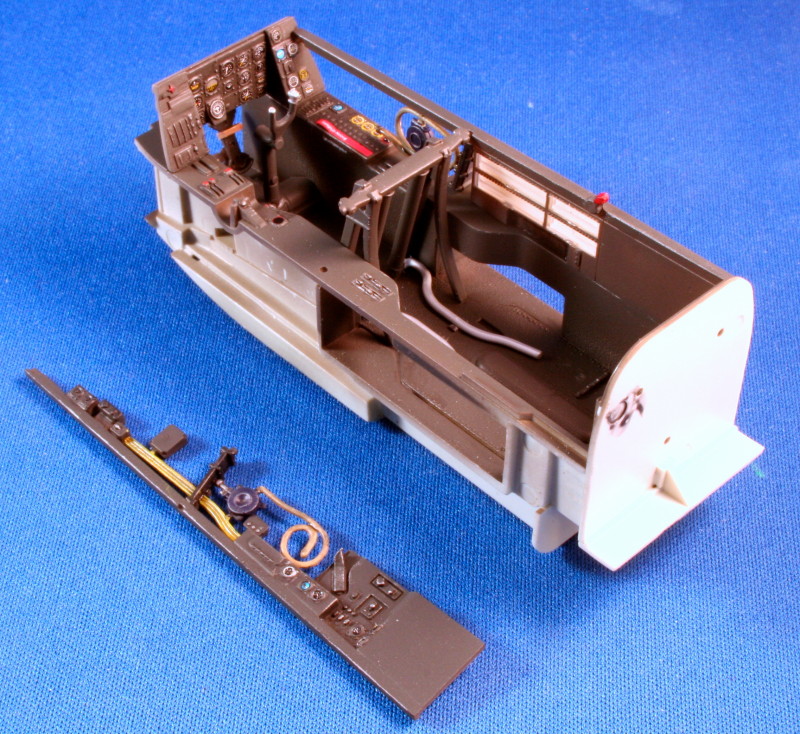
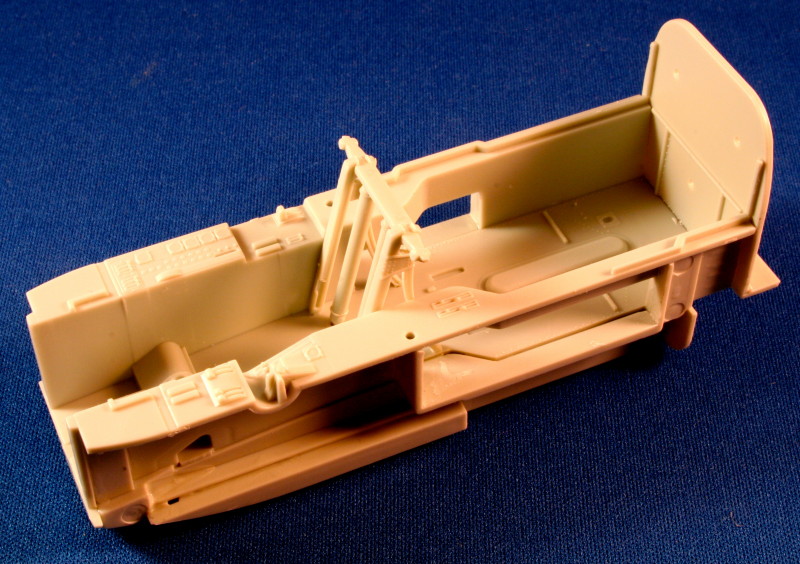
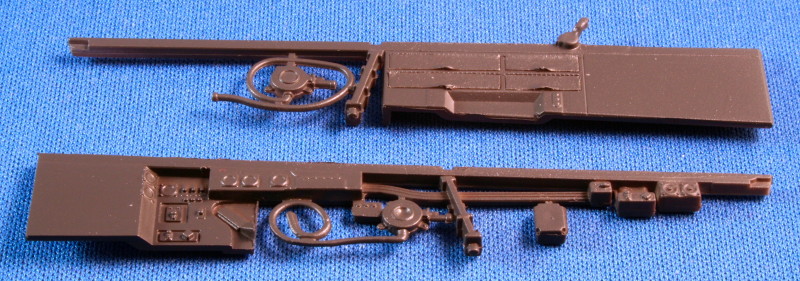
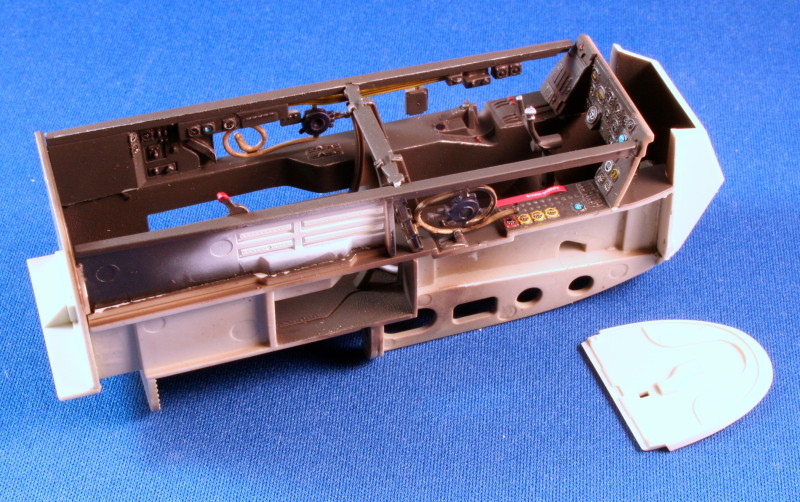
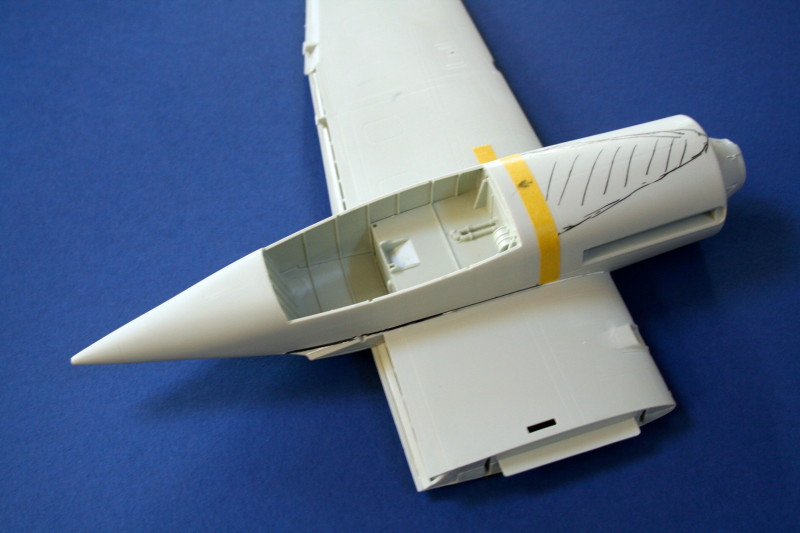
Cockpit
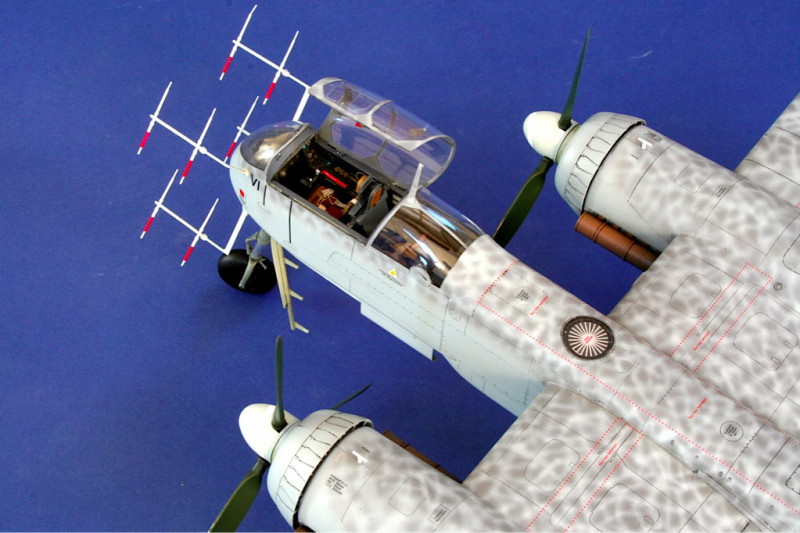
Next came the cockpit - and what Revell have provided is rather good straight out of the box. The rails between the two seats could do with re-modelling to more closely portray the original - but mine is as supplied. Radio section was assembled - but painted and installed at a later stage - just prior to attaching the canopy parts.
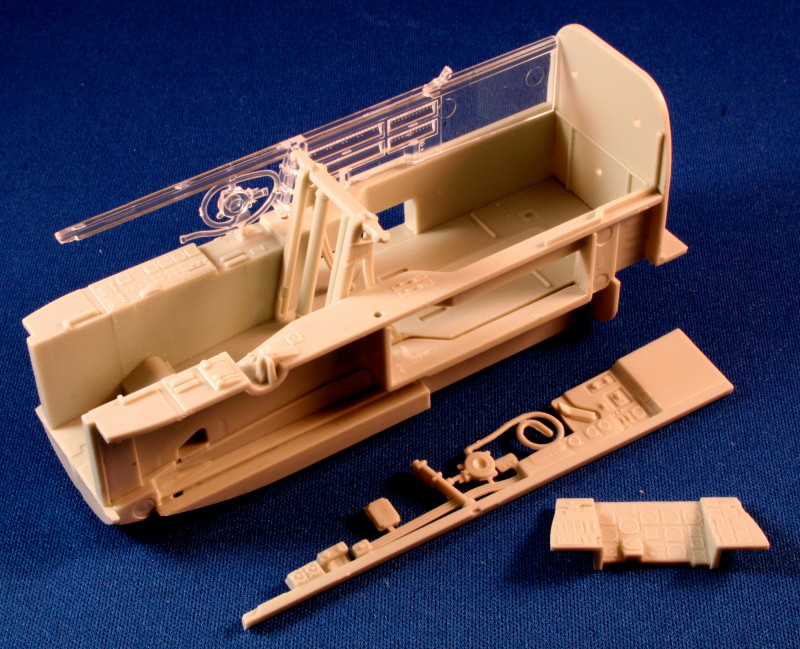
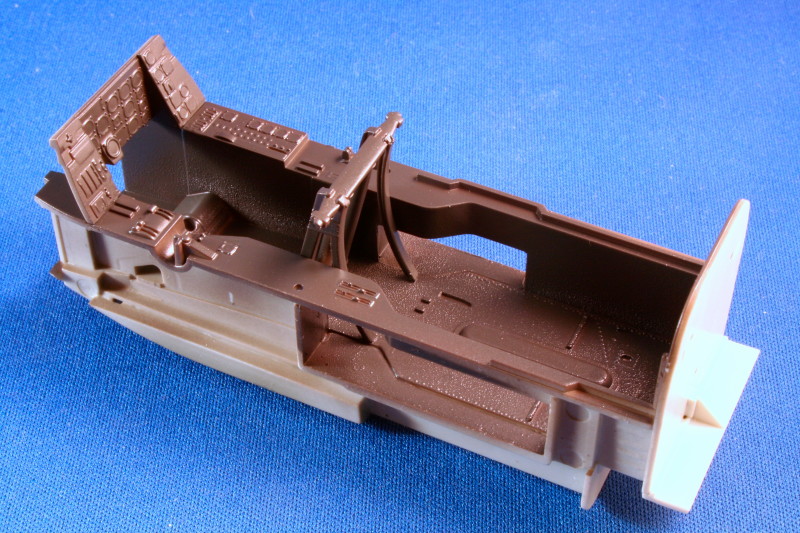
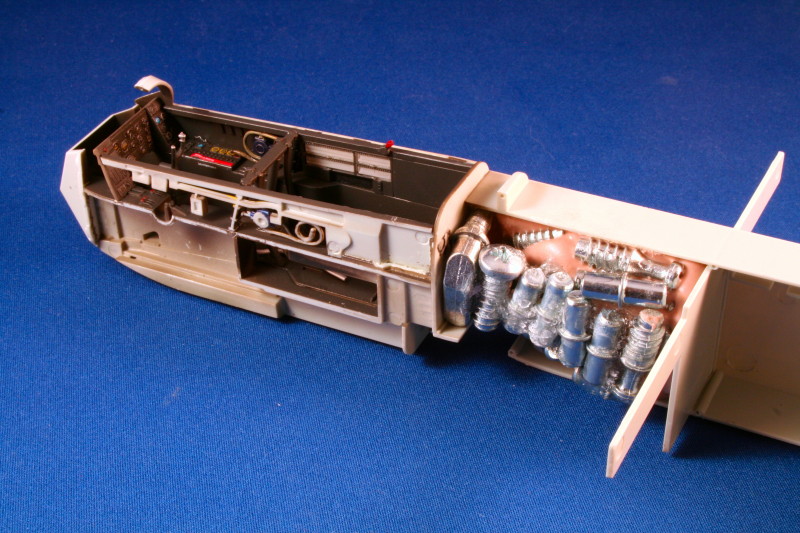
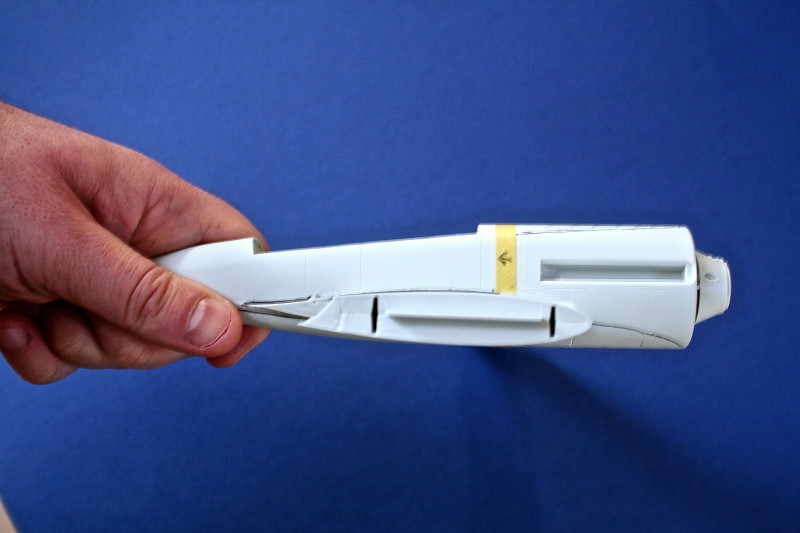
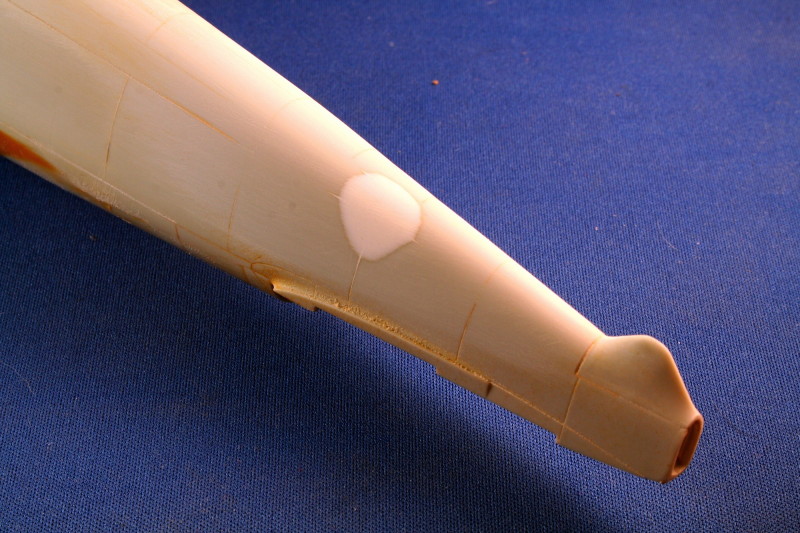
Weighty Issues
Now the thorny issue of nose weight - I was determined this wasn't going to be a tail sitter and was worried about lack of space for weights forward of the main wheels. As it turned out I needn't have worried. The area between the forward spar and cockpit was filled with auto-body filler (polyester) and numerous bits of metal I had left over from our kitchen build. In addition the forward area of each nacelle was filled with a stack of old coins - bonded in place with cyanoacrylate glue.

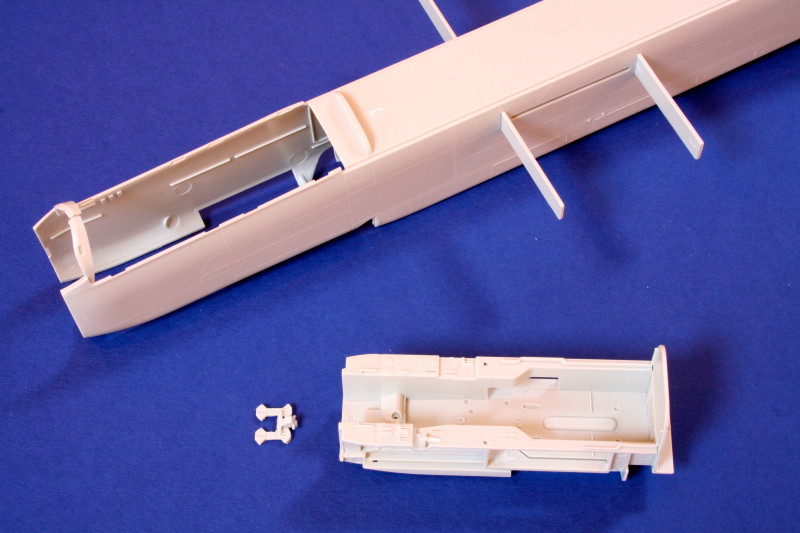
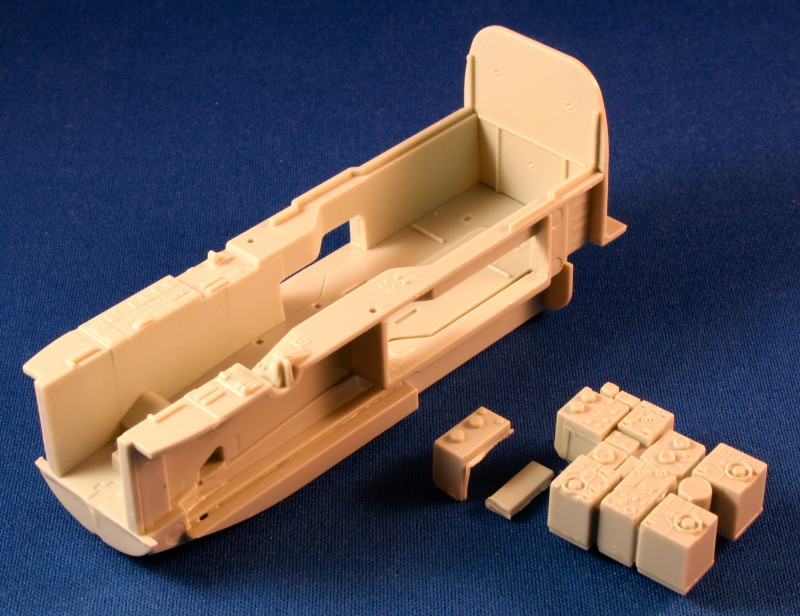
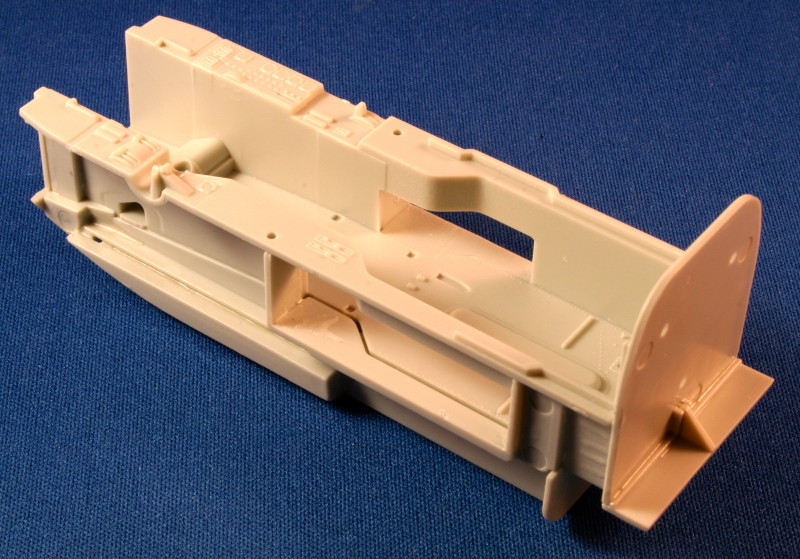
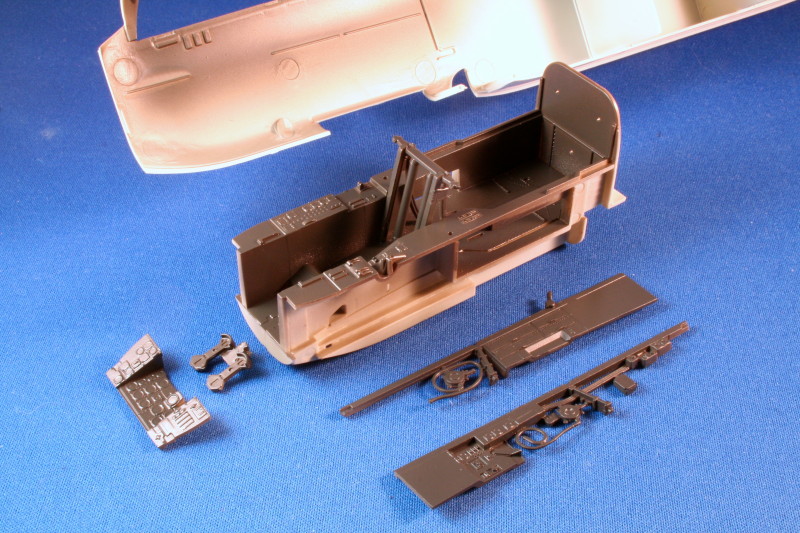
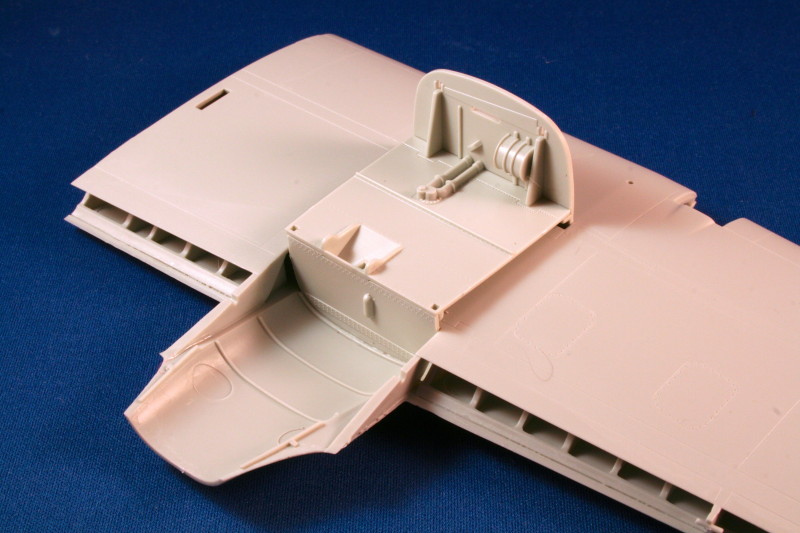
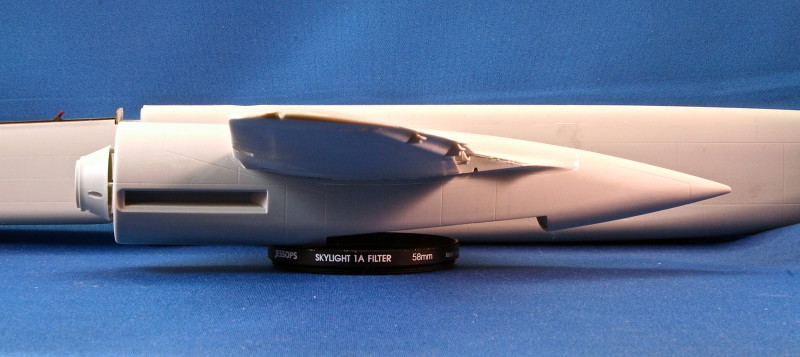
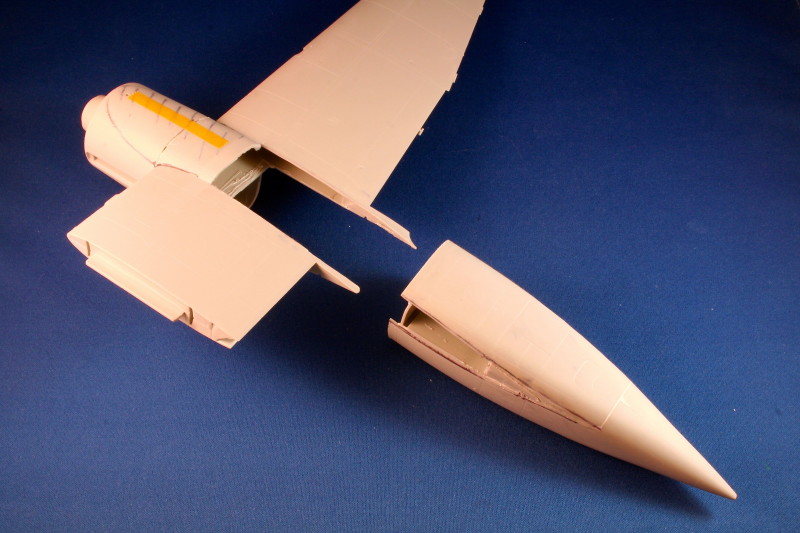
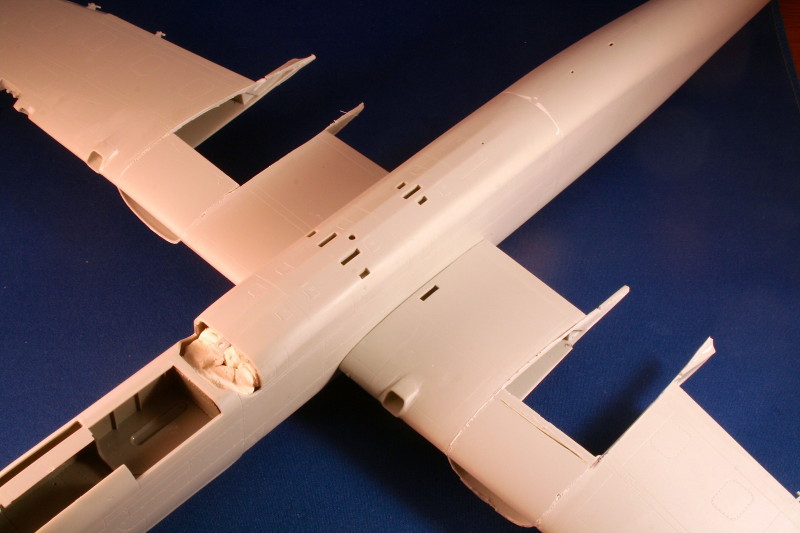
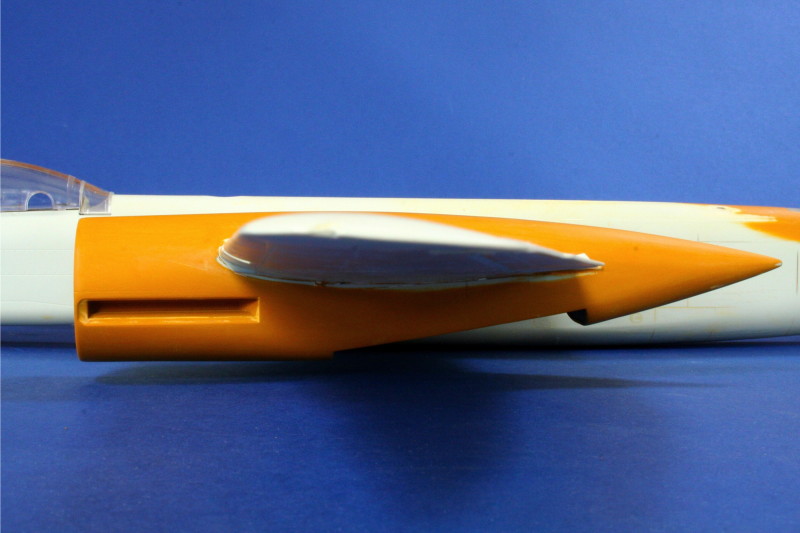
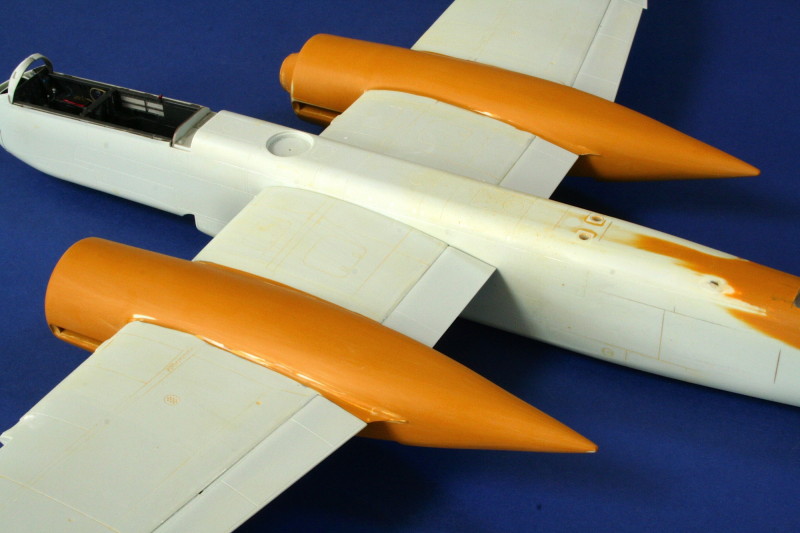
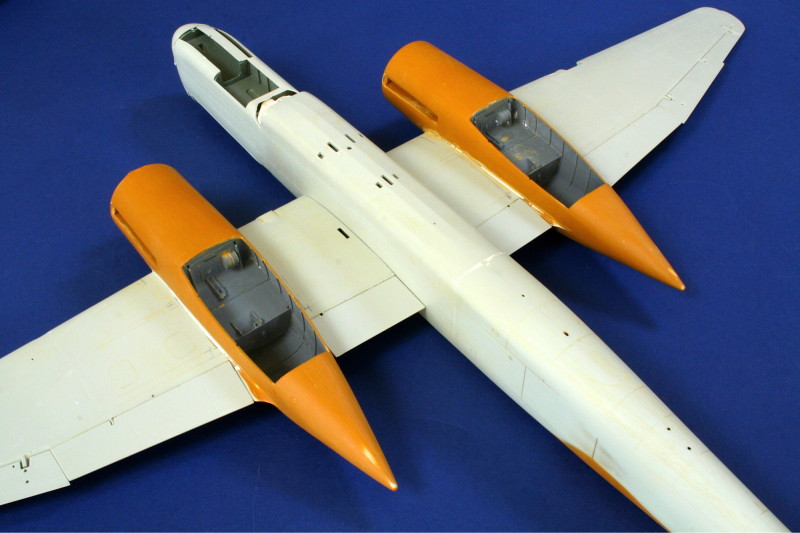
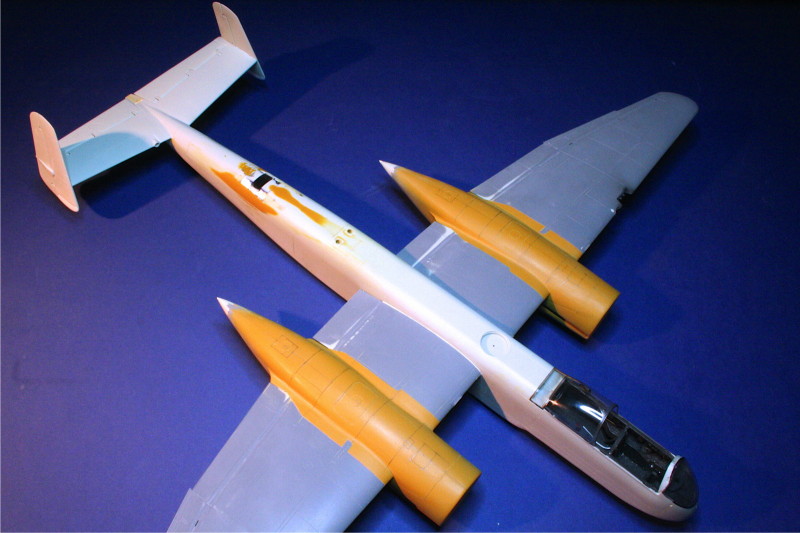
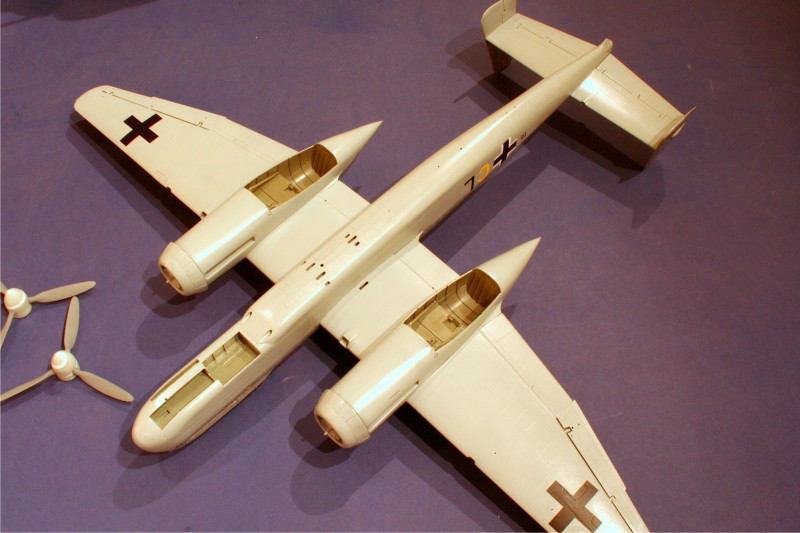
Nacelles and Cowlings
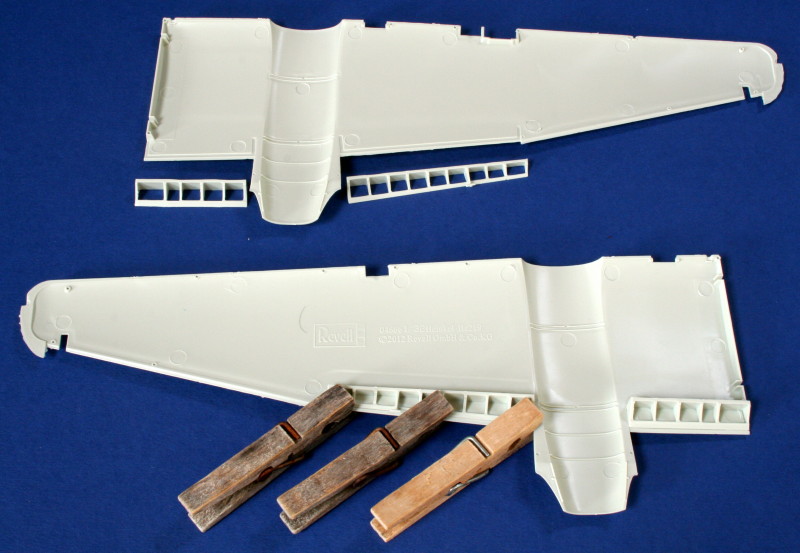
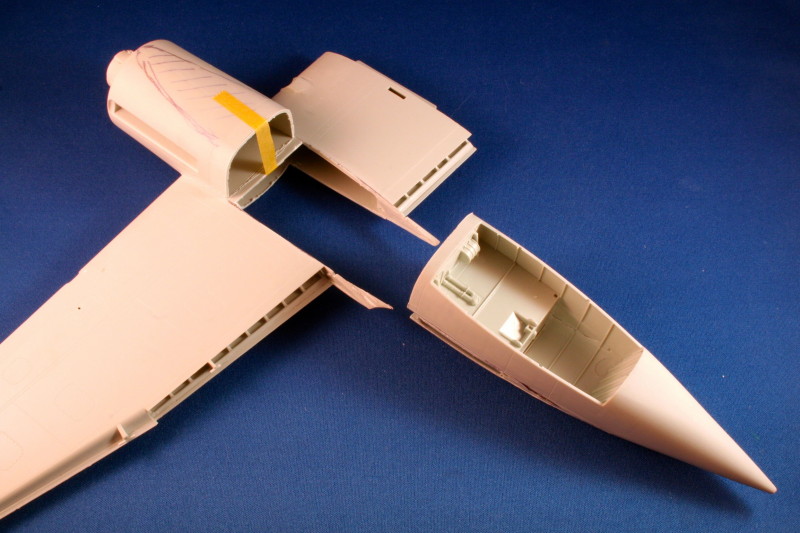
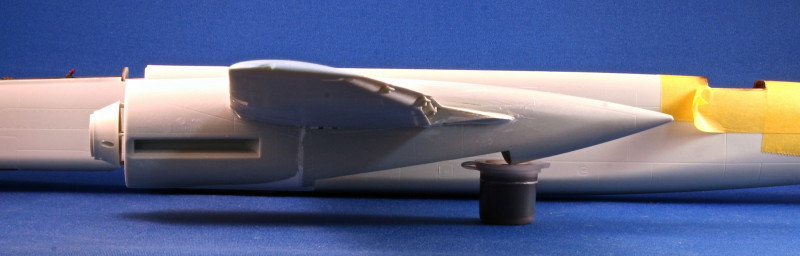
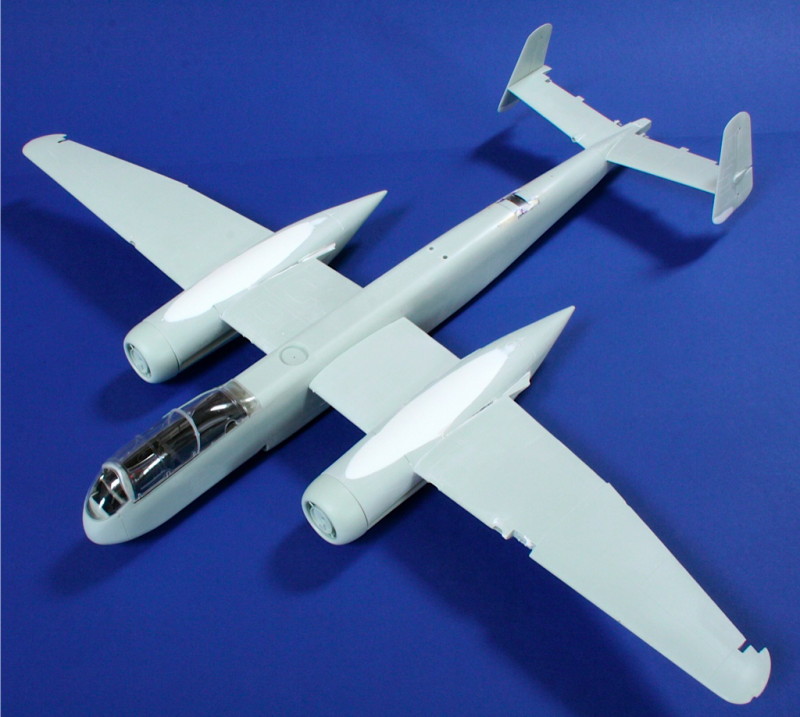
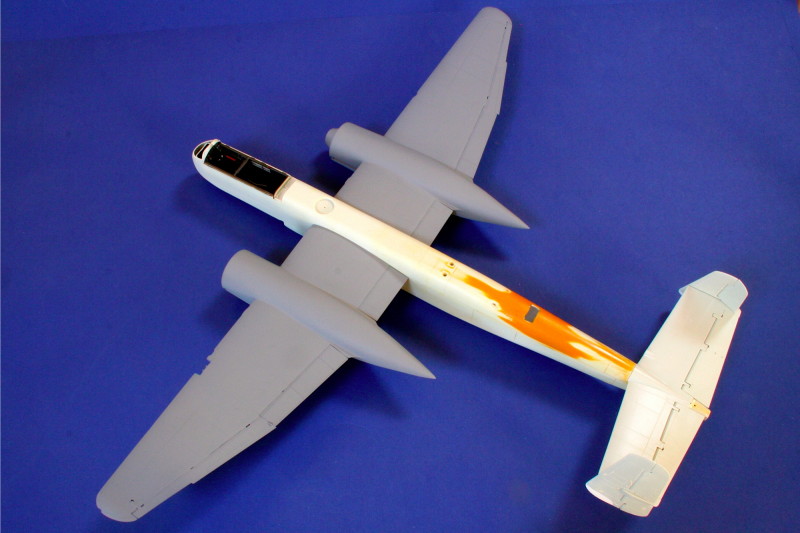
As mentioned - I fitted the nacelles to the wings before deciding to modify them - but the following image shows the additional floor upper section provided by Revell - not that it's proud of/lower than the wing underside. Study of photos illustrated that the lower wing surface formed this upper area of the gear bays - and supported the conclusions we made regarding the positioning of the nacelles as kitted.
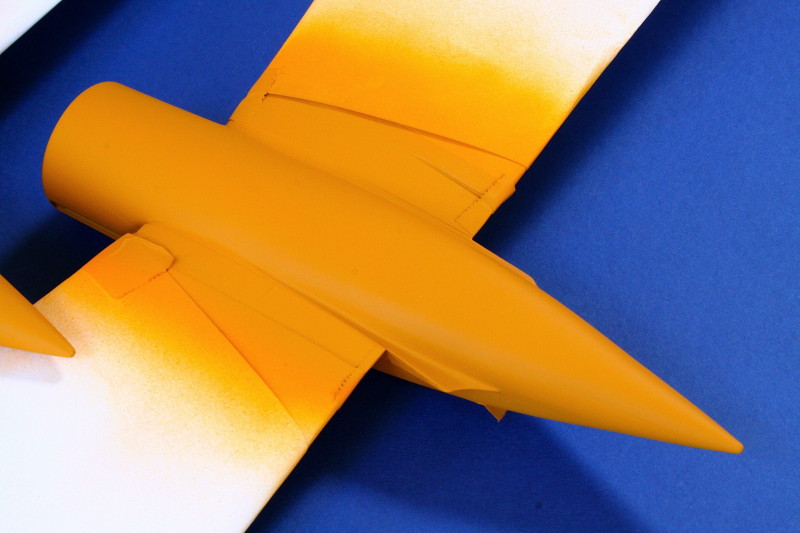
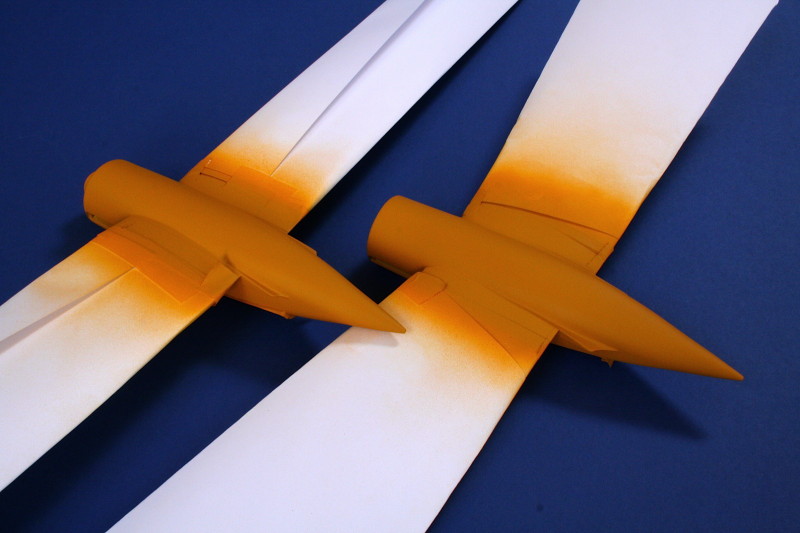
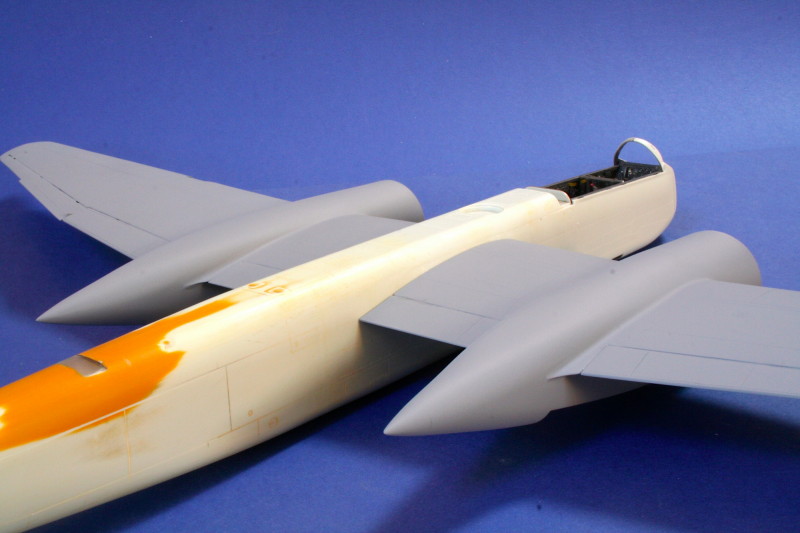
After a *lot* of head scratching - and input from forum members - we concluded that the nacelle angles were out - as well as being slightly anaemic in profile. It took a while - but eventually I came up with a plan and started cutting up my previously assembled nacelles and removing from the wings. The process was actually a lot easier than expected!
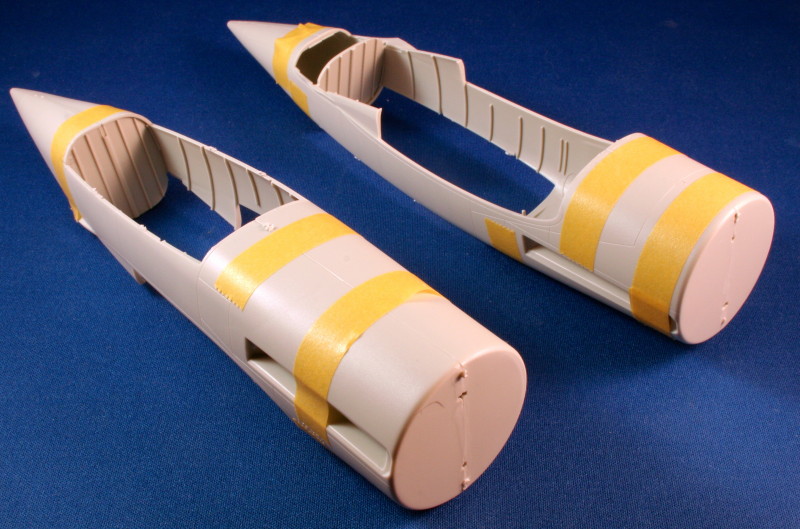
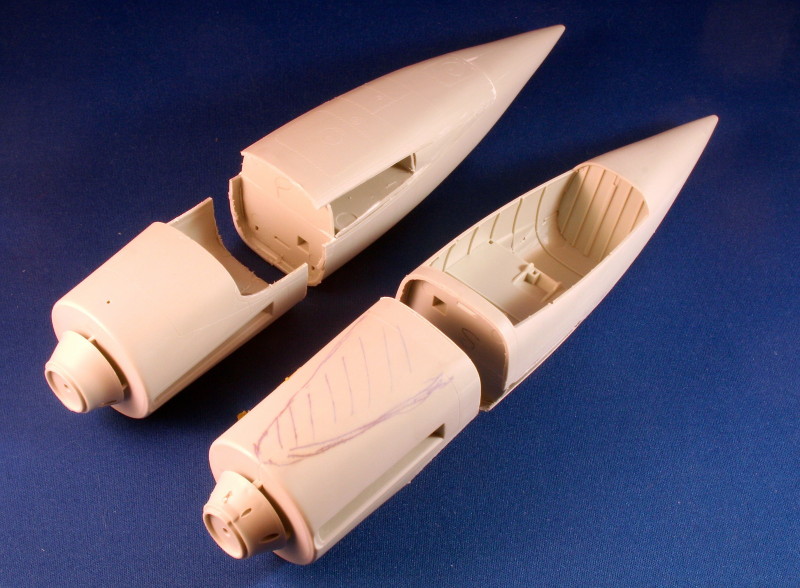
Once reassembled the cut sections were blended together with epoxy putty (in this case Superfine Milliput):
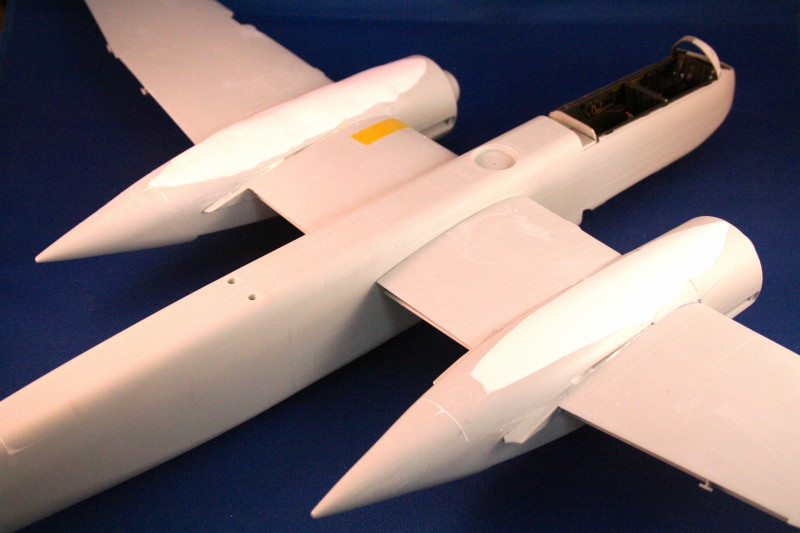

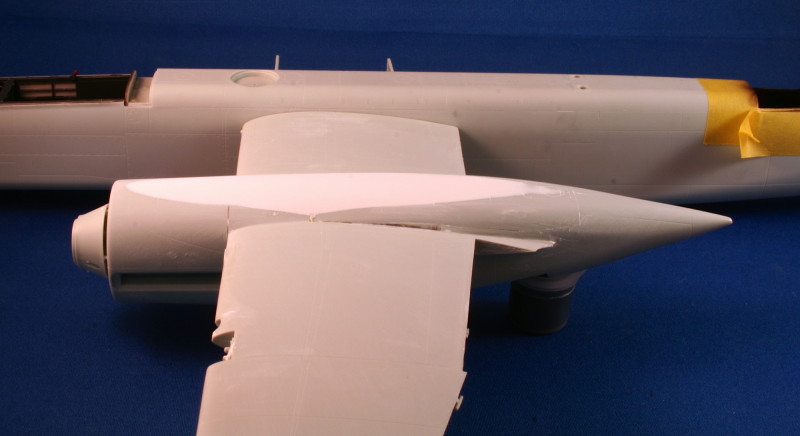
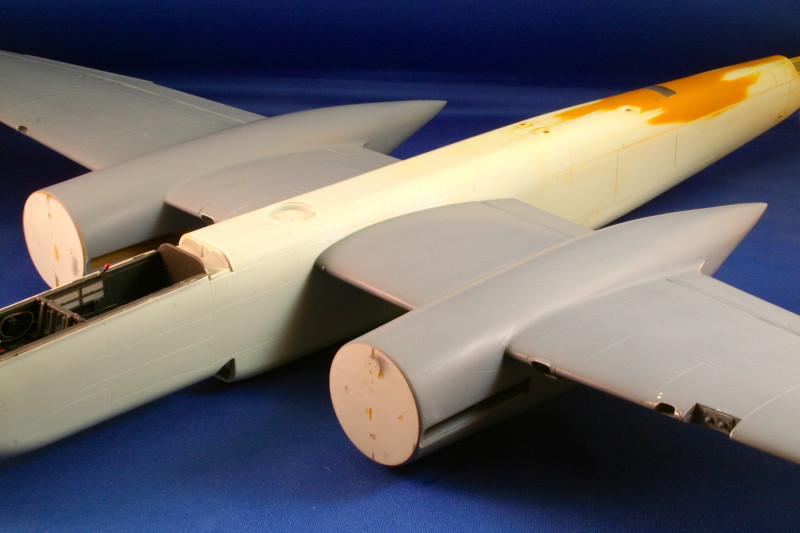
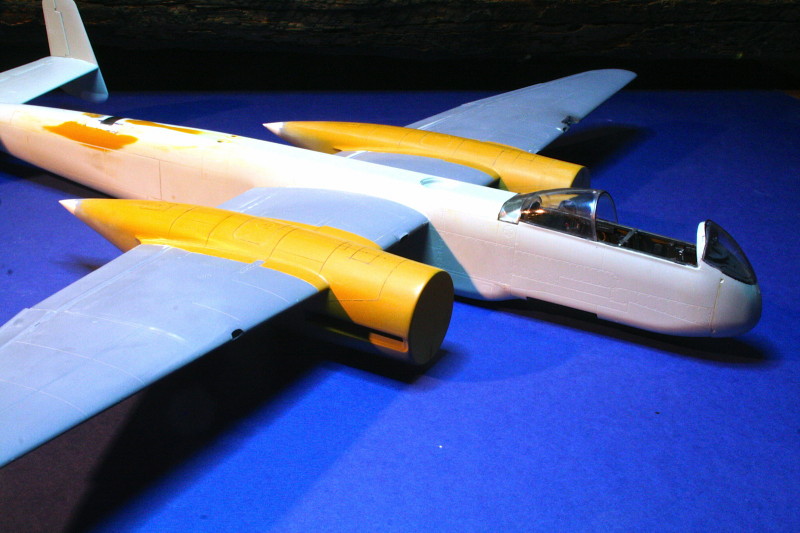
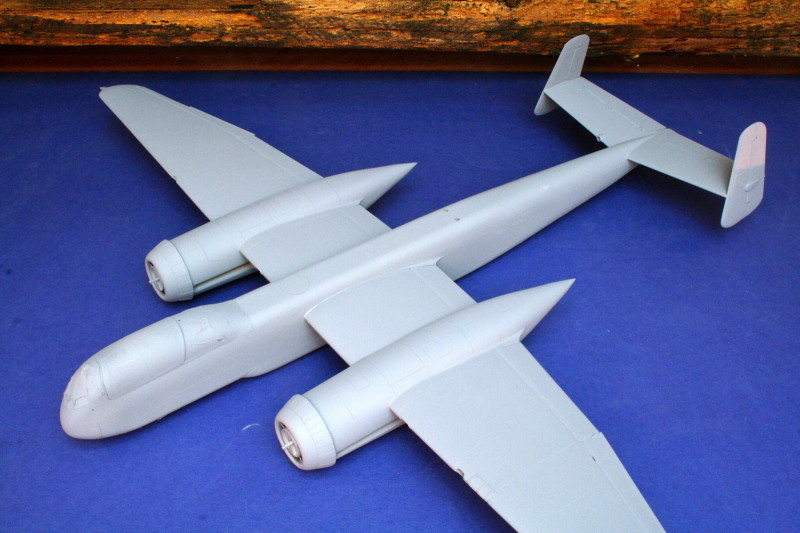
Getting There?
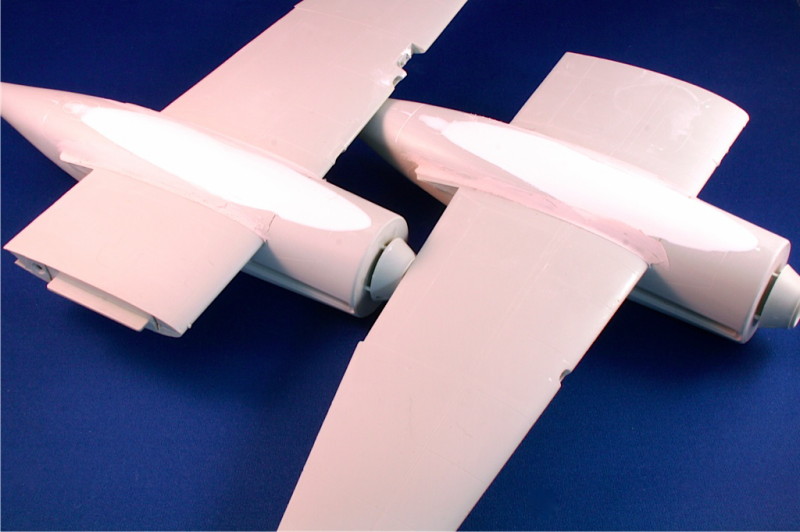
So now we had something looking a little better:
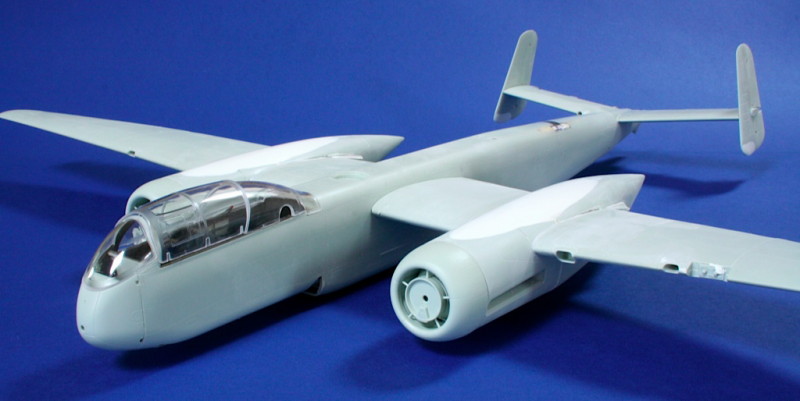
Cowls/nacelles were then given multiple coats of high-build filler primer - in this case a can of Halfords own brand spray (available here in UK - other equivalents are available globally) - built up in stages, sanded back and re-coated. What we're trying to do is remove any blemishes, create a fairly thick, contiguous, layer that will facilitate uniform detail scribing and, as a by product of the above, add further girth to the nacelles in addition to the epoxy putty.
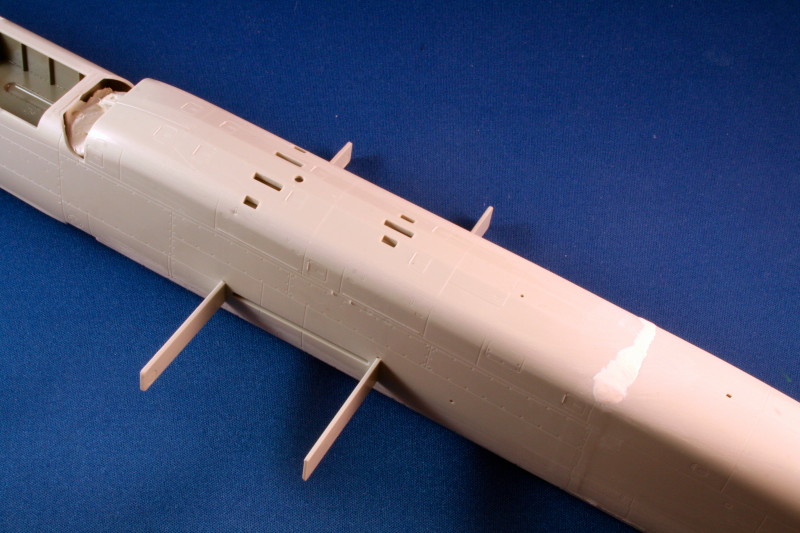
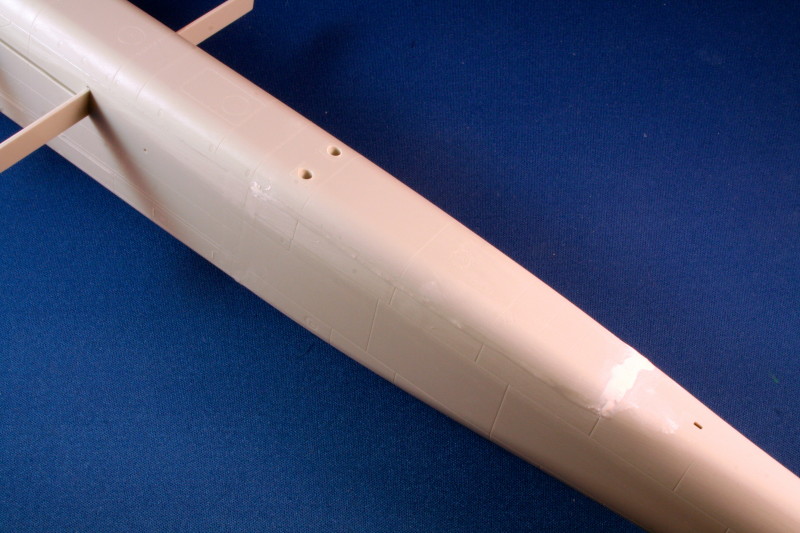
Rear Fuselage
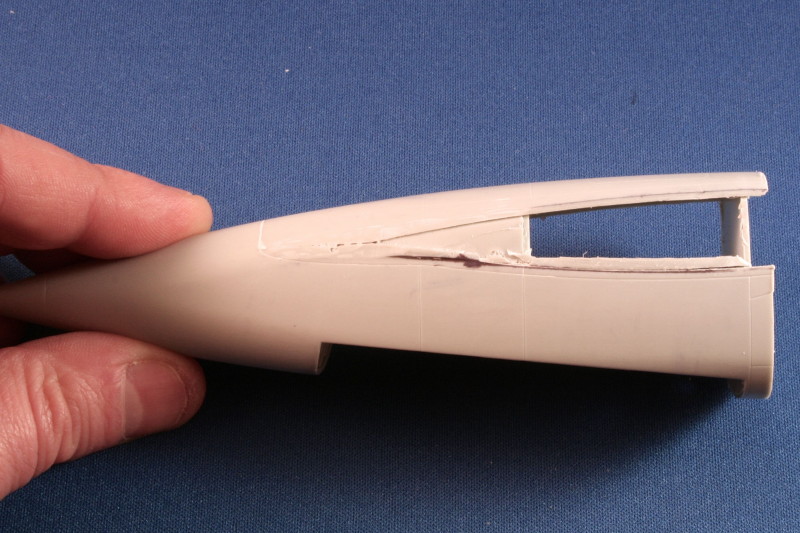
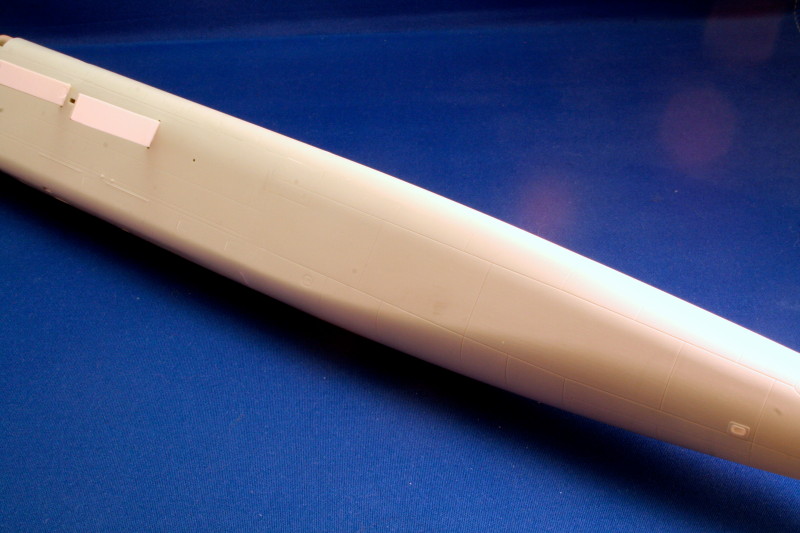
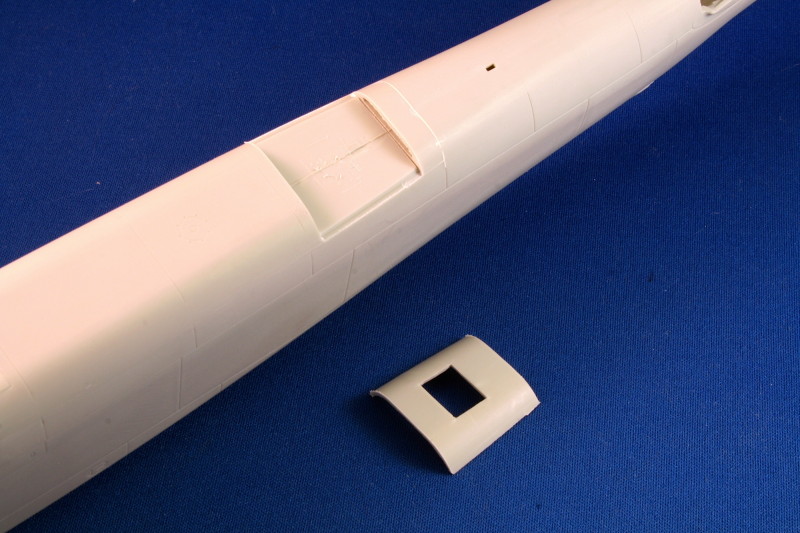
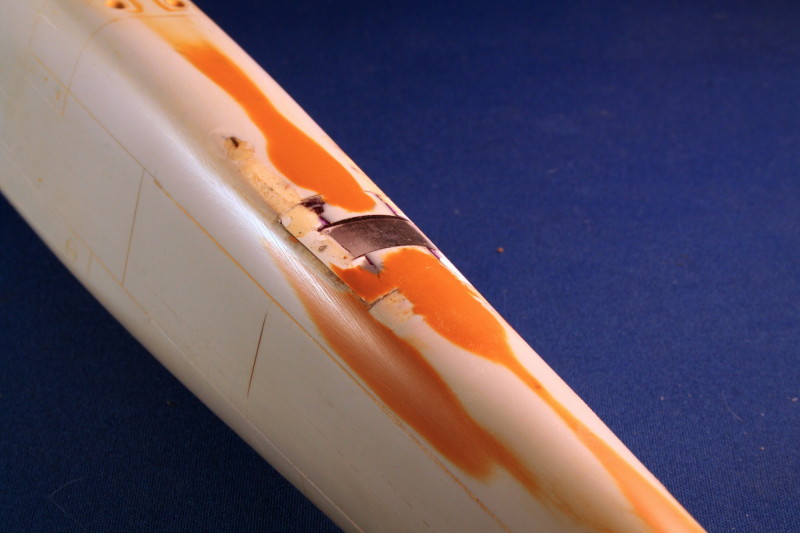
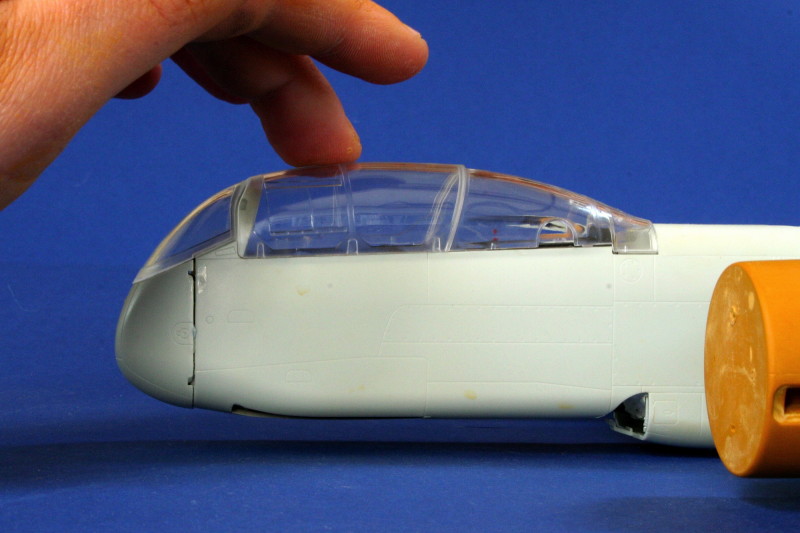
The kit exhibits two main defects in the rear fuselage - it's too slab-sided - with a top that's too square as it blends into the tail and lack of upper fuselage window. In addition there are a couple of small circular windows that I haven't added to the model - but may do at a later stage.
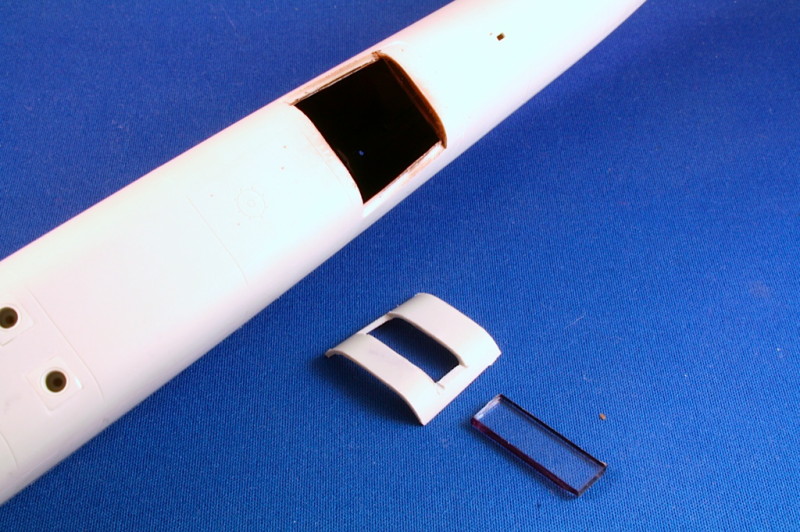
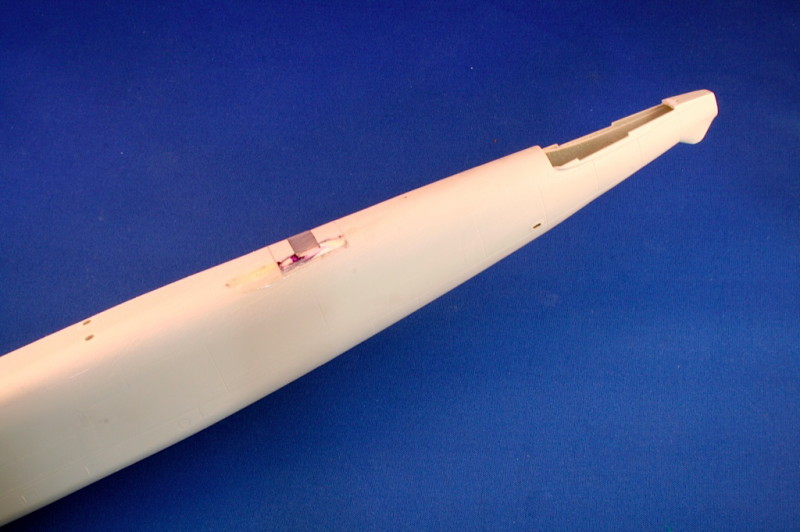
The first step was the upper glazing. The Revell kit has the position for this scribed on the top section - unfortunately this was spotted after I'd assembled everything - so had to cut a section out prior to glazing with clear acrylic stock. Next time I'll sort the glazing before assembly - and thicken the plastic on the inside with a layer of casting resin to give something to sand back into when re-profiling the fuselage.

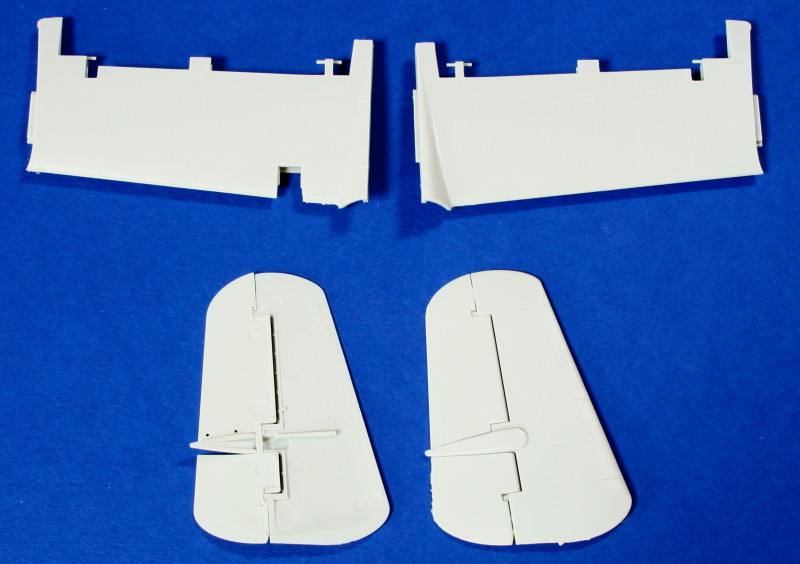
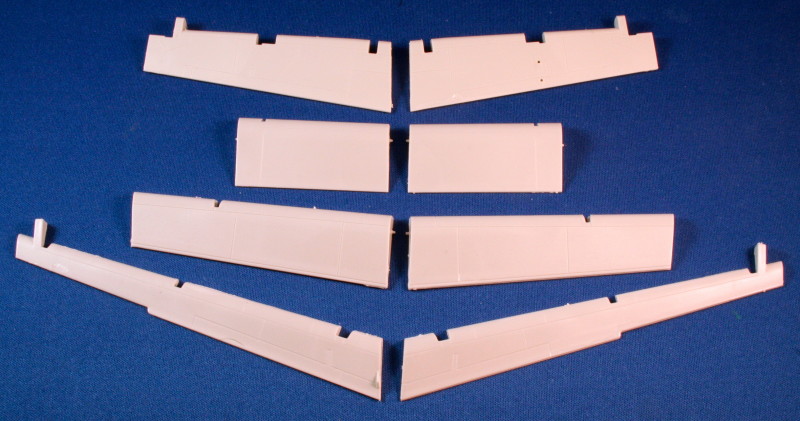
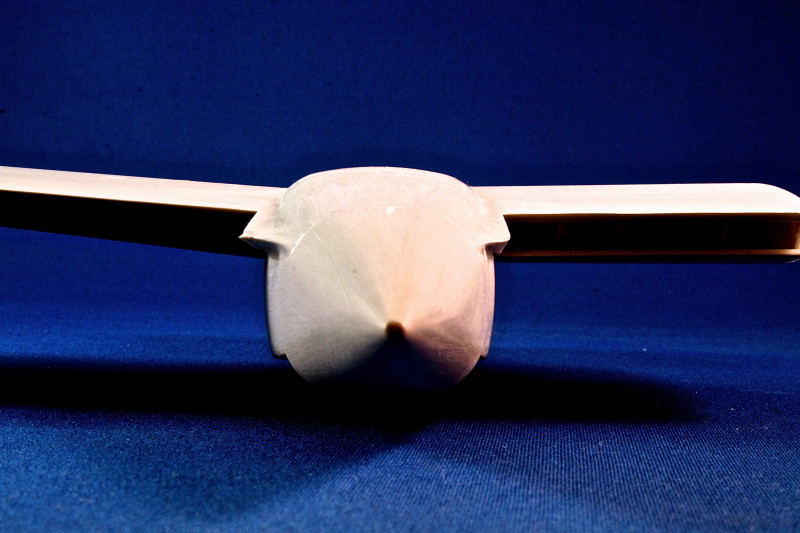
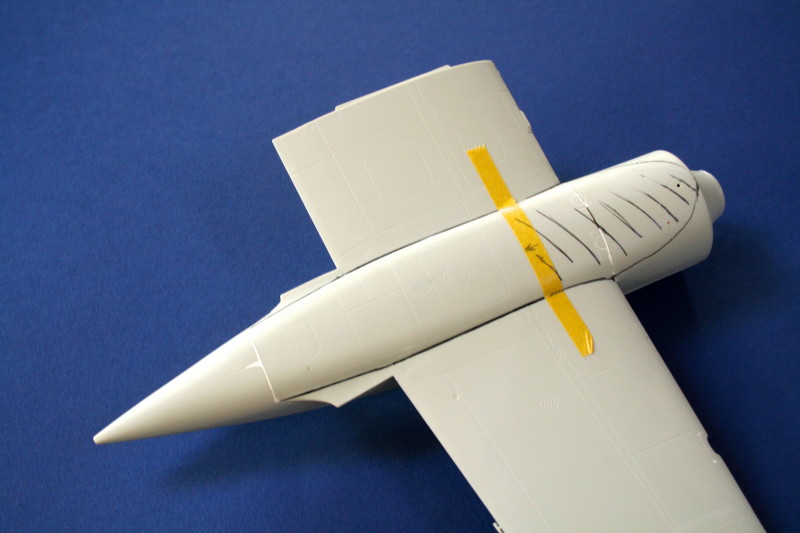
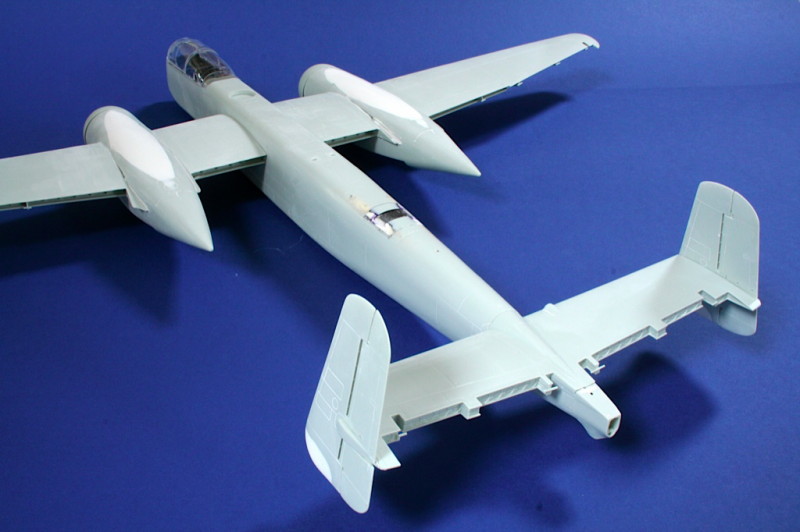
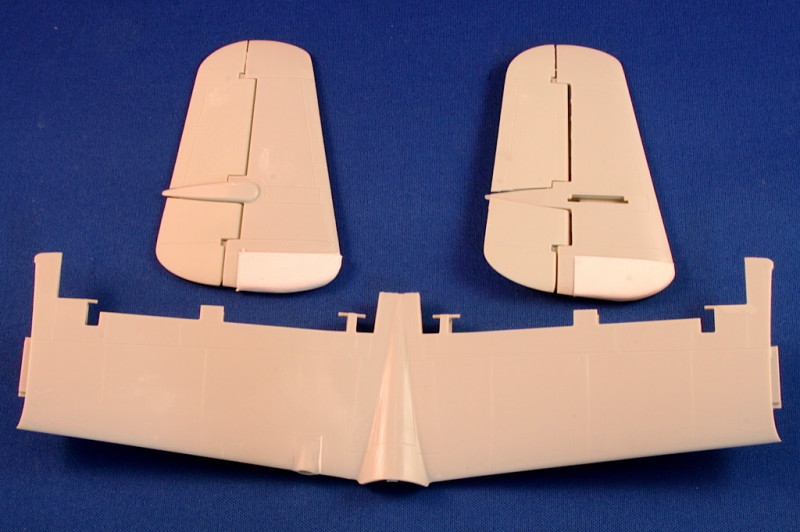
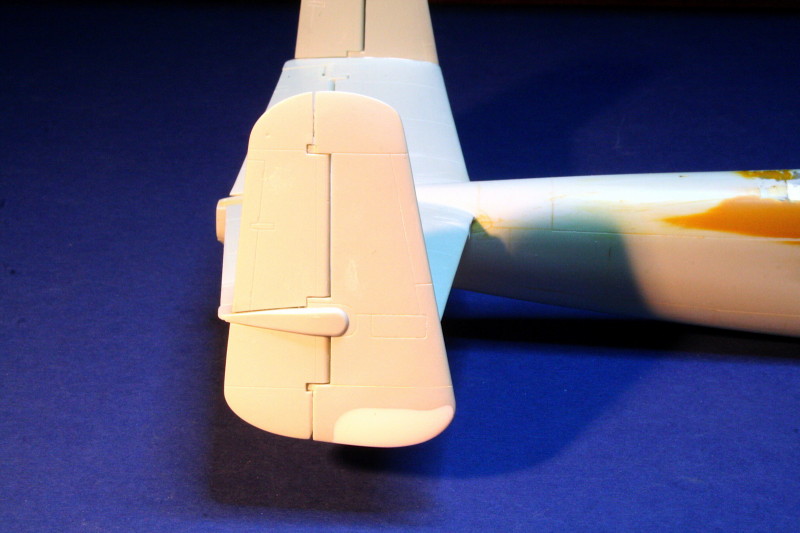
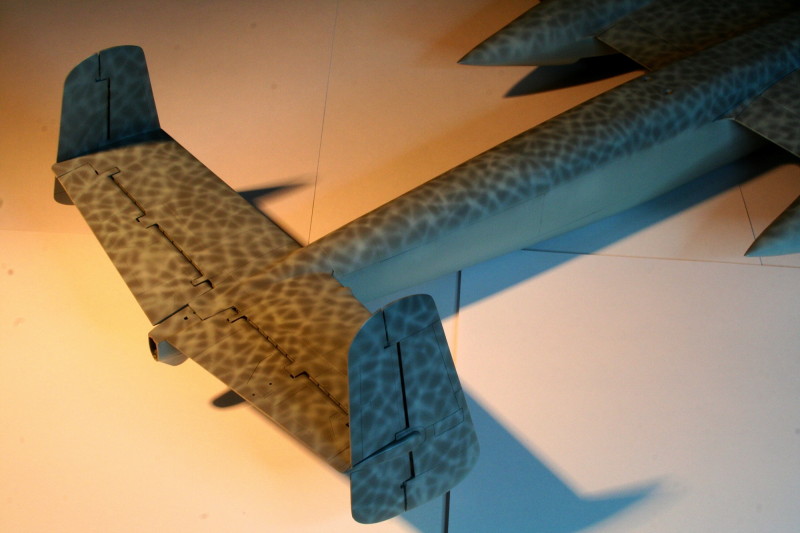
Tail Feathers
Early on I'd spotted that the Revell kit fins are inaccurate in their cross-sectional shape at the base - with 'flats' that need building up with epoxy putty - as illustrated in the following images.
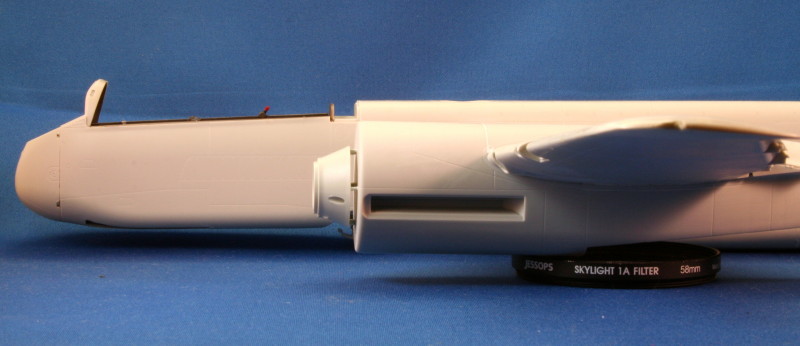
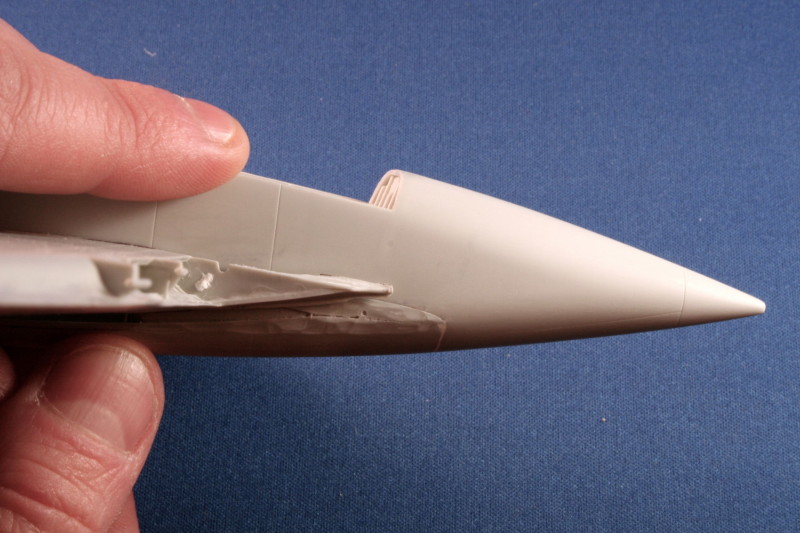
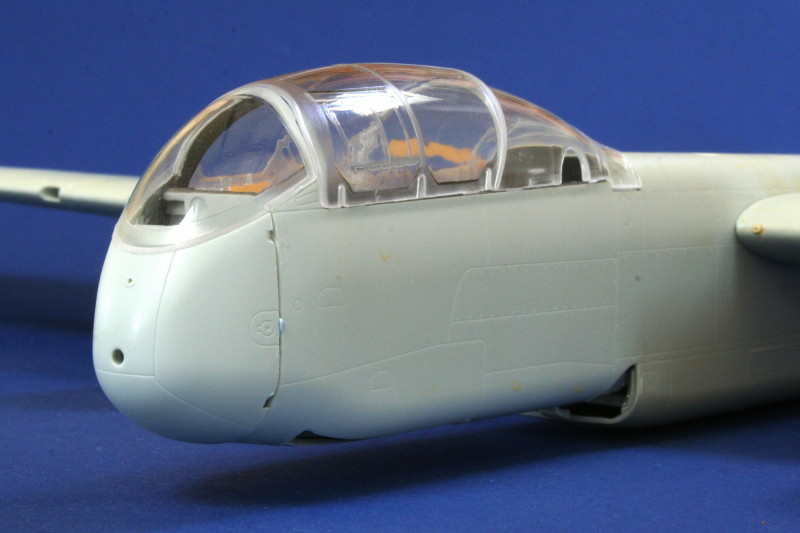
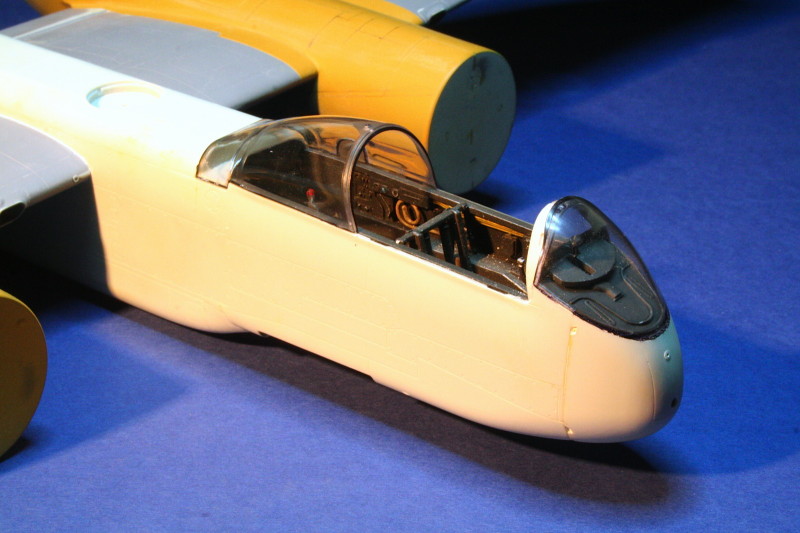
Windshield
As moulded we came to the conclusion the nose glazing was out a little in shape - albeit probably closer than the ZM kit. I could have made a new windshield by making a pattern and vacuum forming a new one - however that would have taken time and by this stage I just wanted to crack on and finish. With a little judicious sanding, using sanding sticks, followed by polishing with Micromesh and plastic polish, I was able to improve the shape noticeably. This was helped by the removal of the moulded in framing - I masked in slightly different positions to create a better, more prototypical, look.
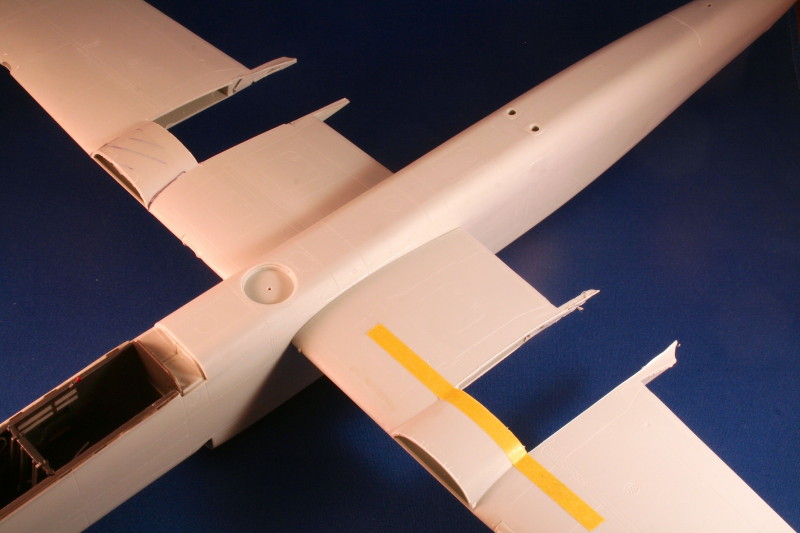
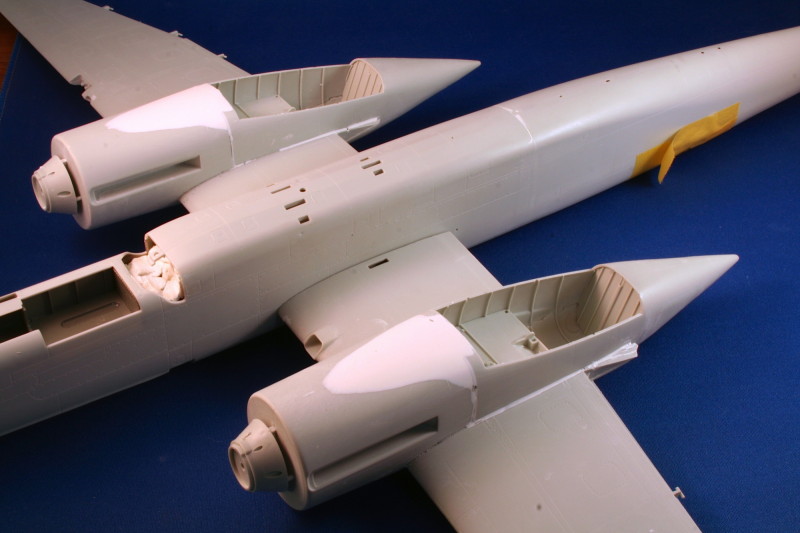
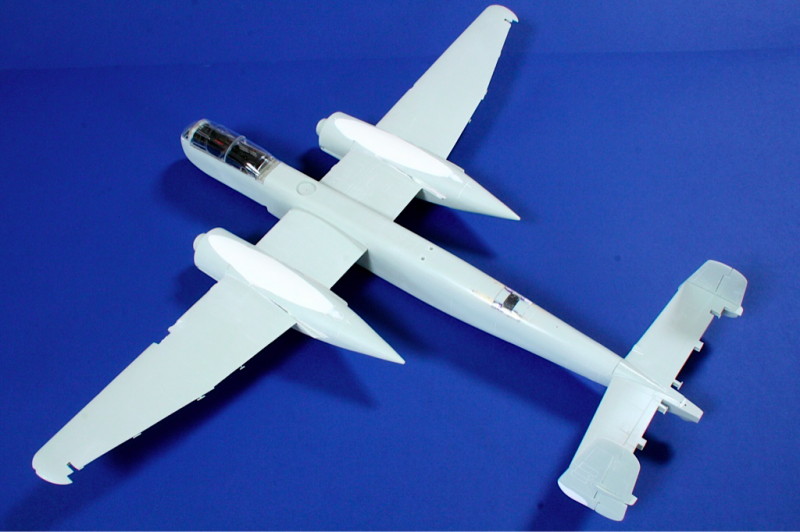
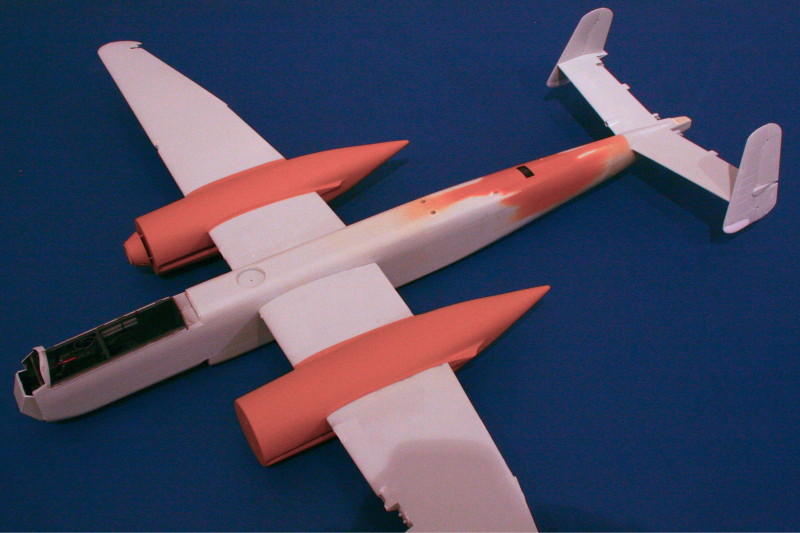
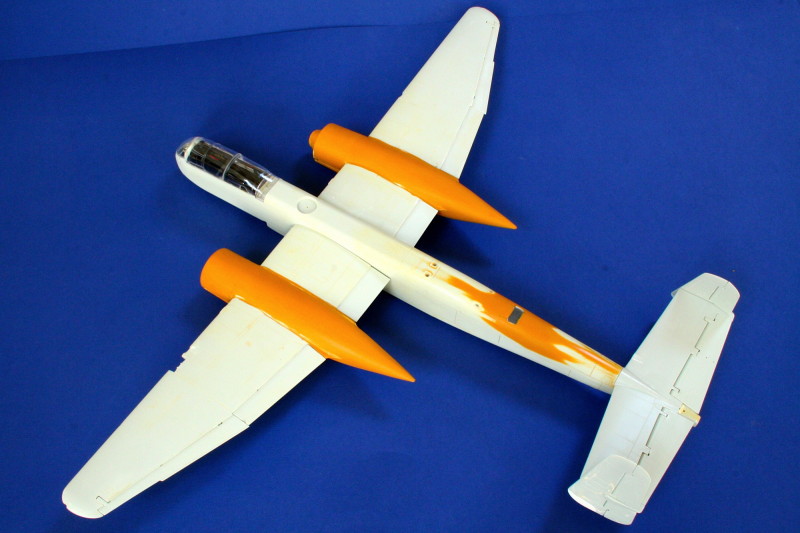
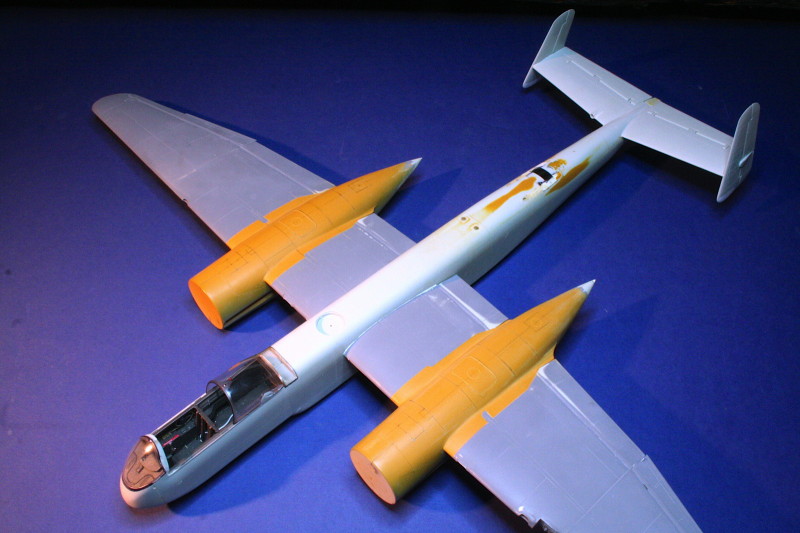
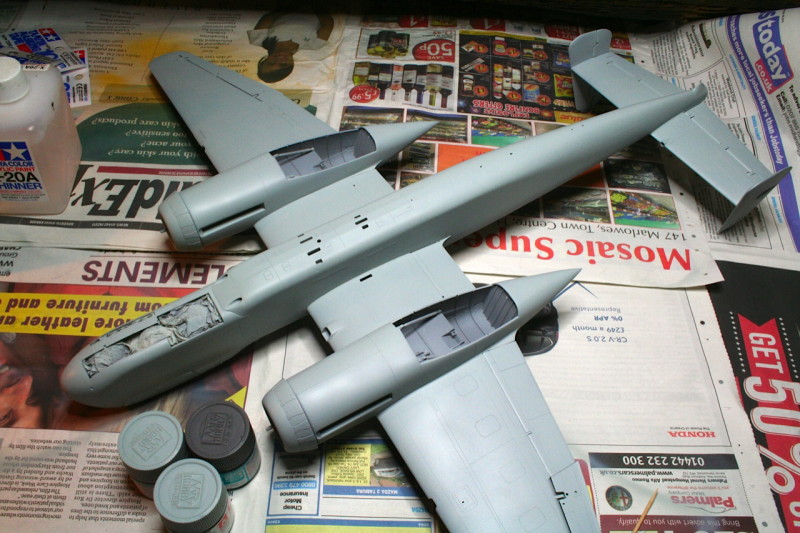
Airframe
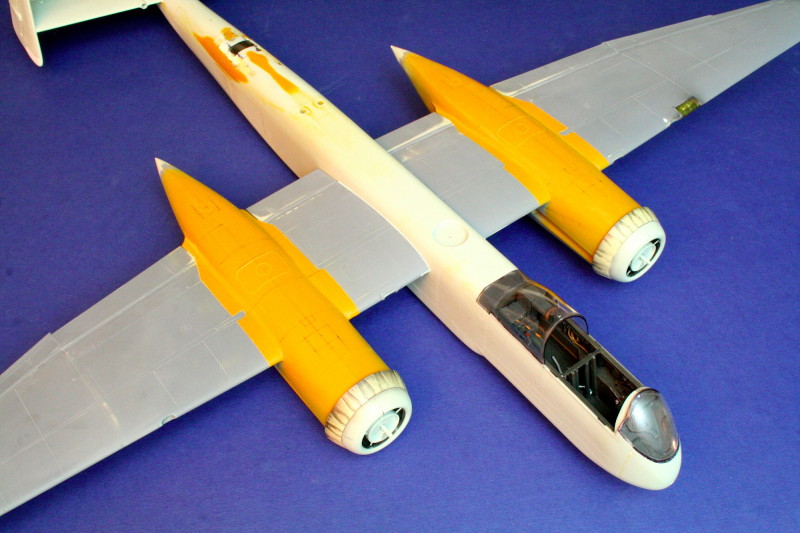
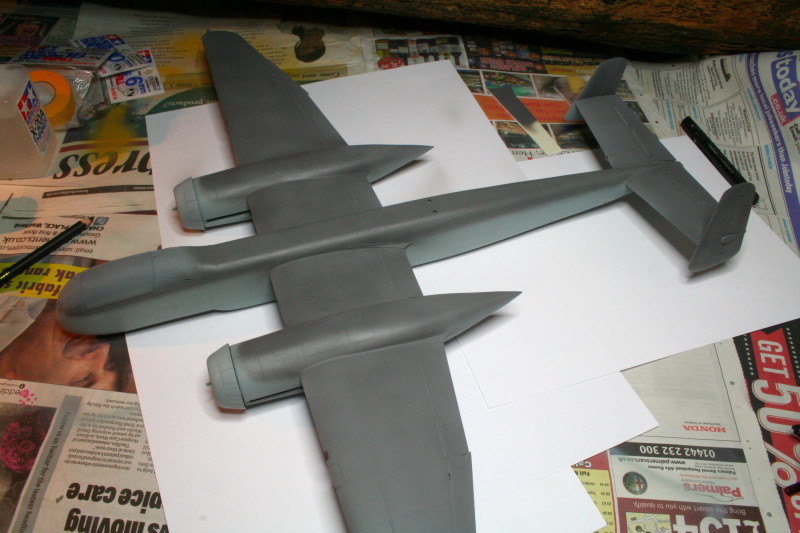
After re-scribing the nacelle surface detail, using a loaned ZM kit as a pattern, we were now at a stage were everything could come together. Parts fit, generally, was excellent - with just a little epoxy putty applied in places.


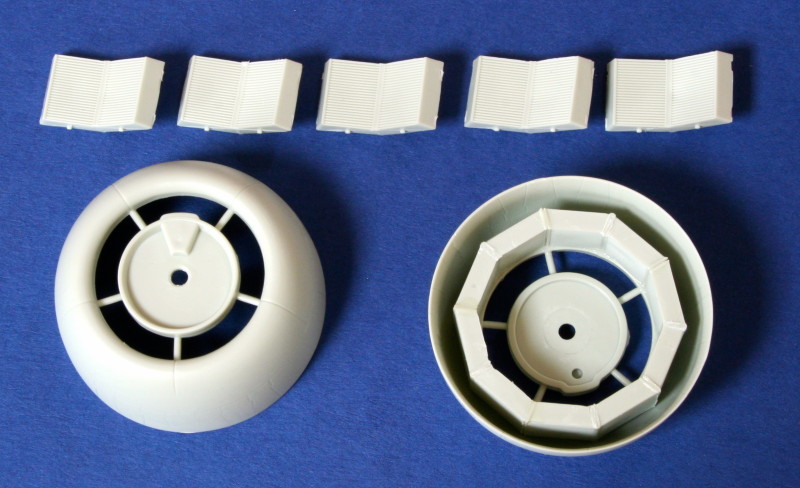
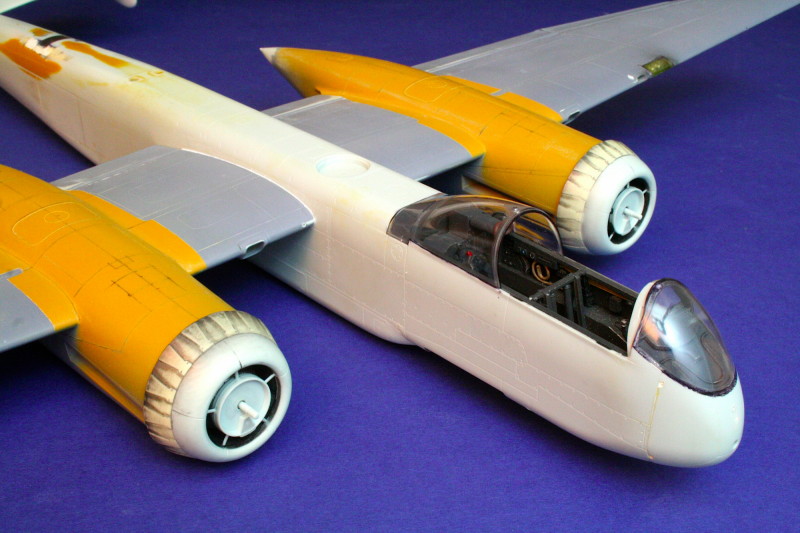
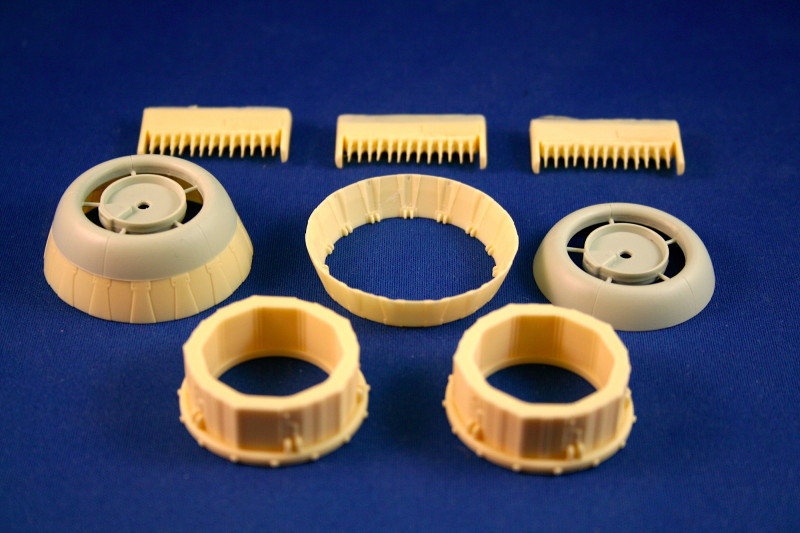
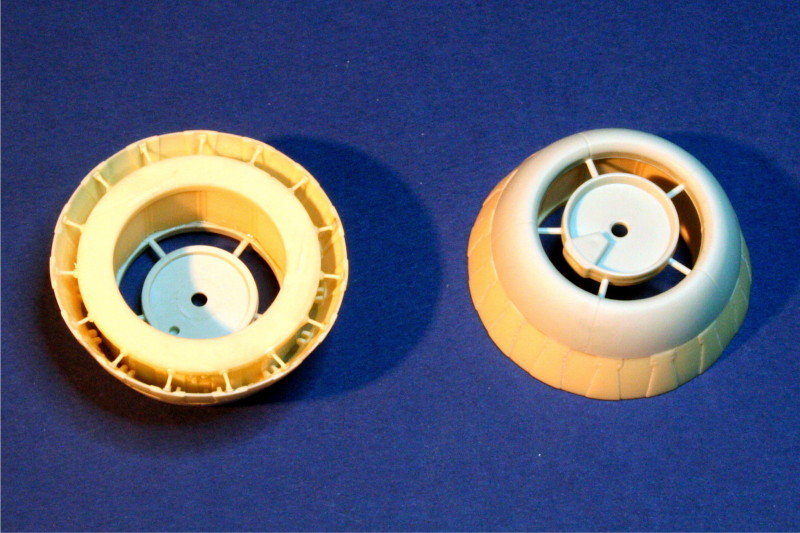
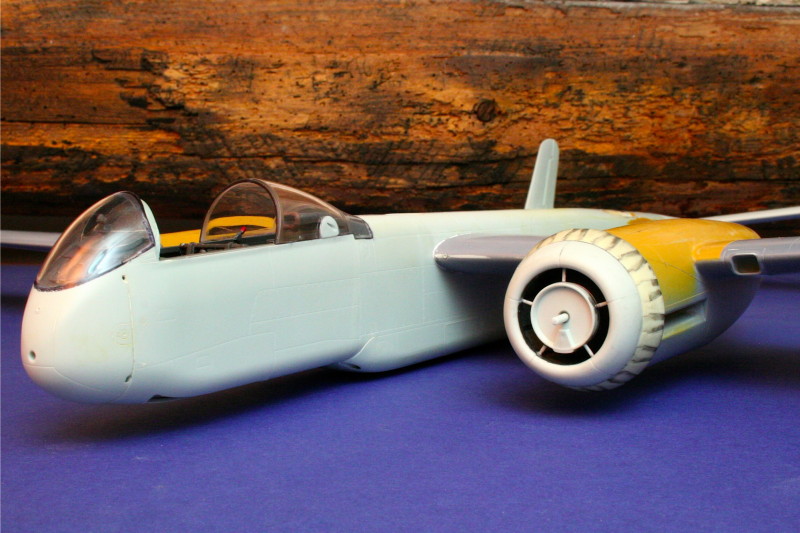
Radiator Cowlings
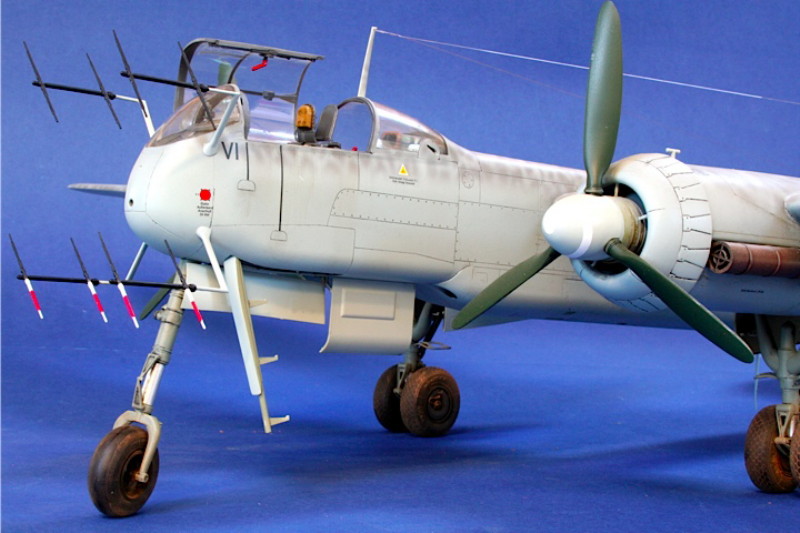
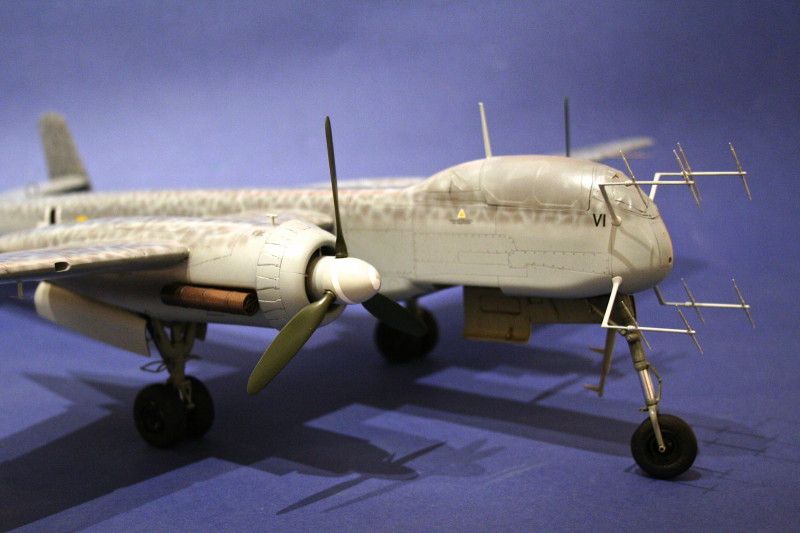
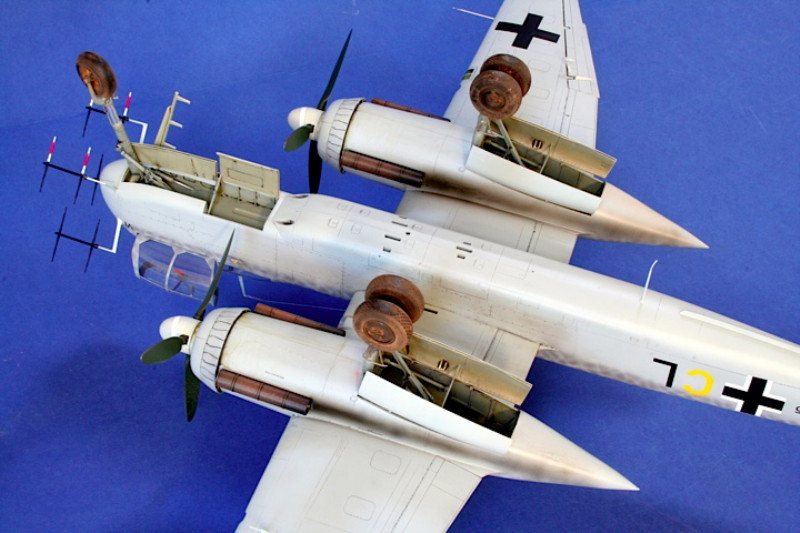
Period photos show parked and shut down He 219s generally having open cowl gills. I was keen to replicate this as it would be more prototypical - as well as creating a better look and masking the slightly under-sized Revell parts. Roy Sutherland of Barracuda to the rescue with a superb resin set. I broke with the instructions and assembled the radiators/cowls and gills separately from the nacelles so that I could fit the supplied actuator rods more easily - worked a charm!

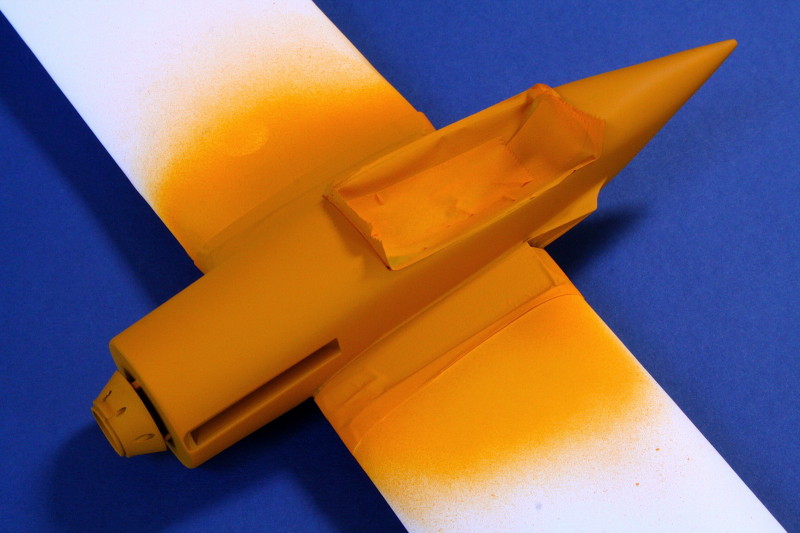
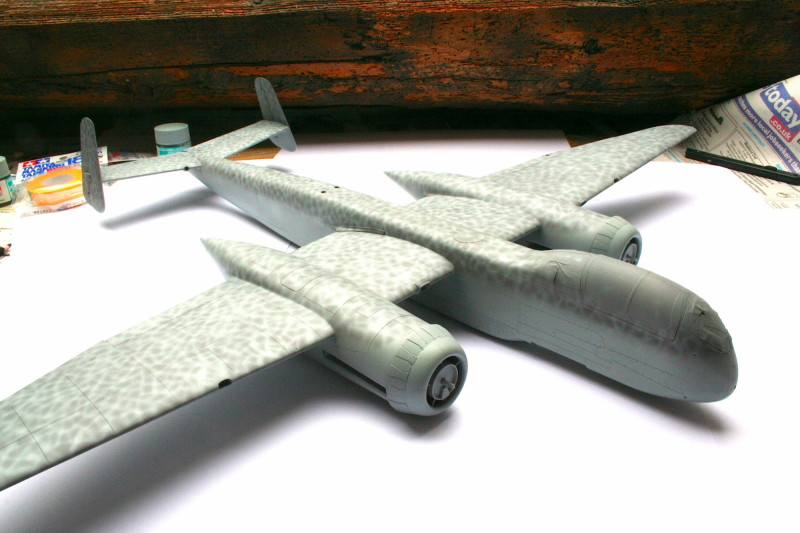
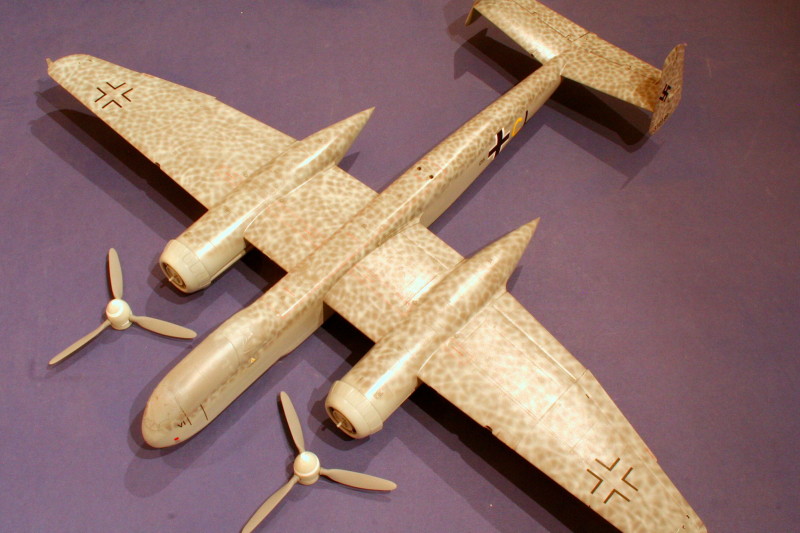
Paint!
I'm a huge fan of Mr Color acrylics - very similar to Tamiya - but with a semi-gloss finish. The RLM 75/76 colour matches looked good and I love the way these paints spray - thinned almost 50/50 with Tamiya thinners.
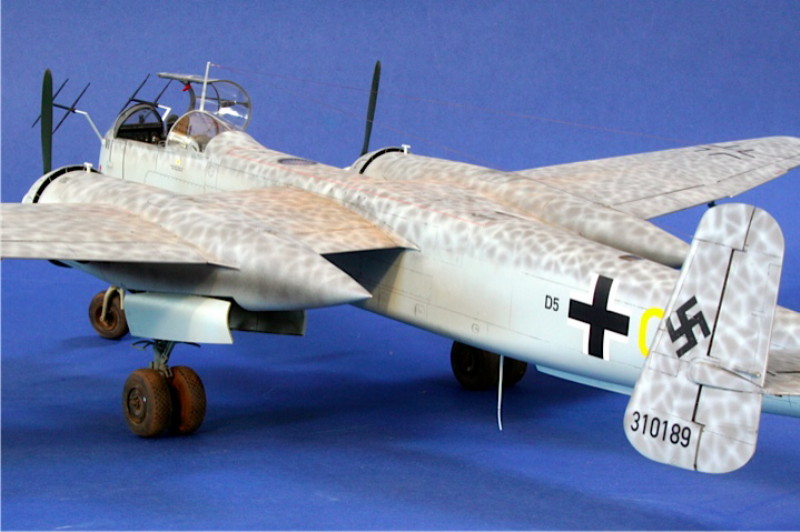
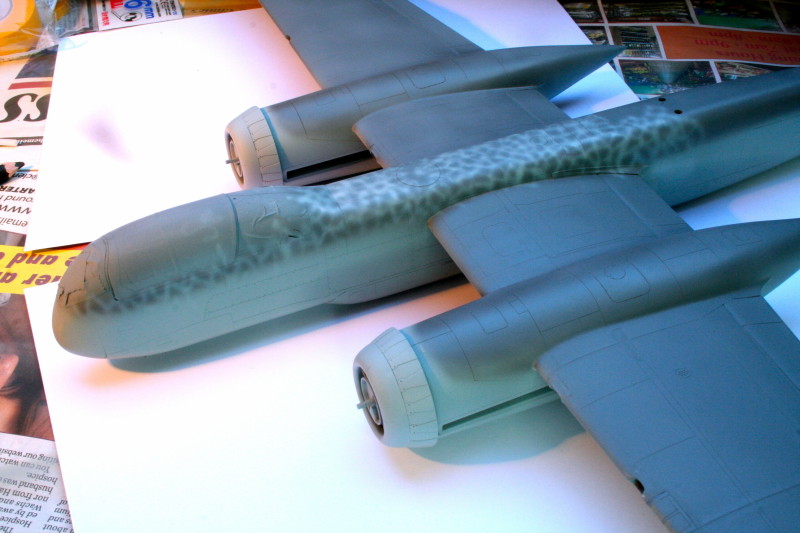
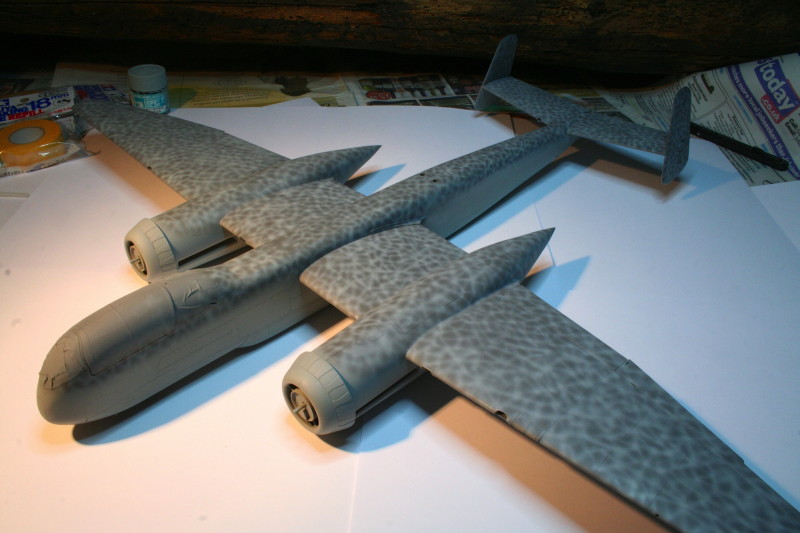
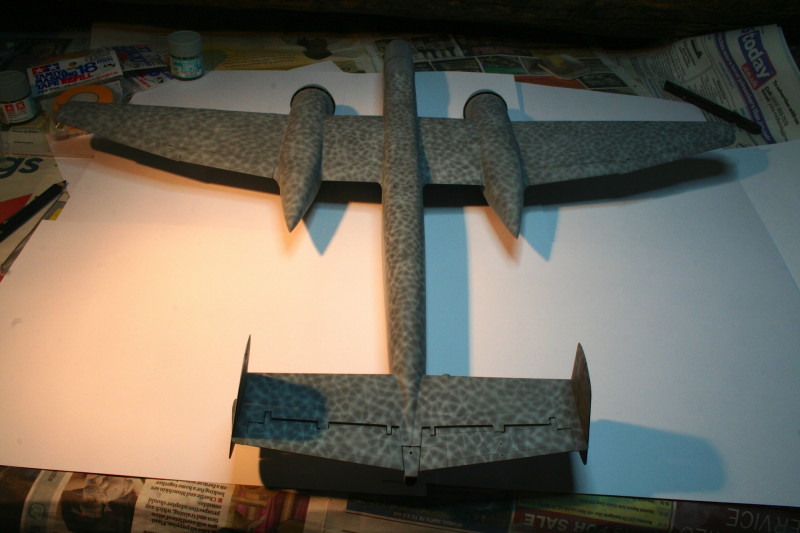
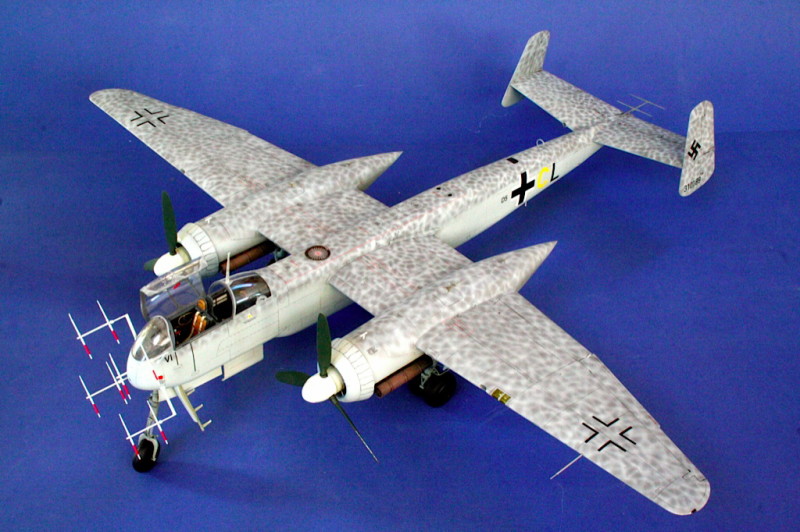
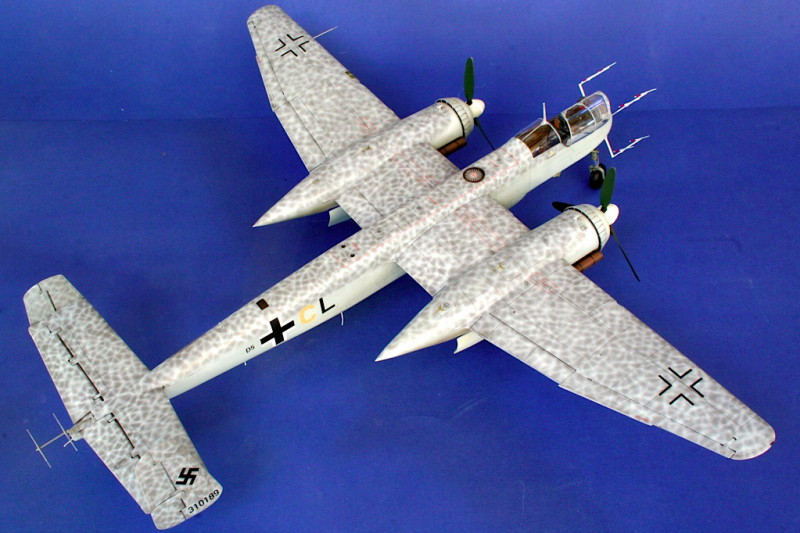
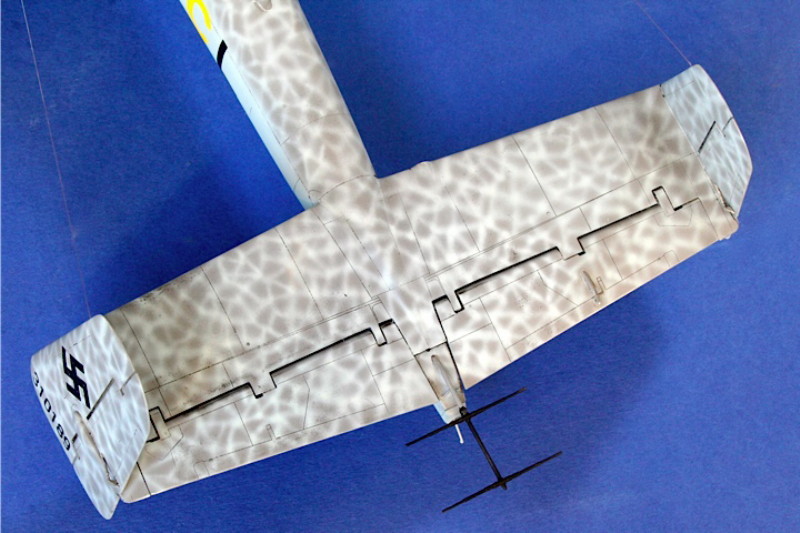
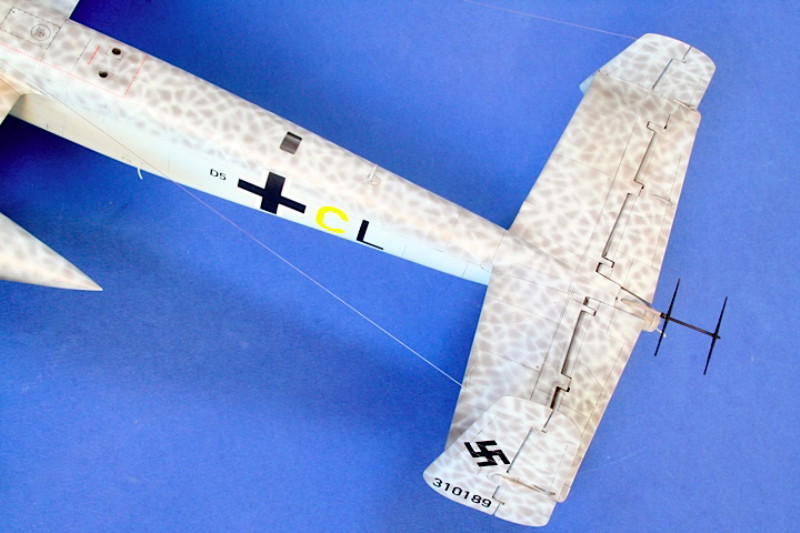
The original airframes were painted with a 'reverse mottle' - i.e. the pale blue squiggles over the grey to provide the mottle. This process was replicated in miniature - spraying the underside pale blue first, then uppersurface gray - followed by several days of spraying fine pale blue lines over the grey. Nicely thinned paint and low air pressure on my Iwata HP-CH were key, sprayed whilst looking through an angle-poise daylight magnifier. By the time I'd finished it felt like my eyes were bleeding and I was finding it difficult to focus on anything - but was reasonably happy with the effect.
Decals
The model was given a number of coats of Quick Shine acrylic floor varnish to provide a nice glossy base. Kit decals we used - with no problems encountered. Micro-Sol was used to help settle them into place, and odd areas of silvering on the dashed red walkway lines were fixed after the decals had dried by lightly scoring with a fresh blade and a small amount of Quick Shine applied with a small brush - this flows under the decal by capillary action and removes any silvering.


Final Assembly
After the decals has dried off the model was washed - allowed to dry - and oil paint used to pick out the panel lines. Undercarriage, aerials etc. were added - and masking removed after a coat of Xtracrilix matt varnish. I love removing the last masks - with the clear canopies visible everything starts to come alive.
Remove Masks and Weather
Exhaust staining airbrushed on using Tamiya smoke. Oil stains and streaking with Modelmates Oil Brown wash - applied with a fine brush. Boot scuffing using tiny dabs of black oil paint - blended in with a cotton but. Tyres - and walkway ares above the wing roots - added with MiG Weathering Powders.
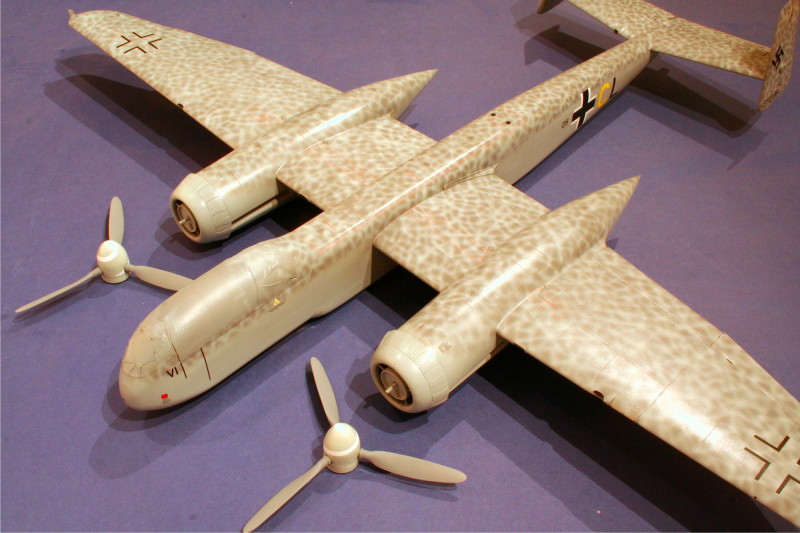
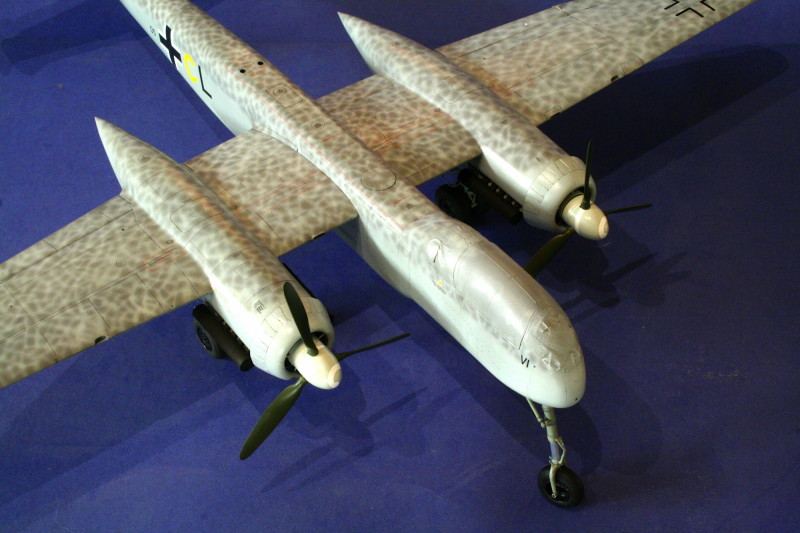
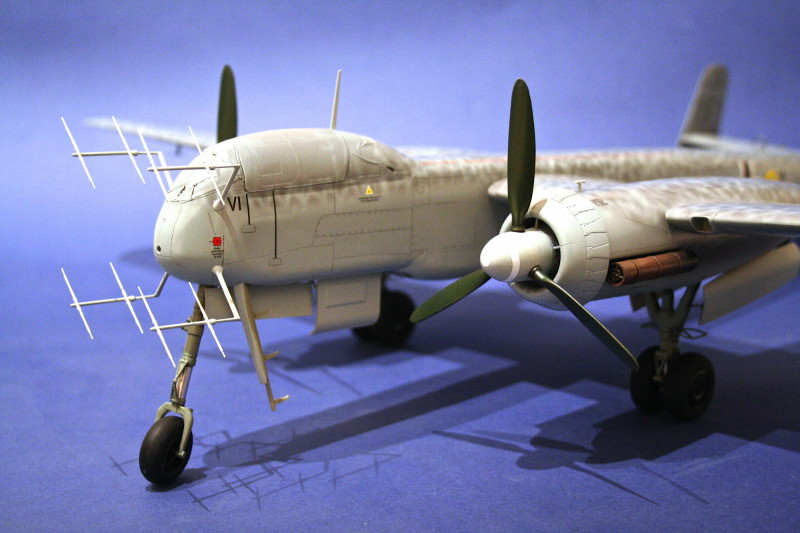
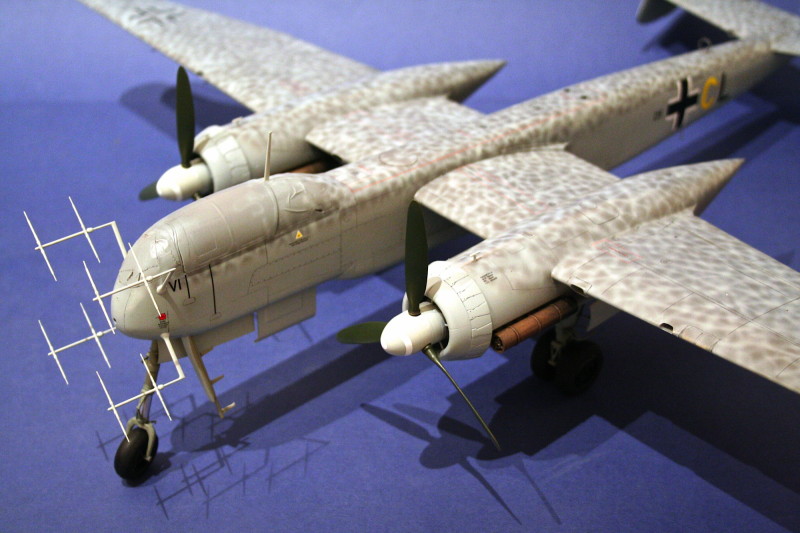
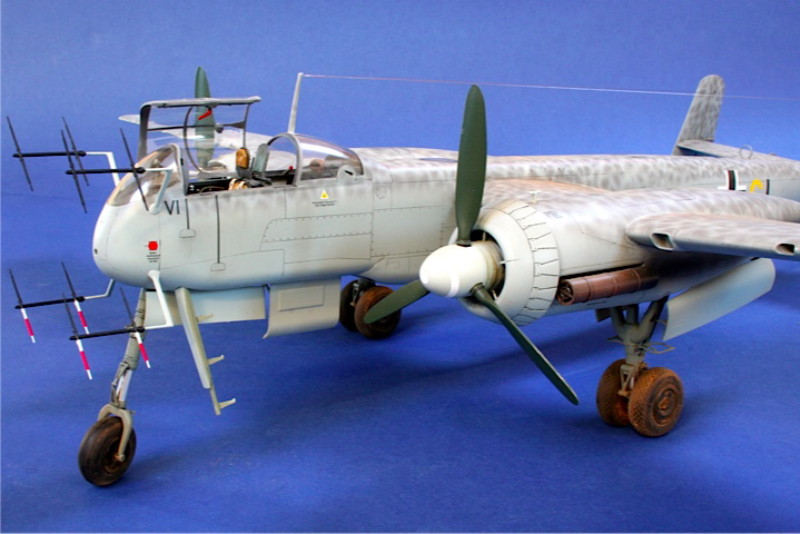
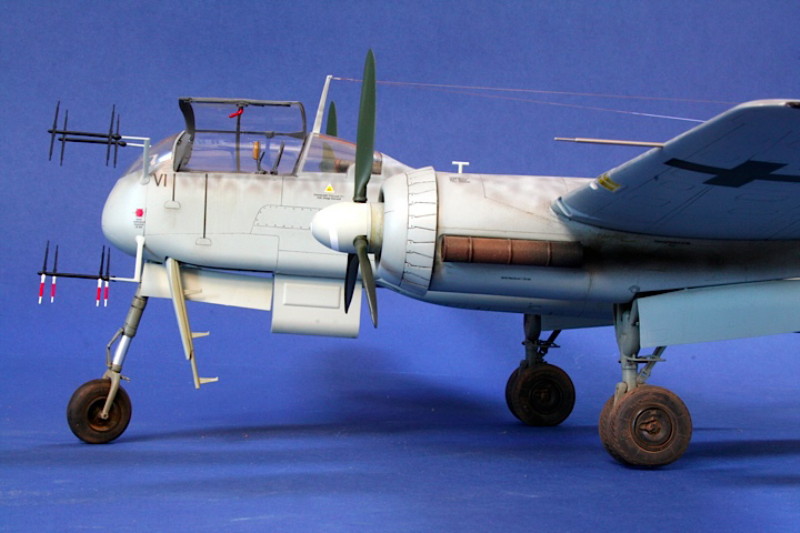
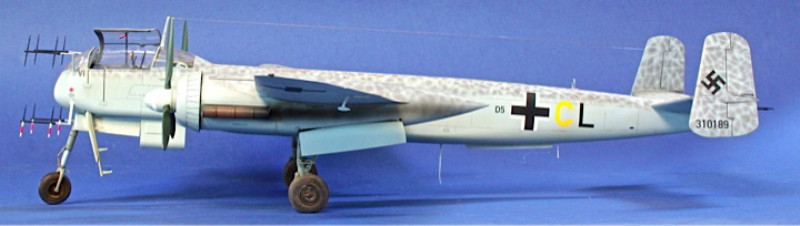
Gallery
Tweaks Made
- Nacelle angle - engine thrust line.
- Nacelle diameter - too thin...
- Rear fuselage cross section.
- Rear fuselage window.
- Lower area of vertical fins - re-profile with epoxy putty.
- Nose/windshield profile.
- Prop blade profile/blending at root - fixed with epoxy putty.
- Opened cowl gills - more prototypical of aircraft shut down on ground - Barracuda replacements.
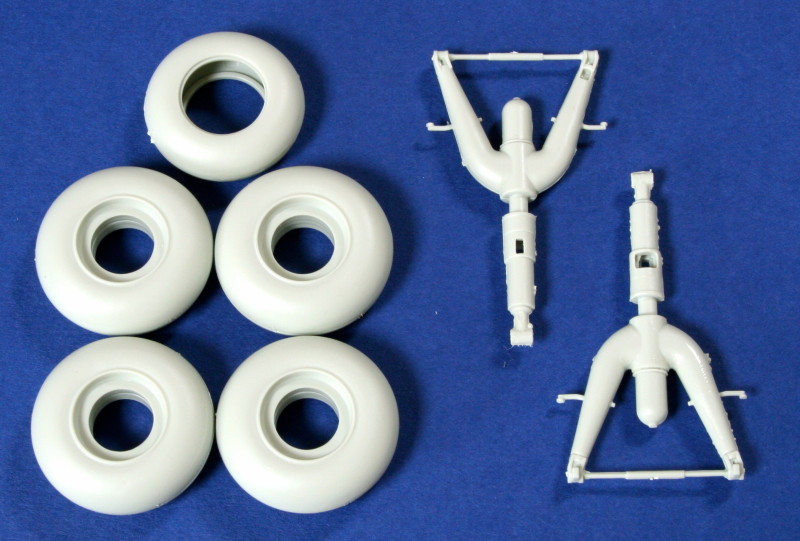
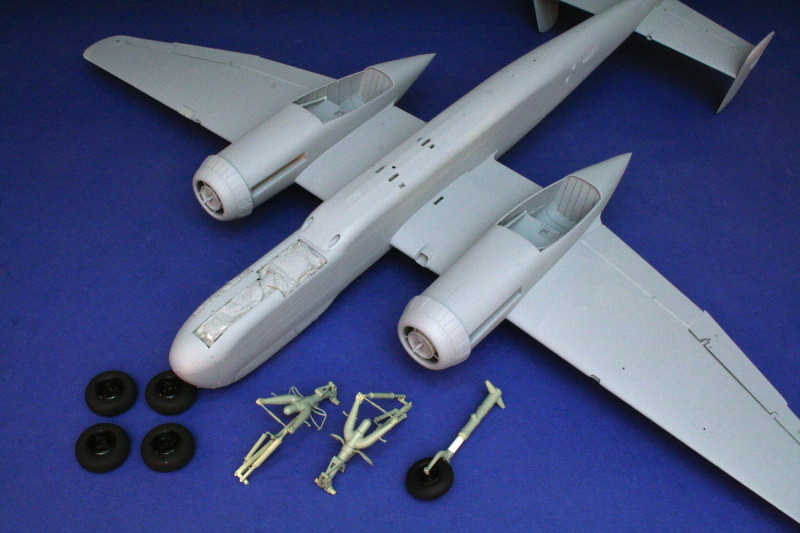
- Treaded tyres - kit not wrong - but preferred look of Eduard Brassin set.
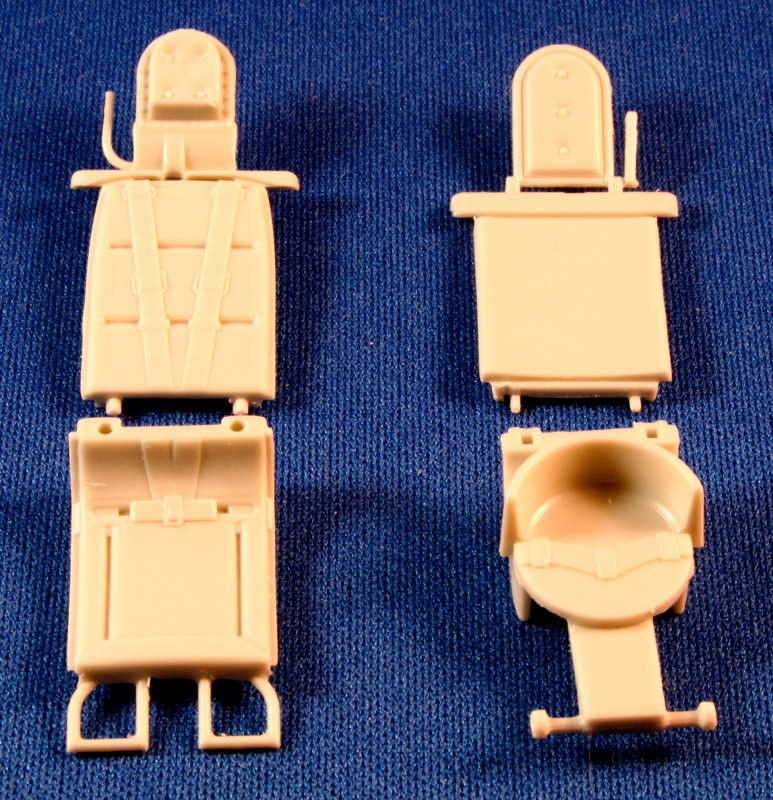
- Seats modified with cushions from epoxy putty and belts be Eduard.
Materials Used
- Aftermarket wheels - Eduard Brassin.
- Open cowl gills - Barracuda.
- Epoxy Putty - Milliput Superfine.
- Filler - Revell Plasto.
- Paints - mixture of acrylic brands - Gunze Mr Colour for the overall camouflage.
- Weathering pigments - MiG.
- Winsor and Newton oil paints.
- Model Mates Oil Brown weathering ink.
Conclusion
Overall I'm quite pleased with the result - looks closer to the original to my eye. If I built another - would I go Revell, or Zoukei Mura knowing what I now know? Answer would be Revell - despite areas that can be improved - because, on balance, I think it's a more straightforward build (I'm not one for having all sorts of panels open and hidden detail on show) - and it's about a 3rd of the price. This one took a lot longer than planned to complete - but if I build another it would be far quicker as I know what needs doing and how!
I hope this has been of interest and useful - but whatever you build, however you build it, make sure you HAVE FUN! Sometimes it's easy to lose sight of the fact this is supposed to be a fun and relaxing pastime - I certainly did at several points in this project!
Iain
© Iain Ogilvie 2014
This article was published on Saturday, April 05 2014; Last modified on Sunday, October 28 2018