
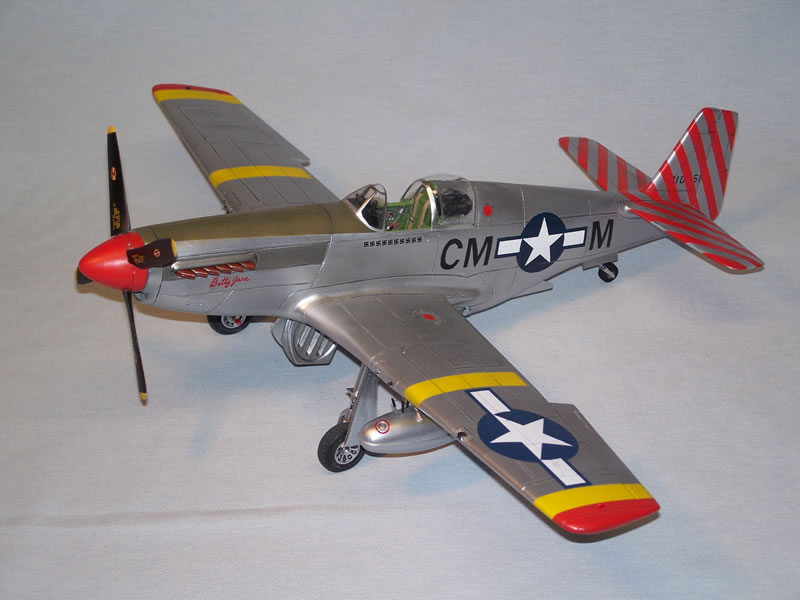
Combat Models 1/24 P-51B Mustang
By Gil Hodges
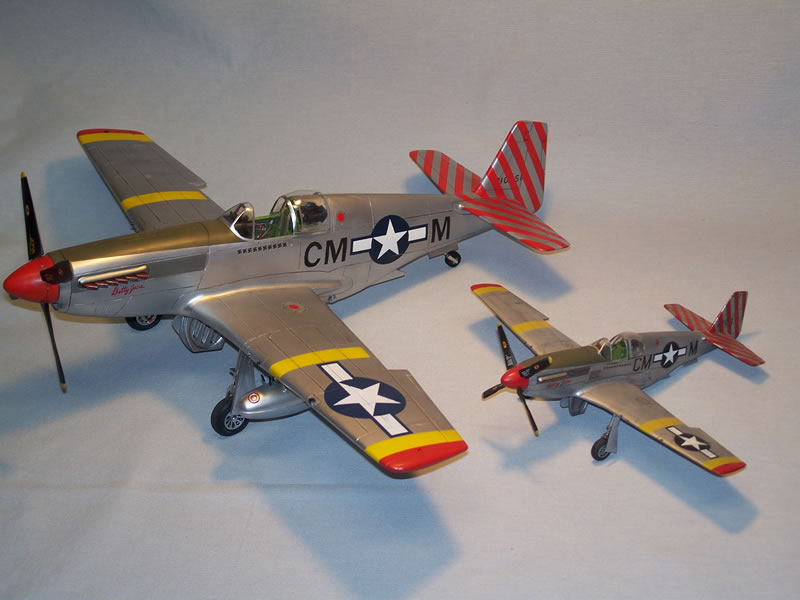
Why did I build this? Well, I actually started this build 15yrs ago! It was (and still is) the only available P-51B in 1/24 scale (though Trumpeter supposedly has one in the pipeline now).
Anyway, since this was my only model that I'd started but not finished, I decided it was time to do so! Initially, I'd gotten the interior completely built and the fuselage put together. Then I decided to try to add the windscreen with the armored glass on the inside...utter failure! I couldn't get the armor piece "Futured" inside the vac windshield without an air bubble forming. This frustration caused me to set it aside til later...never intending for FIFTEEN years to pass!
Anyway, in the meantime, I'd acquired an extra Bandai 1/24 P-51D for donor parts, so I decided to re-tackle the vac "B" beastie the first of this year. This time, I started by getting the wings assembled and added to the fuselage, which then spurred me on to complete the rest of the model. I never did solve the problem of adding that armored glass piece, but put a convincing (if not accurate) gun sight and glass up on the cockpit coaming in its place. Instead of a blow-by-blow build article, I'll just try to highlight things...
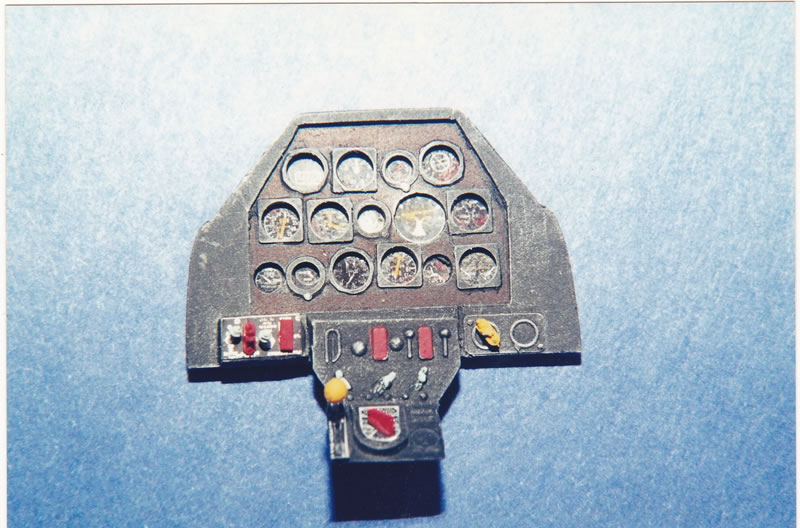
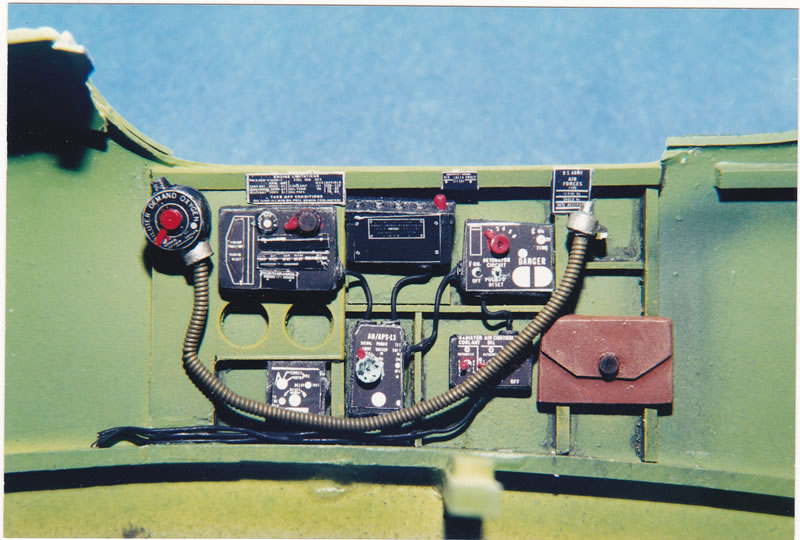
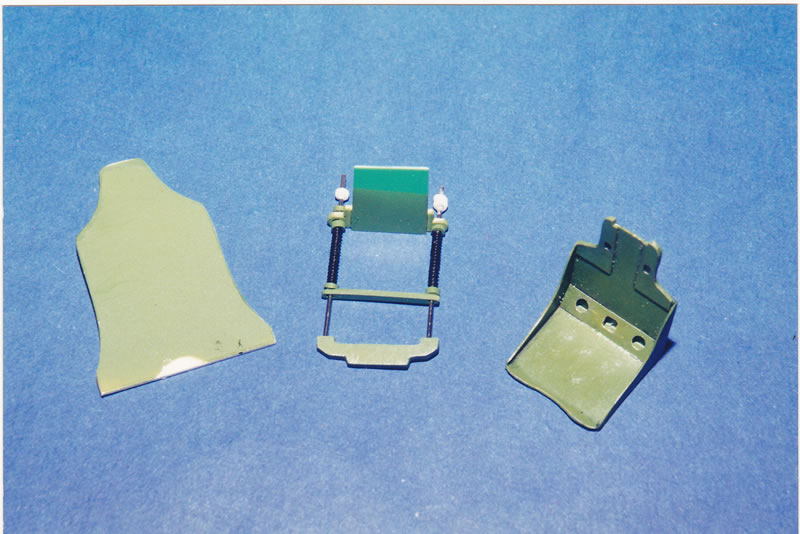
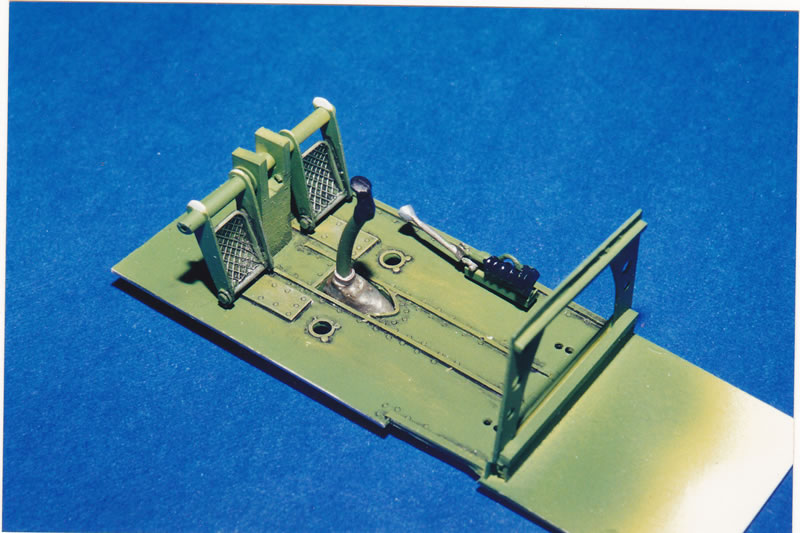
- Cockpit interior is a combination of Bandai parts and scratch built items with Waldron placards and seat belt buckles;
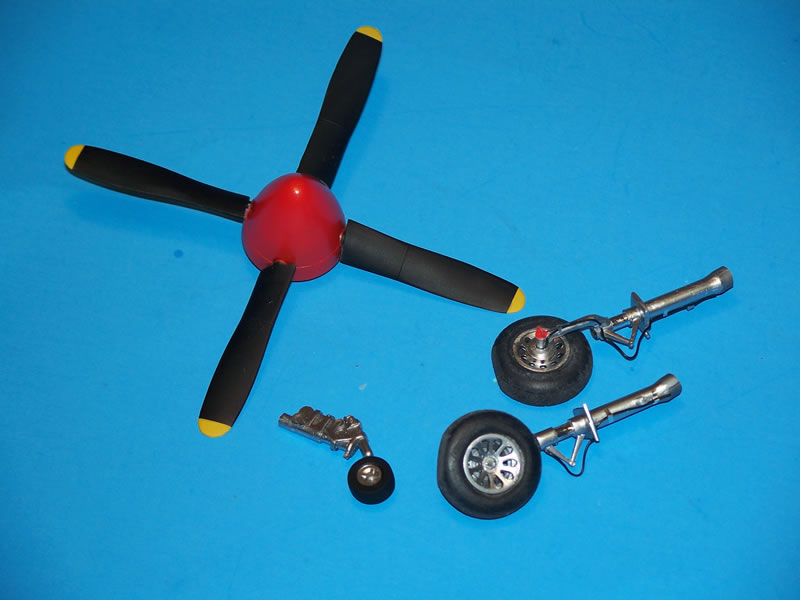
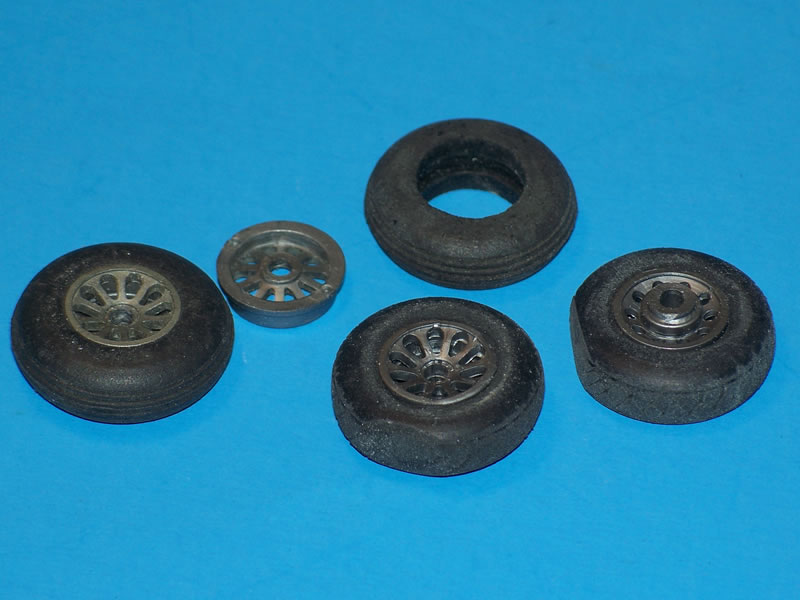
- Bandai parts also used for: exhausts, gear doors, landing gear, prop, drop tanks, and tires.
- Sanded the rubber tires to a flatter profile and sawed some diamond tread into them.
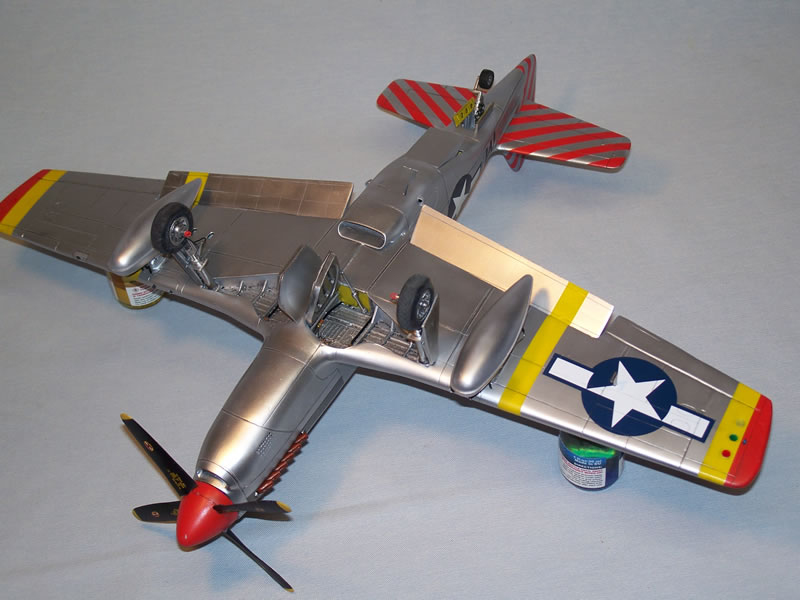
- Plumbed the drop tanks with solder and used black plastic tubing for the connectors, slid over the solder (easy-peasy!).
- LOTS of filling, sanding, scribing (repeated ad nauseum) on this beast! In general, I used superglue (the cheapest kind) mixed with baby powder, for filling gaps. It dries fast, doesn't get as hard as plain superglue (even after 24hrs), can be sanded to a feather edge and also scribes well.
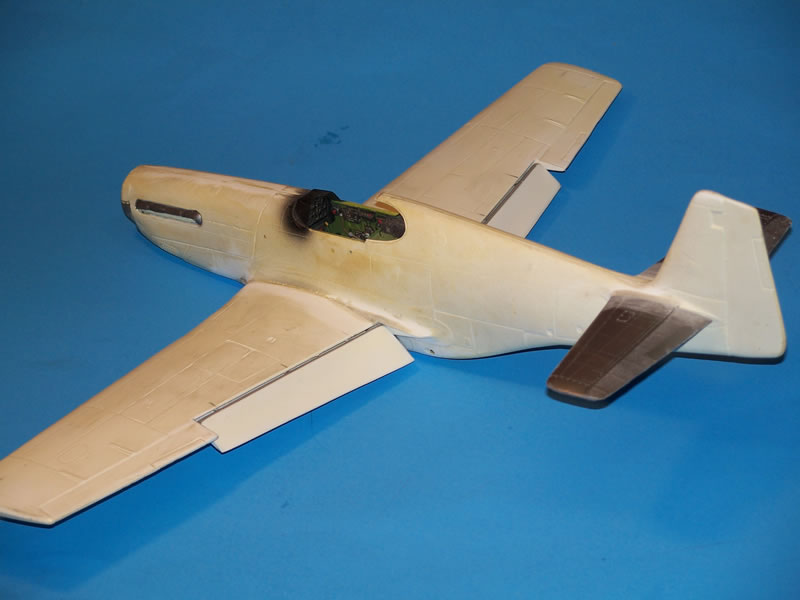
- Tamiya Fine Gray and Fine White primers (spray can) were used for the most part.
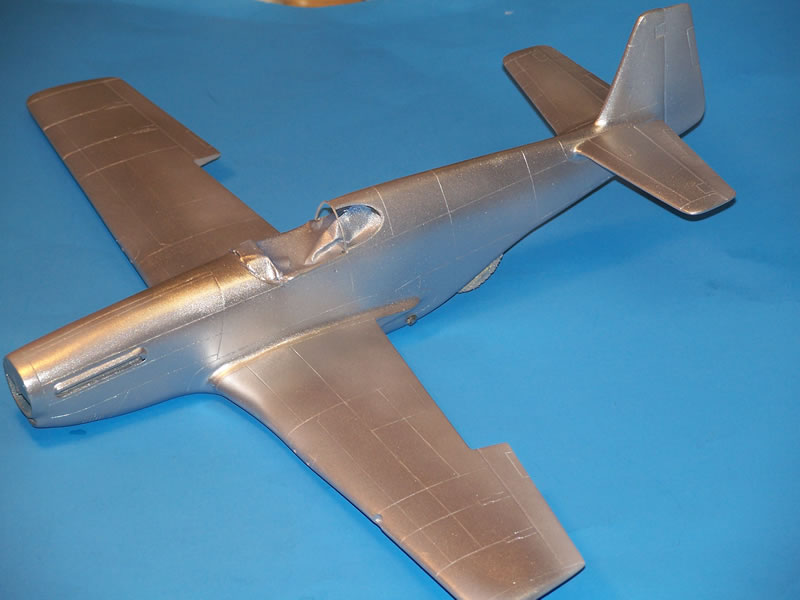
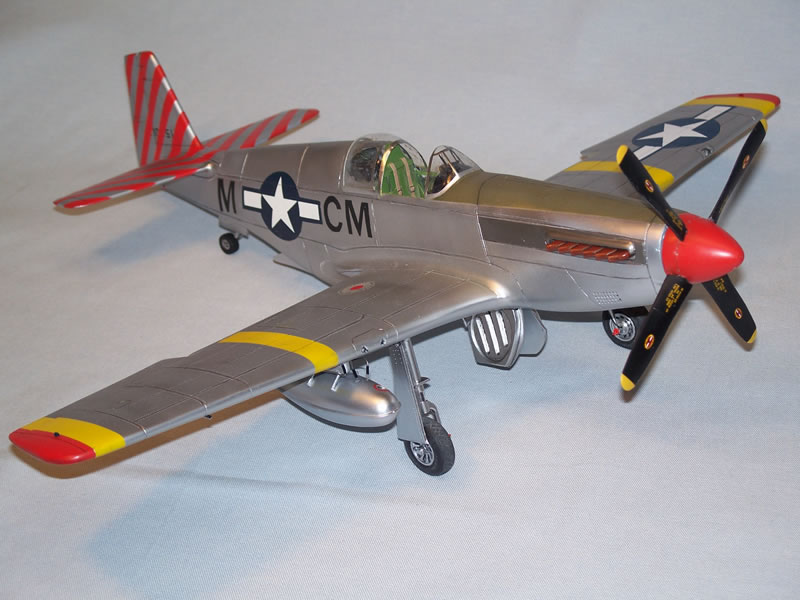
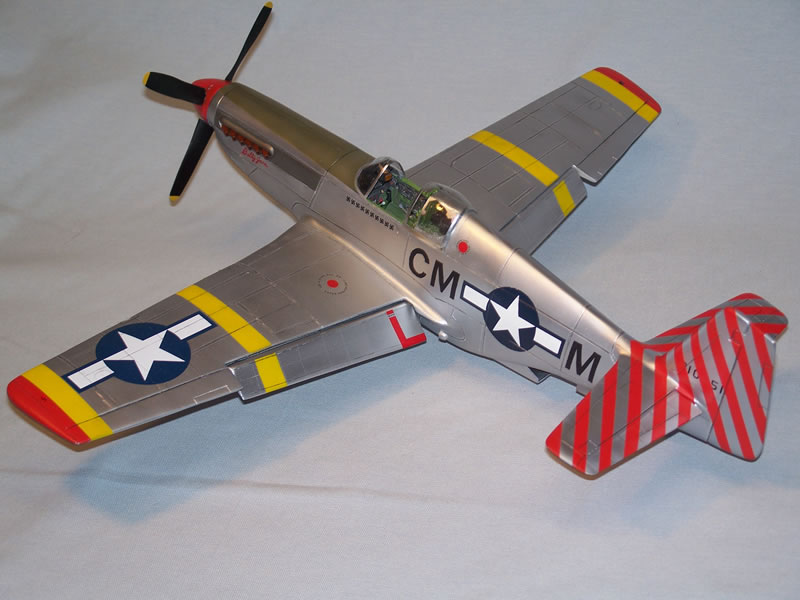
- Used AK Extreme Metal Aluminum on the fuselage (VERY good stuff, even if a bit pricey). It went on easily, dried rock hard within an hour, and withstood all the masking with no problems.
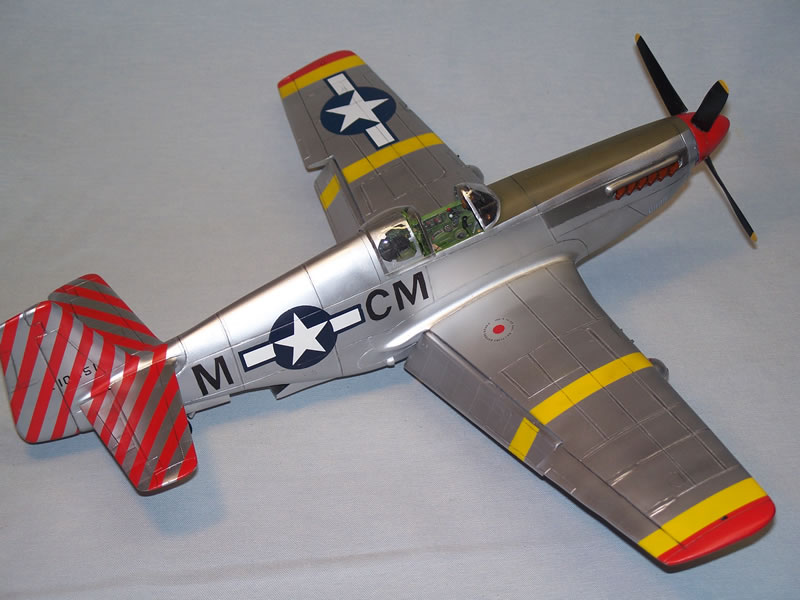
- Used Alclad 101 Aluminum for the wings, trying to attain a "duller", painted look. Also worked very well with no masking problems.
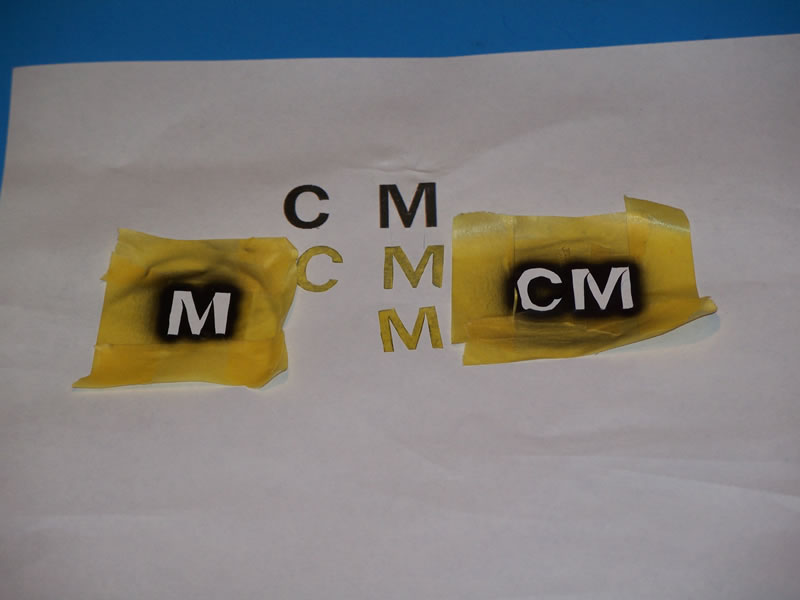
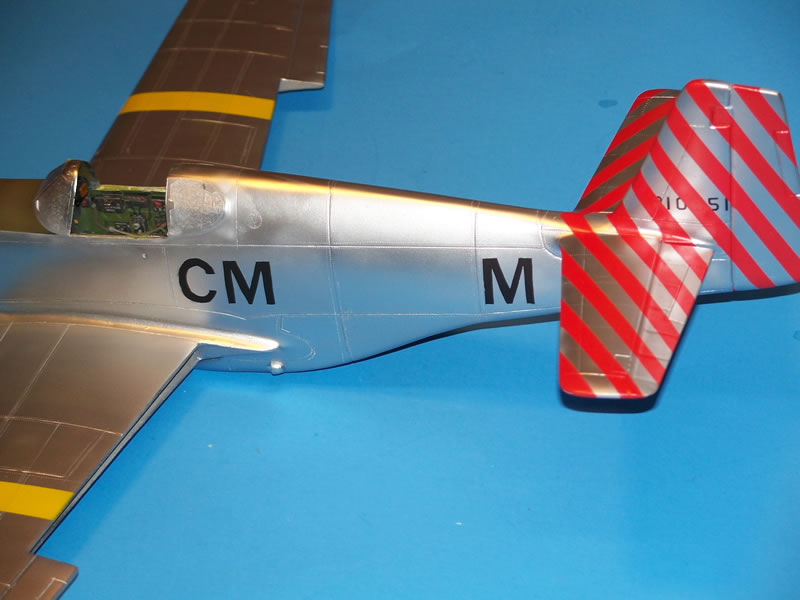
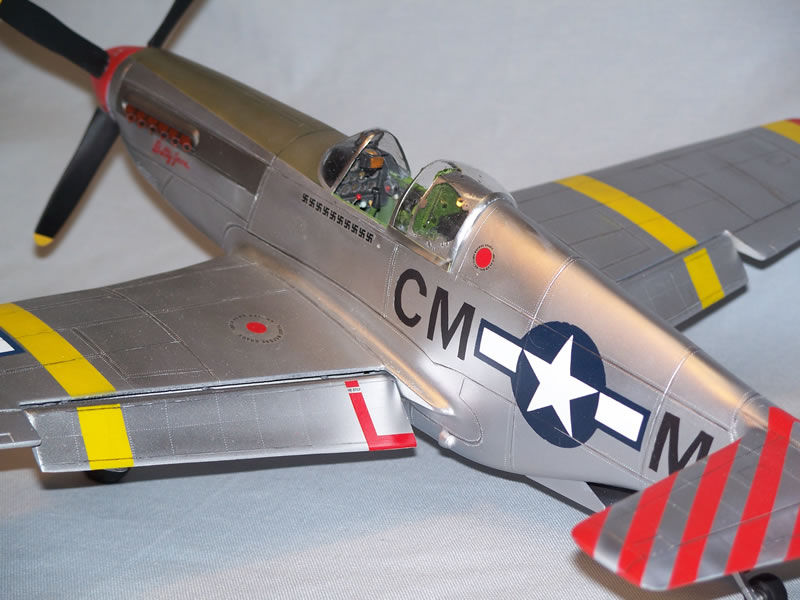
- Side codes were made with home-made Tamiya tape masks made by tracing copies of letters printed off of the computer
- Tail codes are dry transfers, rubbed on one number at a time, sealed with 2-3 coats of Alclad Klear Kote, and the masked over so as to spray the red tail stripes.
- Flaps were made from sheet plastic, scribed and riveted to spruce them up
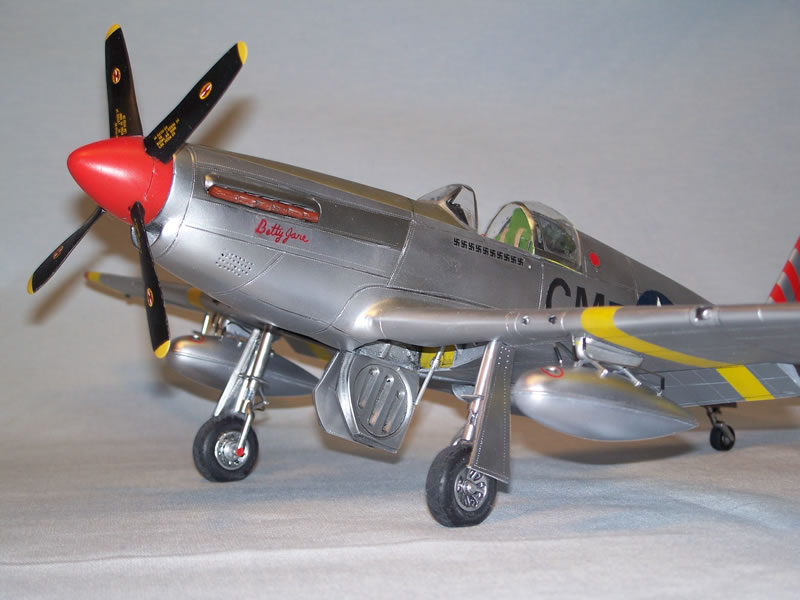
- Made a mold for the Malcom hood and vacked a copy on my old Mattel machine. The result is good enough for my shelf, but not competition! It's framing was done by painting strips of plastic tape with the AK Aluminum, cutting them to length, and then sticking them on the canopy.
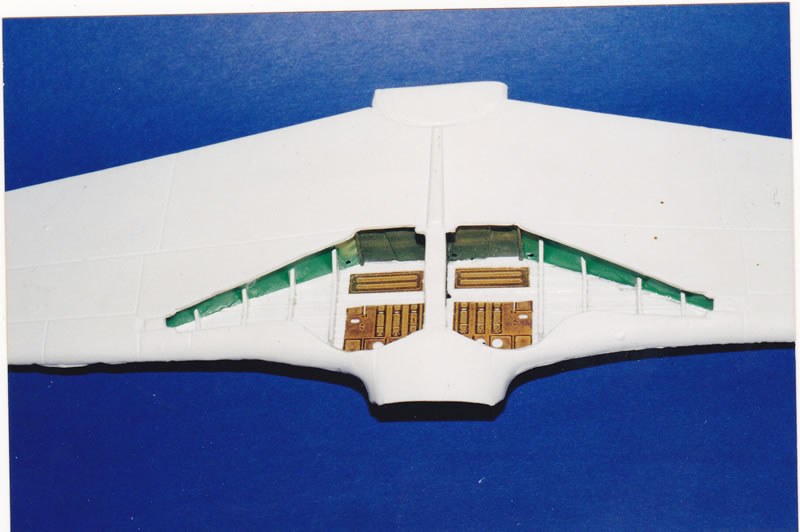
- The IFF lights on the bottom wing were done by making holes the size of my largest Waldron punch, then punching soda can aluminum discs for each hole, and then covering each of those with colored plastic discs, punched from colored file tabs.
- The "Betty Jane" name on the nose was made by writing it on clear decal sheet with a red Sharpie pen (it took 2-3 tracings).
- All other markings are from the spare decal box.
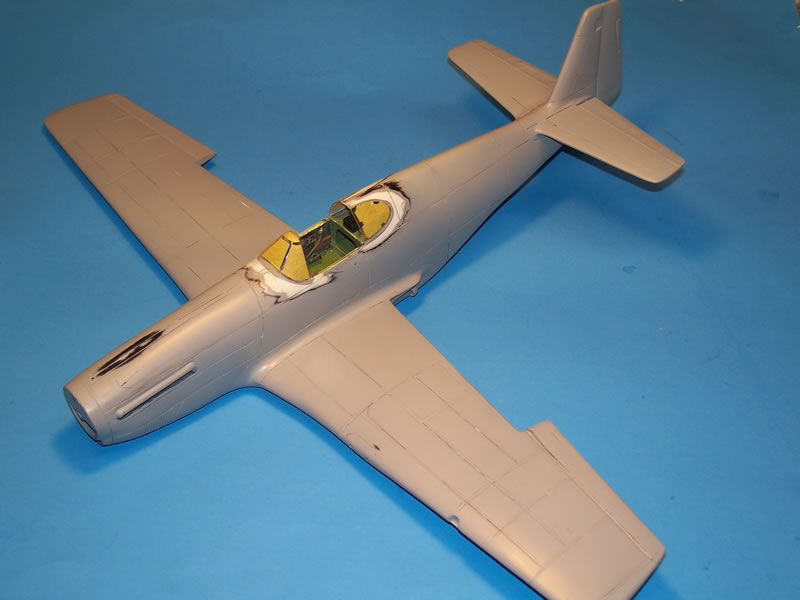
Construction Photos

Finished Photos
All in all, this was a fun, if challenging project. It feels GREAT to finally "git 'er done"!
© Gil Hodges 2016
This article was published on Friday, March 25 2016; Last modified on Friday, March 25 2016