
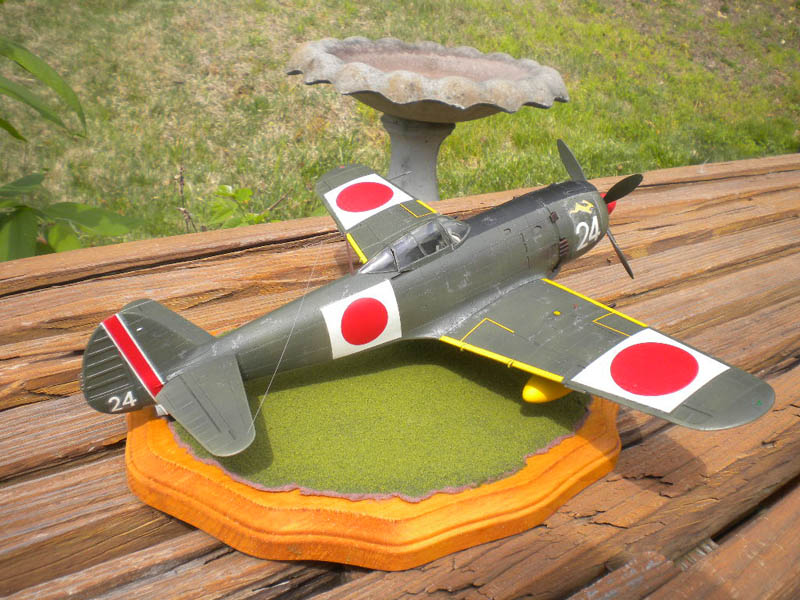
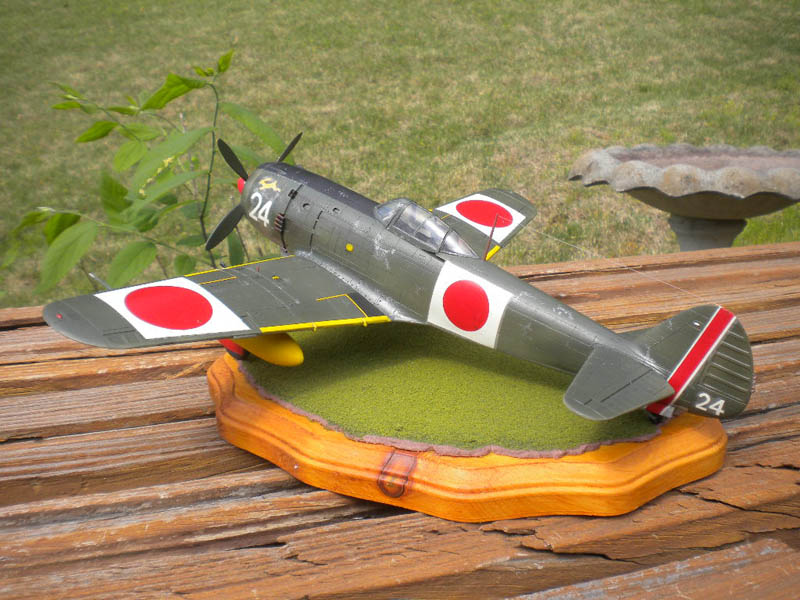
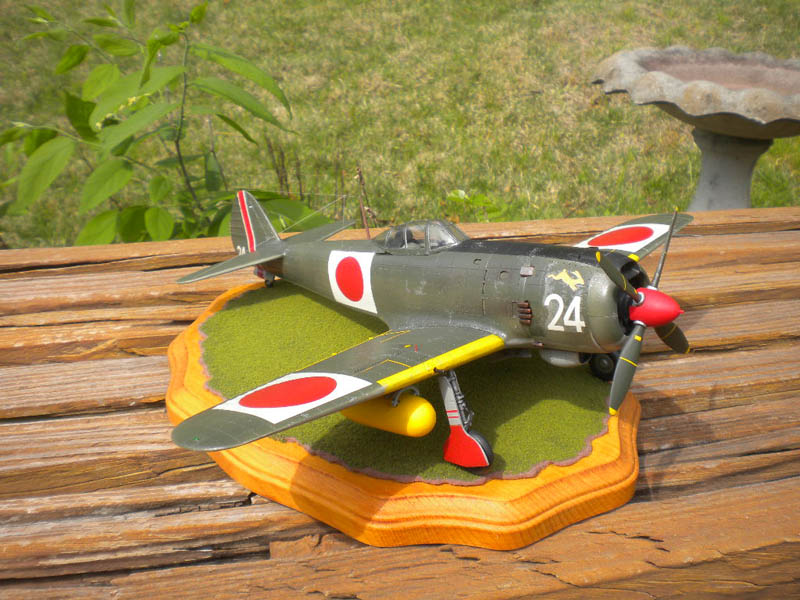
Swallow 1/32 Ki-84 Hayate
By Rick Reinbott
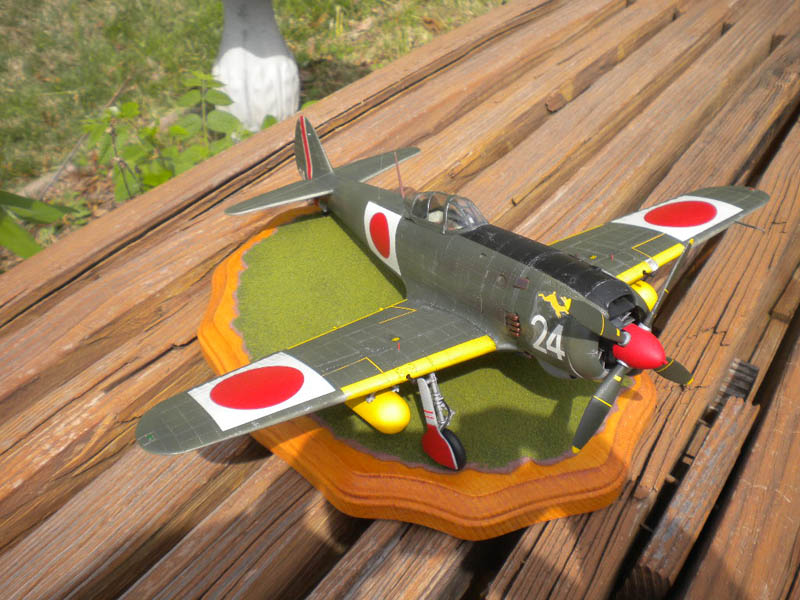
Here’s my Swallow 1/32 Ki-84 Hayate. I got this kit as a freebie at at one of my local model club meetings sometime in early 2017.
Construction
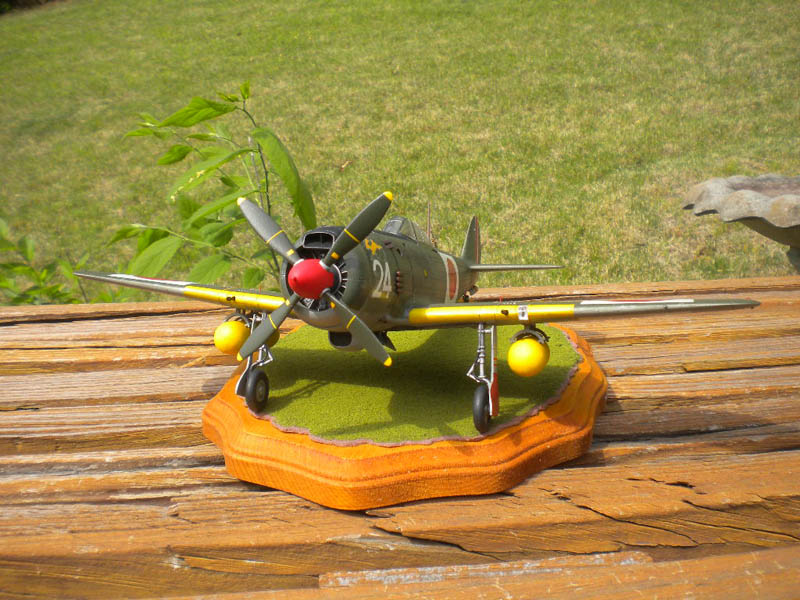
As one would expect from an older kit like this, there were issues with the construction that needed attention. There were some gaps between the lower wing section and fuselage that were addressed with sheet plastic and Tamiya putty. In order to get the two halves of the cowling section to fit around the engine, I had to do quite a bit of filing around the locating tabs followed by dryfitting of the engine to ensure that it remained centered while the gap between the halves was slowly reduced. Finally, there was nothing behind the openings for the wing cannons in order to have something to glue the cannon barrels into, so I used pieces of plastic card glued one on top of the other until the section was high enough that the cannon barrel would be centered in the opening. I then glued a piece of brass wire into the rear of each barrel for a locating tab and turned the barrel with the tab into the back section I had built until a locating hole started to be formed in the plastic. A microdrill was used to finish making the hole.
Detailing
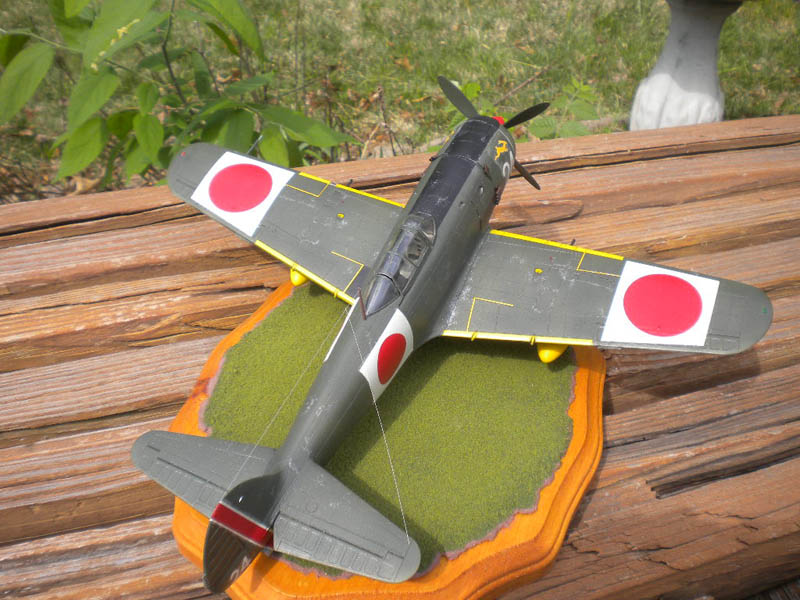
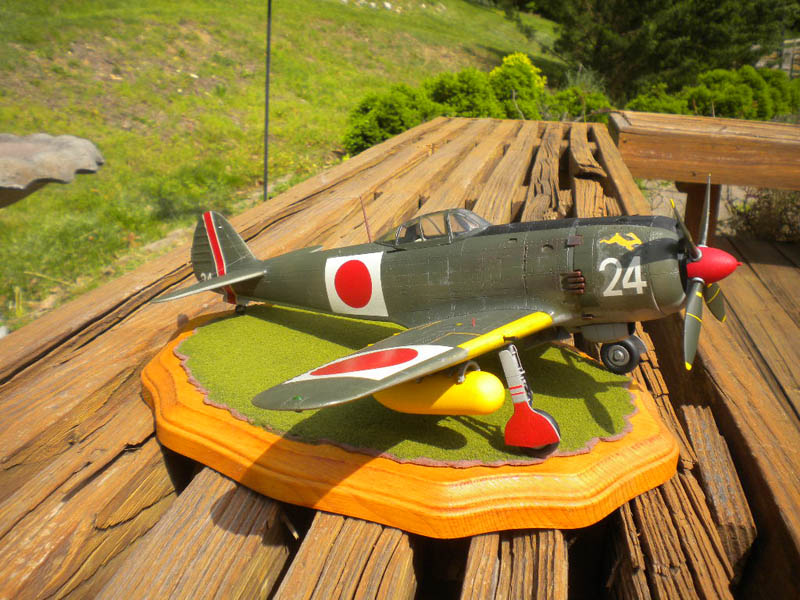
I did some scratch building using materials that I had avalaible. For the cockpit I added some framing with plastic strips, scratch built a crude gunsight by filing and shaping what was already provided in the kit, and used thin, clear plastic sheet for the lenses. I made retaining straps for the rudder pedals and a seat harness with lead foil and used plastic card to scratch build a headrest. Ignition wiring was added to the engine to make it a little busier looking, and the stubs for the cowl machine guns were drilled out. Brass tubing was used to simulate the openings for the machine gun barrels. The wing cannon barrels and exhausts were drilled out as well. I added brake lines for the main landing gear with scrap electrical wire and used my hobby knife to cut where I wanted to remove the covering over the upper and lower wire pieces so that only the middle portion of the covering would remain over that area of the gear legs as shown in references. Brass wire was used for the aerial wires and the landing gear extension indicators on the upper wings.
Painting and Weathering
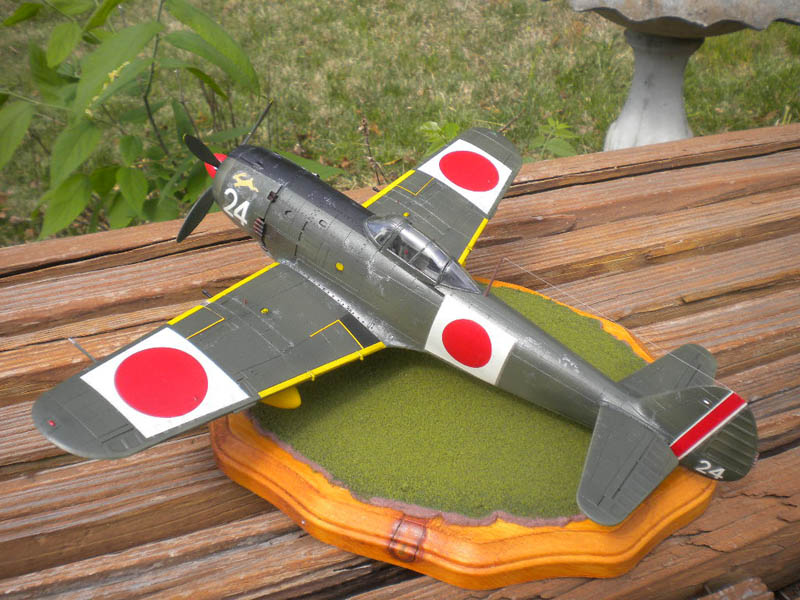
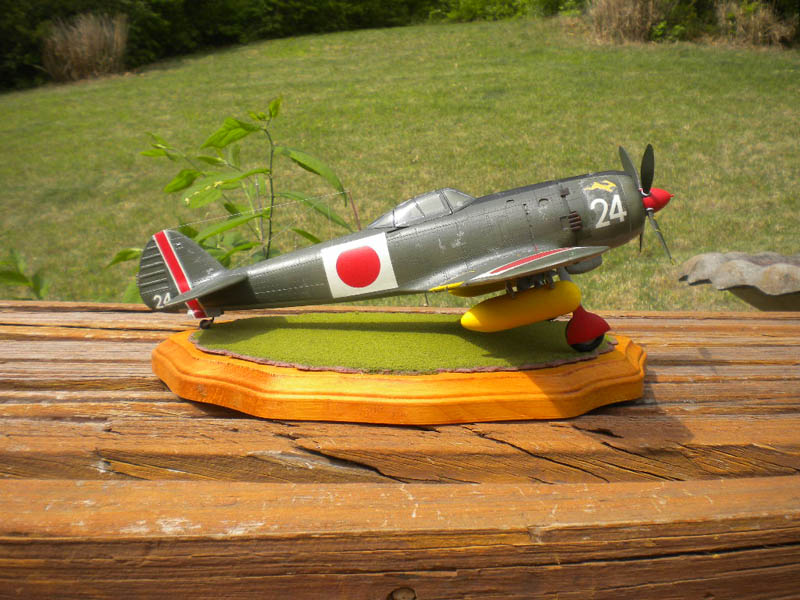
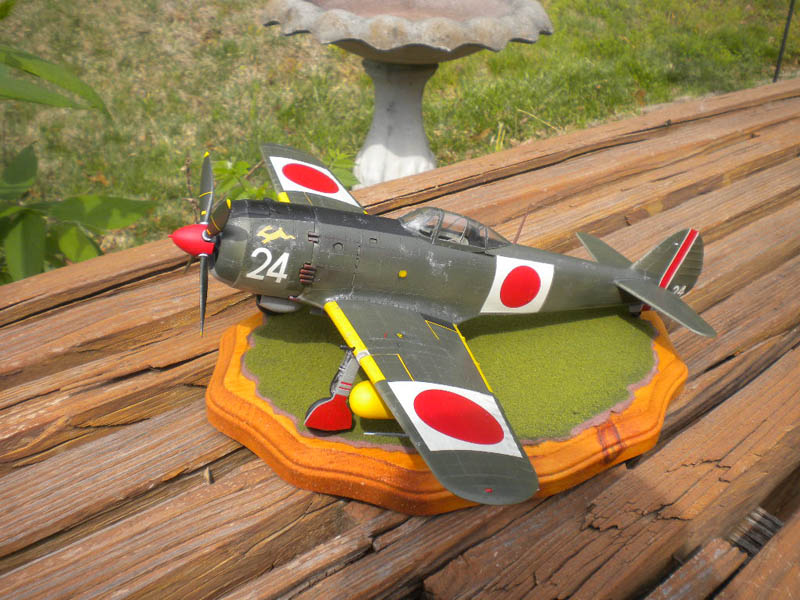
Model Master Enamels were used to paint the airframe with IJA Green used for the topside and Flint Gray for the underside. The cockpit was painted with a combination of Vallejo Pastel Green and Green Gray. PollyScale RLM 82 was used for the propeller. A black oil wash was applied to the entire airframe followed by some chipping applied with a small section of sponge. Exhaust stains were applied with the drybrush technique using Model Master Burnt Umber. I also used oils for some staining around the fuel filler caps.
Decals
I used the kit decals for all the main markings. The red and yellow outlines for the wing fuel tanks and no-walk areas were cut and applied from scrap decals. The model represents a machine for the 520th Special Air Defense Fighter Group.
Reference
Wieliczko LA. Nakajima Ki-84 Hayate (Monographs). Lublin, Poland: Kagero Publications; 2014. 69 p.
© Rick Reinbott 2018
This article was published on Saturday, August 11 2018; Last modified on Saturday, August 11 2018