
Heritage Aviation 1/24 Mosquito
By Graham Marsh
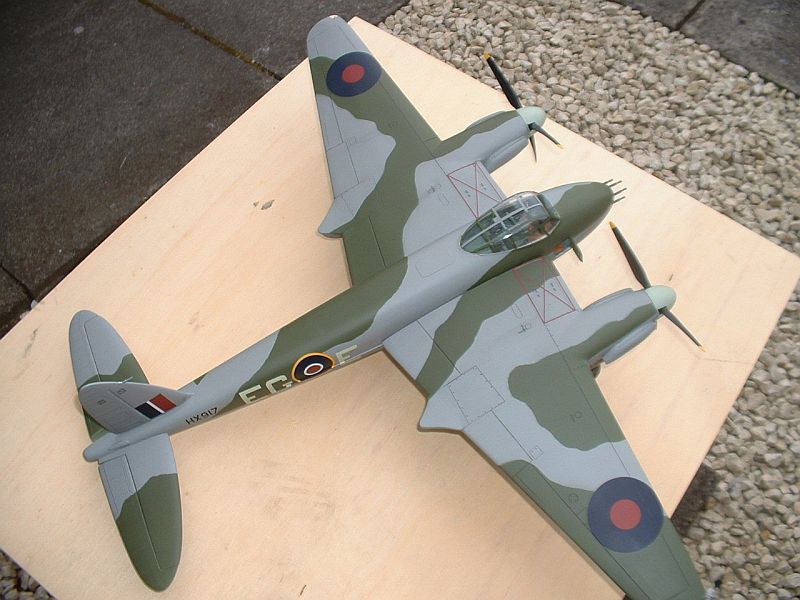
Heritage’s kit comes in a huge box containing the following, airframe on 4 white sturdy plastic vacform sheets, white metal parts for undercarriage and cockpit, a large bag of resin for the cockpit, a merlin engine, props and undercarriage, clear vacform canopy, main wheel rubber tyres, 3 page instruction booklet and a decal sheet for 1 aircraft.
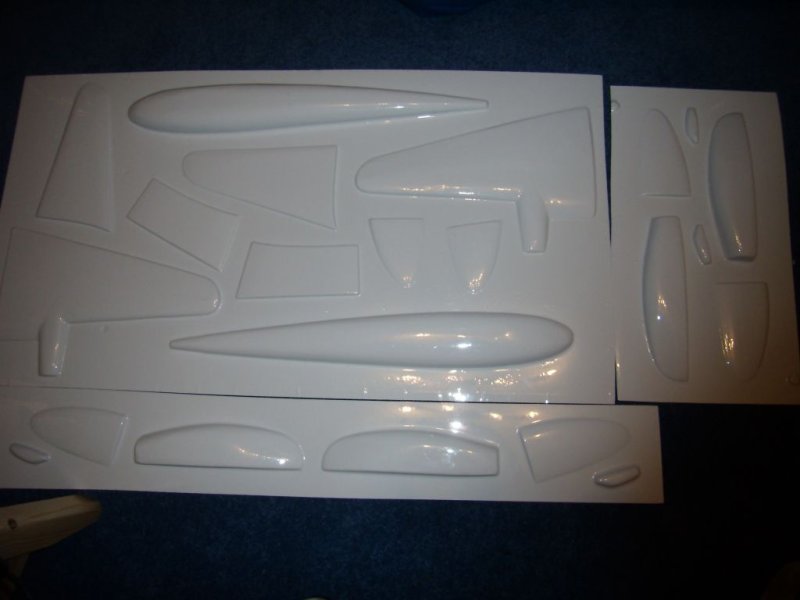
There is no surface detail on the vac parts, the white metal and resin parts will need the usual cleaning up/blocks removed. Plans used were from the SAM Datafile book and the colour template from the Tamiya kit both scaled up to 24th from 48th. I also used the Tamiya kit as a guide and extras such as bomb load, machine guns will have to be sourced from elsewhere.
Construction
After outlining the vac-form parts with a marker, they were carefully cut from the sheet using a scalpel and after taping some rough sandpaper to a sturdy surface, the parts were sanded back to the marker line.
Using a finer grade of sandpaper the parts were sanded down until the line disappears, when you get this far the lip of plastic around the parts starts to lift off so now it’s taken very slowly.
With all the parts sanded, carry out any remedial work needed to get them flush fitting. The canopy from the enlarged Tamiya plan was very close the kit one so this was cut out and stuck onto the fuselage, this was chain drilled and using a scalpel I cut through the holes leaving a gap that was sanded to shape.
Removing the crew door the same way I also opened the bomb doors with a scalpel, there are faint internal panel lines on the fuselage as a guide.
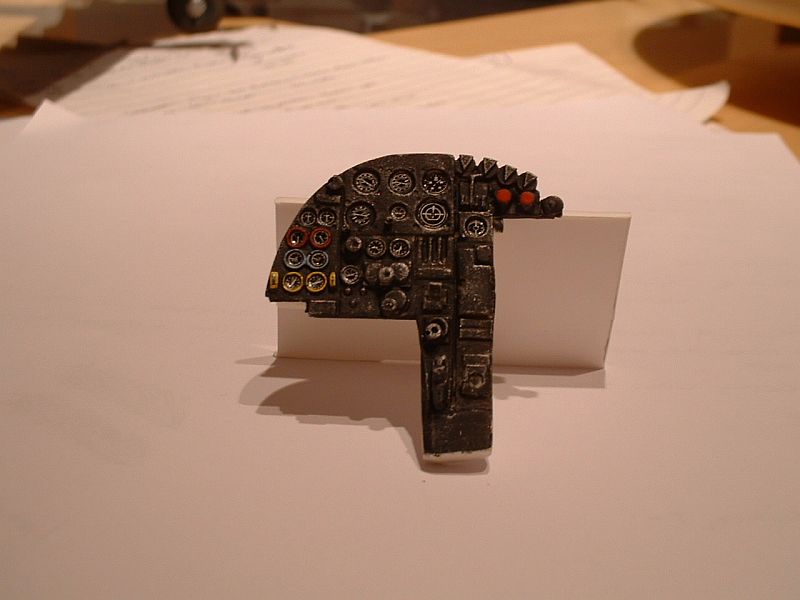
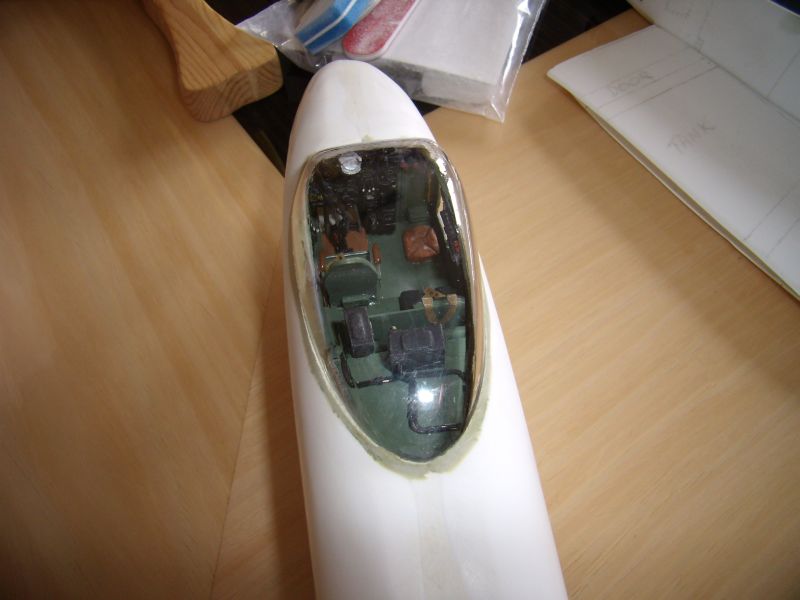
Provided with the kit is the lions share of detail for the cockpit including the seats, instrument panel and radios all cast in resin and white metal, although a template is provided to make up the actual structure from 60 thou styrene sheet. Should one wish to do so, the ample detail provide can be further enhanced using fuse wire, Milliput and Microstrip. Smaller instrument dials came from MDC RAF 32nd scale range and the larger dials from the spares box, also MDC again for the Sutton Harnesses.
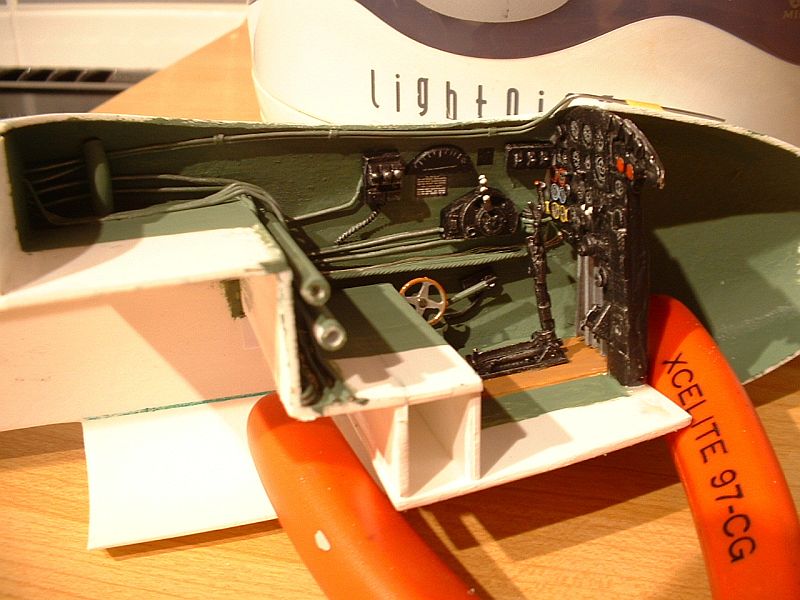
Using a contour gauge I built the bulkheads for the open bomb bay from 60 thou card and the roof from 30 thou, I made the fuel tanks from Milliput and the detail was scratchbuilt copied from the Tamiya kit.
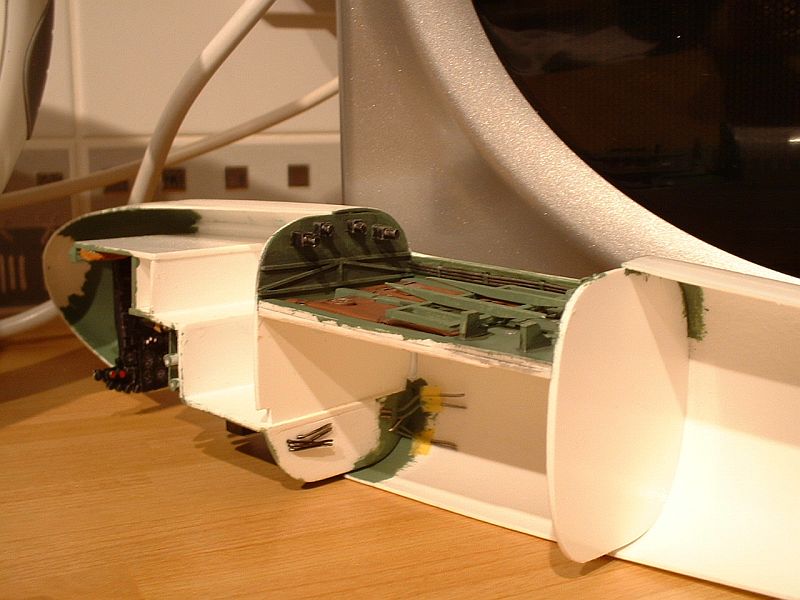
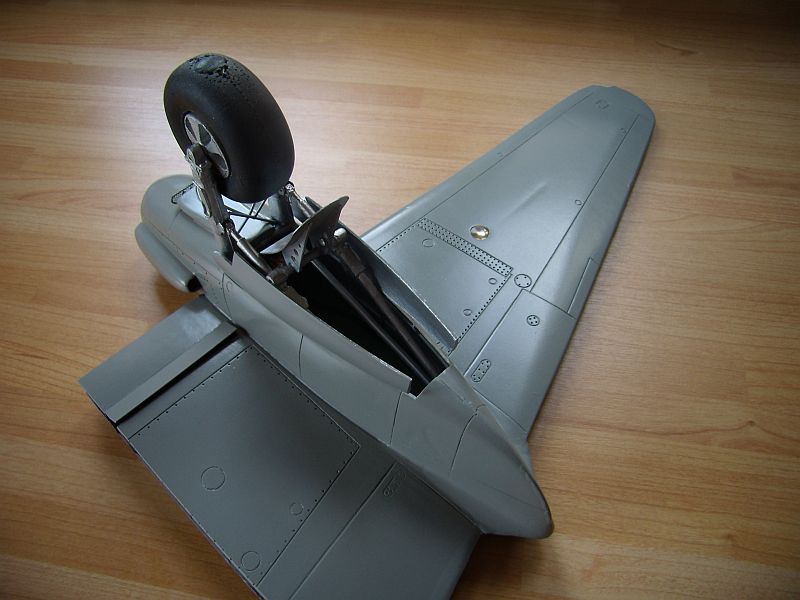
A hole was then cut into the rear of the fuselage for the tailwheel and a 5mm plastic tube was fitted to support the strut and detailed. Thin plastic tabs were fitted along the length of the fuselage and it was glued together using tube cement, taped up and left to dry.
Next it was the tail assembly, it was sanded to shape and the rudder was removed. This was improved by copying the rib detail from the Tamiya plan onto 5 thou plastic sheet, cut out and glued on. It was covered in thin tissue paper soaked with liquid glue and left to set, excess tissue was removed and you have a fabric covered rudder.
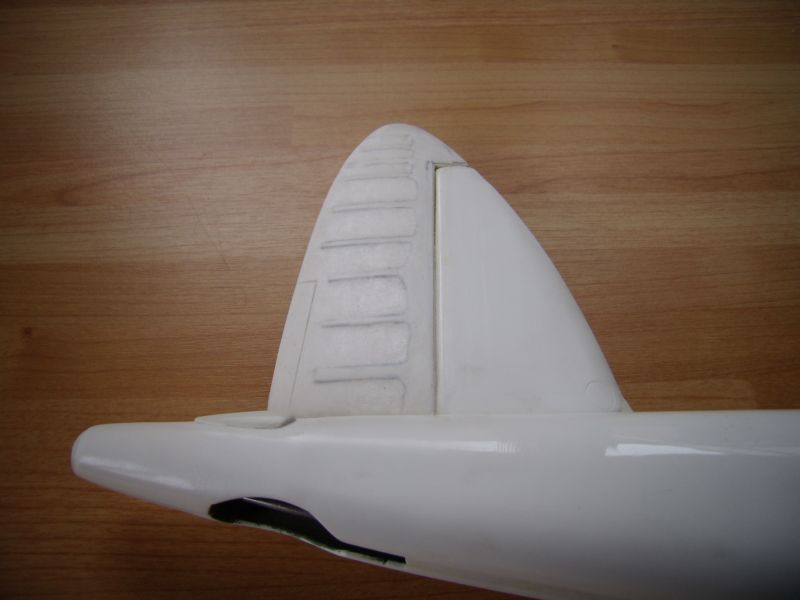
Elevators were separated and using a 0.3mm drill, rivet detail was added to these areas after the positions had been marked out in pencil by twisting the drill into the plastic but not going the whole way through.
Smaller assemblies such as wheel, propeller hubs and blades were removed from their resin blocks and cleaned up, the vacform spinners were removed from the backing sheet and openings cut for the blades. Using the propellers from the Tamiya kit as a guide the blades were glued into the hubs using 5 min epoxy and lined up by eye, when dry the spinners were added. The wheel hubs were glued together and the rubber tyres fitted.
Nacelles were tackled next and sanded to shape, undercarriage doors removed, surface detail added and the wheel wells were boxed in using 30 thou plastic sheet. Holes were cut where the exhausts would be and the stacks from the 32nd Revell Mosquito were added. Resin intakes were then glued into place and rib detail added in the wheel wells using plastic strip and various thickness of solder was used for piping. One upper and two lower parts make up the wing these were scribed and riveted and the nacelle was fitted to the upper half, then the lower outer wing was fitted and left to dry. Finally the inner wing had a hole cut for the radiator door and then plastic strip was used to box it in, the front face of the radiator was made from plastic strip and Aber mesh this was painted and the inner wing section was fitted.
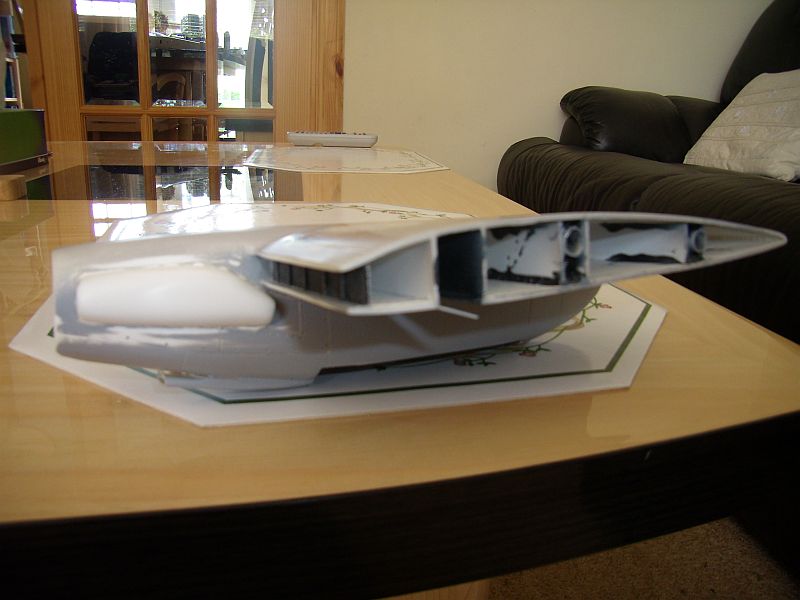
I decided that the wings could be removed so 5mm aluminium tubing was ran as far as it would go into the wing behind the radiator and another piece was fitted at the trailing edge but stopping against the engine. These were boxed in with plastic strip and the void filled with epoxy. Running a slightly smaller diameter length of aluminium tubing through the fuselage these were inserted into the wing tubing and adjusted until they were aligned and left to dry.
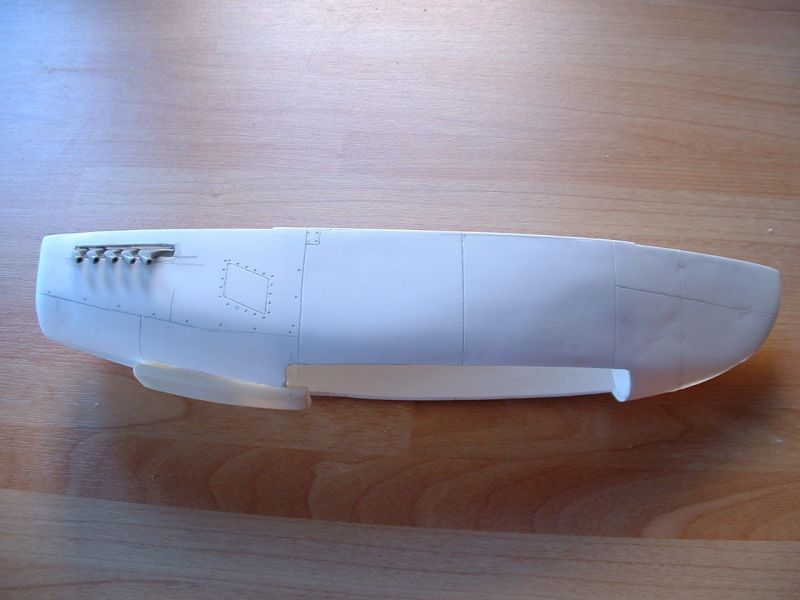
Work commenced on the undercarriage, the oil tank was made from Milliput and plastic rod was used for the crossbeams. Holes were drilled into the bottom of the gear legs and the wheels hubs these were held in place with brass rod. The canopy was cut to shape and blended in using filler, holes were drilled into the nose for the machine guns and gun camera. Using some 3mm brass rod and rolled sandpaper the blast tubes were sanded into the bottom of the nose and plastic tube added as the 20mm cannons, this area was scribed and riveted as per the plans. Using some chunks cut from a sheet of 5mm Perspex and small hole was drilled and coloured with Tamiya clear red/green, super glued to the wing and sanded to shape also a hole was drilled into each lower wing for the landing light.

Painting
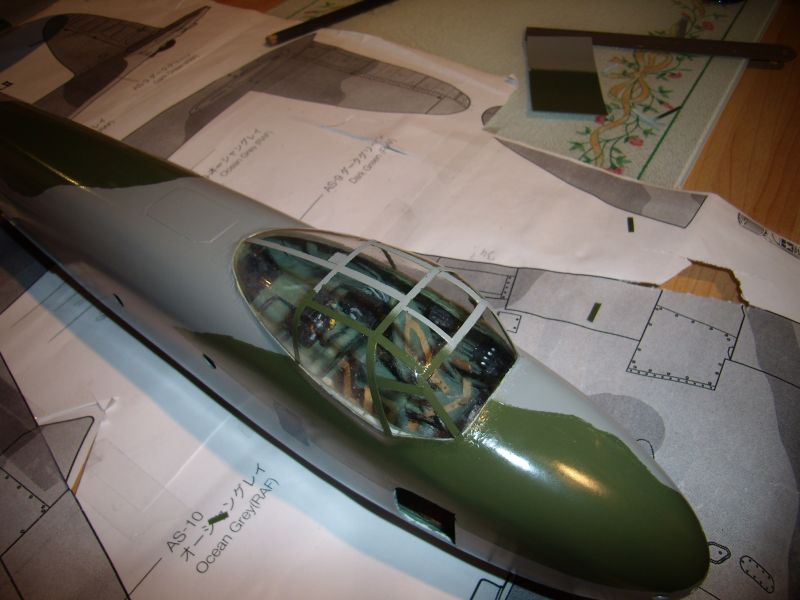
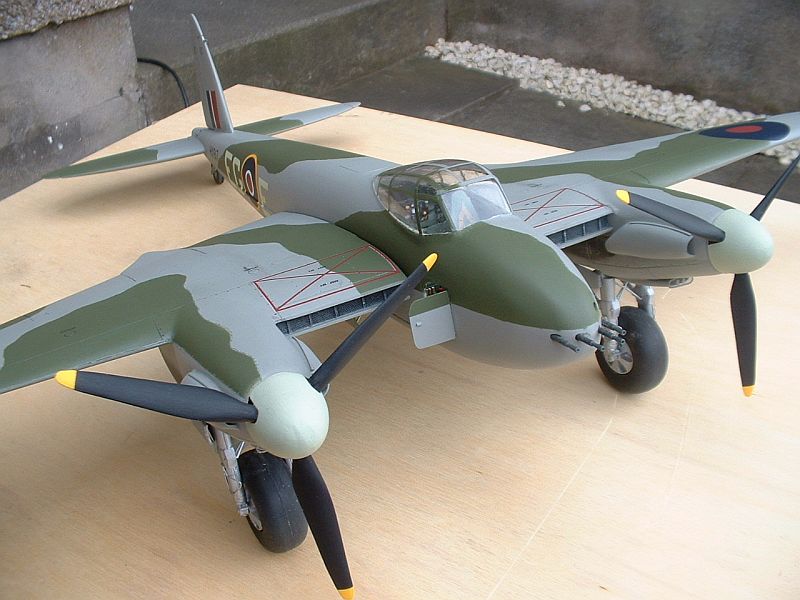
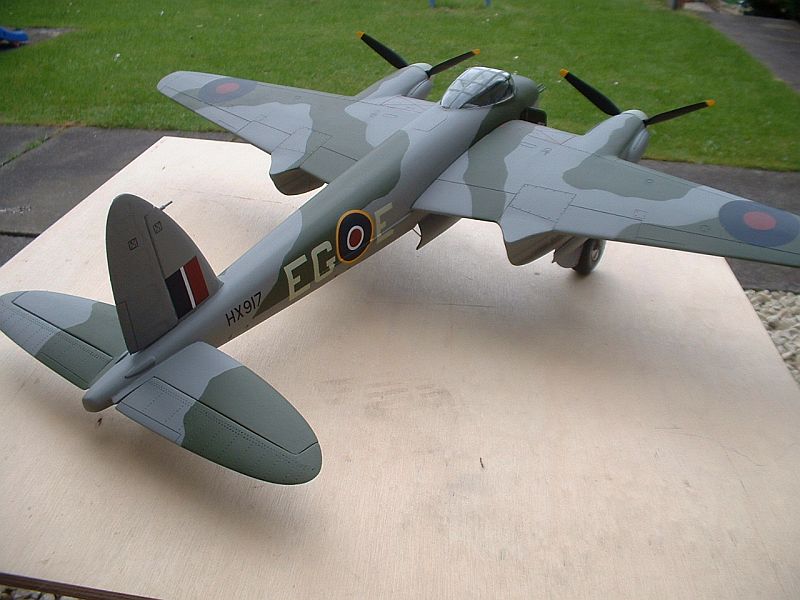
Now that the basic airframe is complete it was time for some colour, the canopy and open areas were masked off, using Tamiya spray cans the camouflage was added. Tamiya AS-9 RAF dark green and AS-11 RAF medium sea grey were used. I also sprayed these onto clear decal sheet above interior green as this would be used for the cockpit framing. Once the model was coated with a couple of coats of Klear the decals were added, they are very thin and settled down without any help. Only the red crossed area decal above the radiators was slightly out of register with some white showing but the rest were fine.
A couple of more coats of Klear and it was time to add the final assemblies, props, main/tail wheels, doors, scratch-built mud flaps and ice guards. The machine guns were kindly donated from the Trumpeter Spitfire kit, the 500lb came from Ultracast and the landing lights were MV lenses.
Panel lines were highlighted using a wash of thinned black enamel, the entire model was matted down using Testors dullcoat.
© Graham Marsh 2007
This article was published on Wednesday, July 20 2011; Last modified on Saturday, May 14 2016