
Zactomodels | F-16 Intake Correction Set for the Academy 1/32 Kit
Reviewed by Mike Bhangu

The Academy F-16CG/CJ kit has been around for several years and many modelers know of its pitfalls. Though several items have been addressed by the aftermarket industry (cockpit, exhaust, wheel well), no one has focused on its dreaded intake issues...that is until now. Chris Wilson of Zactomodels recently released a F-16C NSI small mouth intake for the Academy F-16 kit, and soon to follow with a large mouth intake for the same subject. It will fit just about every Academy Viper kit, as I have tried it on three different variants produced by them, but for the purpose of the review I have used their original release F-16.
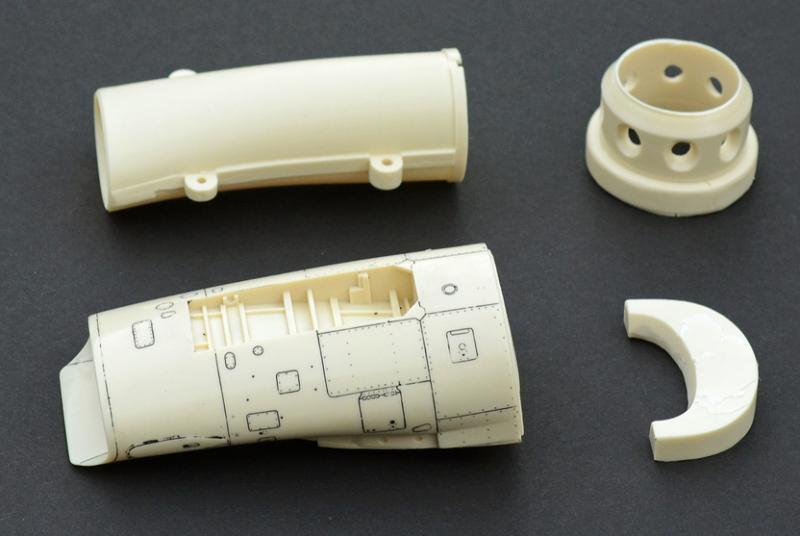
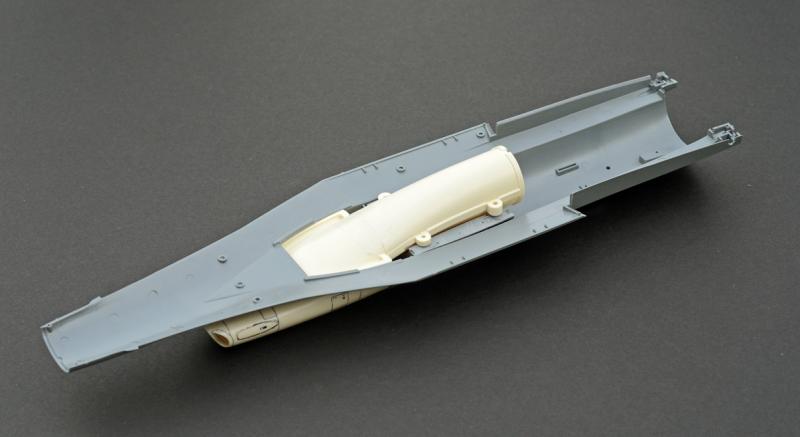
Upon receiving a well-packed box you will find a typical high quality Zactomodel resin set. The resin set itself was flawless and smooth like a babies behind. One-page instructions clearly show the assembly steps for those who might like to read...instructions, although it's a pretty explanatory correction set.
Major parts have molding tabs that will need to be removed before installation and they only take a few passes with a modeling razor saw. On my parts I used JLC004 Micro Saw. This saw cuts through resin like a knife through a butter.
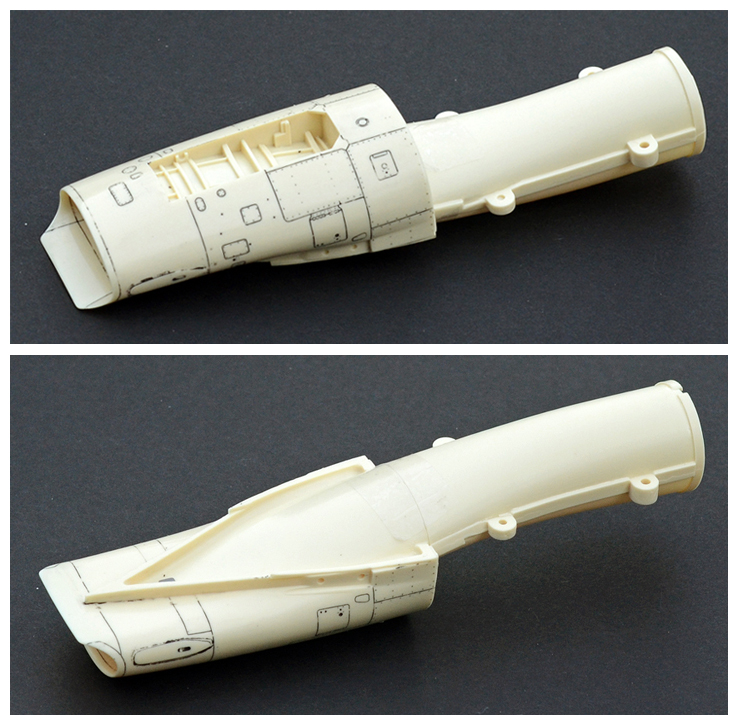
The assembly of the two parts is so simple that I can do with my eyes closed....with one hand tied behind my back...and jumping on one foot...well, you got the picture...it's simple!
I did not glue the parts together for I'm not building this kit at the moment. So, the parts are held together by Scotch tape. I learned my lesson last time with that blue tape...makes the photos look black.
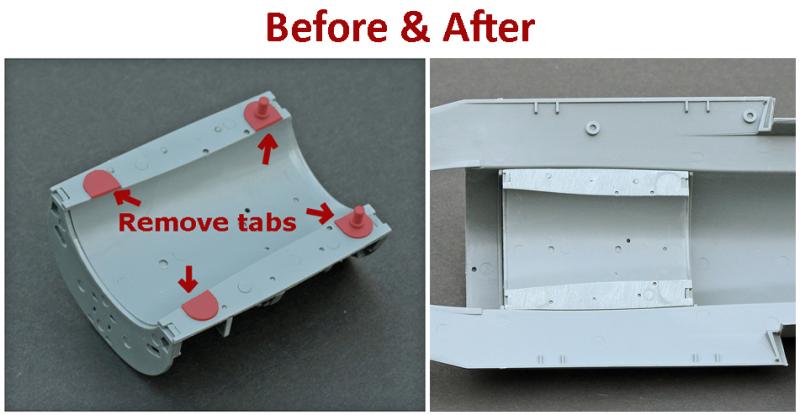
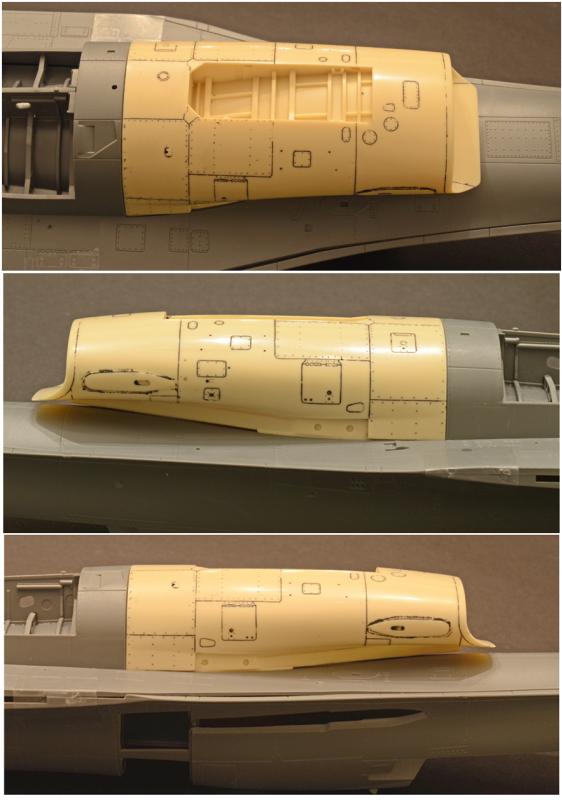
The Academy kit will require minor preparation work and it's completely covered in the instruction sheet. I followed the guided step and removed the tabs on the back side of the wheel well that hold the kit intake in place. Again, very simple step and will not take much time.
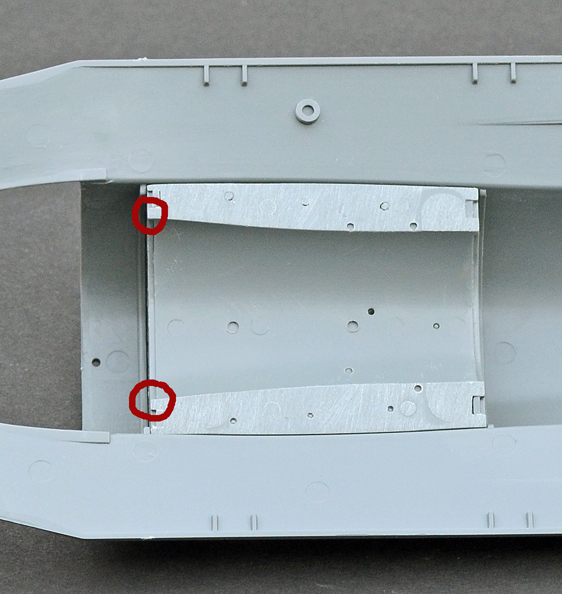
A minor modification I had to do that is not mention in the instruction, that's because it's probably my fault, I had to shave some plastic of the end tips on the inside of wheel well spine...the side facing forward. Afterward it made for a smooth fit.
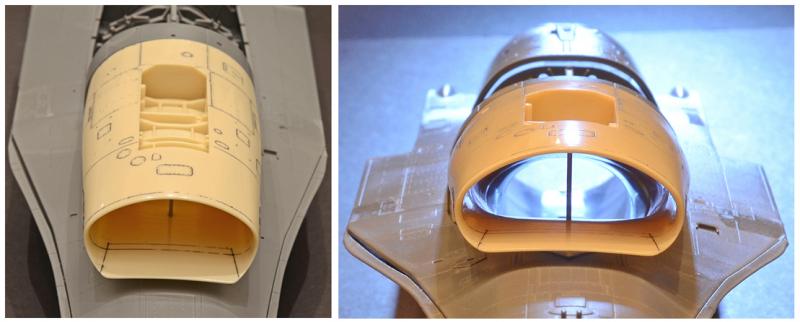
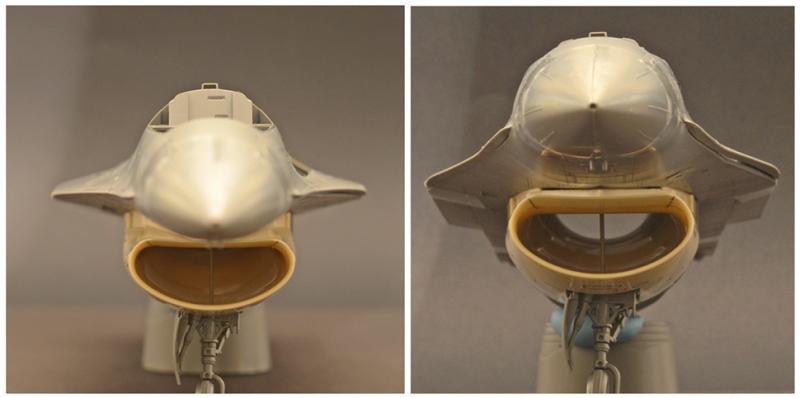
And now, the intake is in its place:
The fit is superb. Again, careful and precise craftsmanship from Zactoman pays off in the final result. I do remind you again for this review I did not use any glue and so do keep in mind that minor gap in my next photos will disappear after the superglue has been applied to the intake body.
Front shot to show inside of the intake:
Conclusion
In conclusion, this is a great set and will benefit every modeler who has this kit. So, it's time to pull these kits out of your basements, storage sheds, or attics and start building. Will the kit be 100% accurate after this resin set? Hell no, but for a change it will be nice to give the underdog a chance to fight. It's simple and straight forward, and the price is right.
© Mike Bhangu 2014
This review was published on Wednesday, August 06 2014; Last modified on Tuesday, April 12 2016