
How To Build An FGR in 1/32 Scale - Part 4: Building the Model
By Frank Mitchell
After taking a break for a few months, I finally got around to finishing the FGR2 that I started some months ago (See Part 1, Part 2 and Part 3 on LSP).
As usual for me, the photos will show how things progressed. I should also remind the reader that this particular model is composed of bits and pieces of old, scrap, or donated kit parts, so there are a few strange steps that most would not have to follow (but on the other hand, many things I do are a bit strange).
Throughout, I have assumed that the steps discussed in the previous three installments of this epic have been carried out.
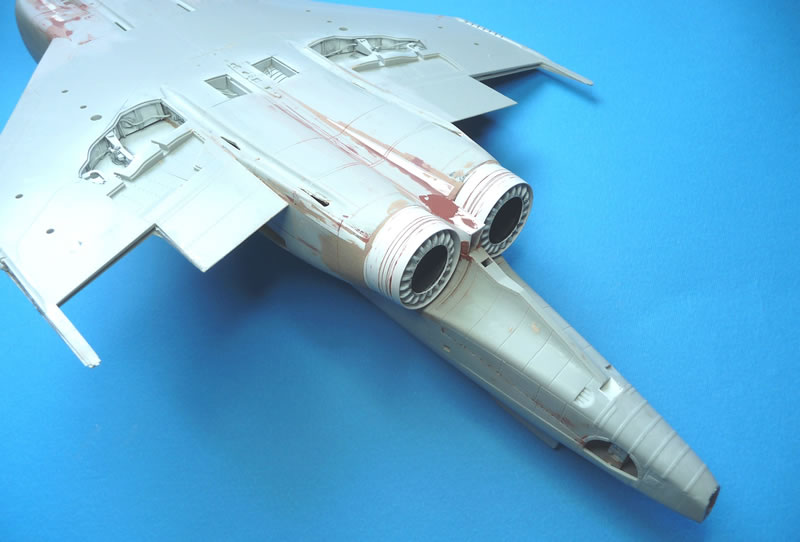
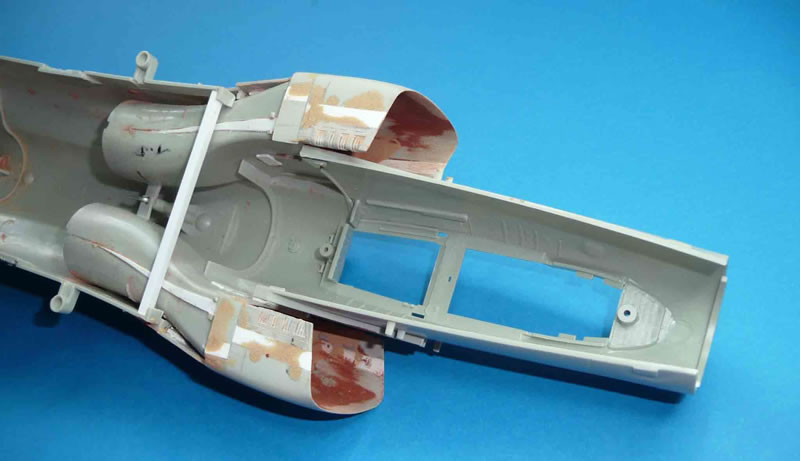
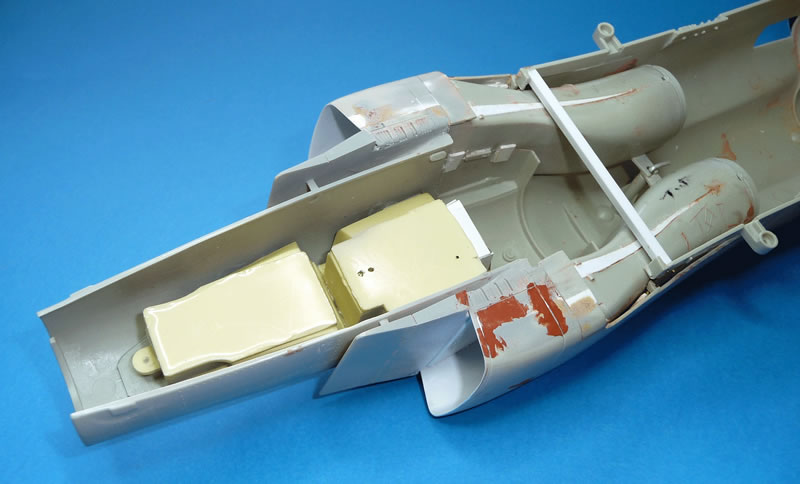
The assembly process is pretty much as with any F-4, just with a bunch more sanding, filling, priming, etc. (for which I mostly used filled epoxy; those are the brownish-colored patches). The major deviations will be touched on as we go. There are also a lot of little details that I did not explain just because I suspect that anyone who is interested enough to tackle this project would probably already know about them.
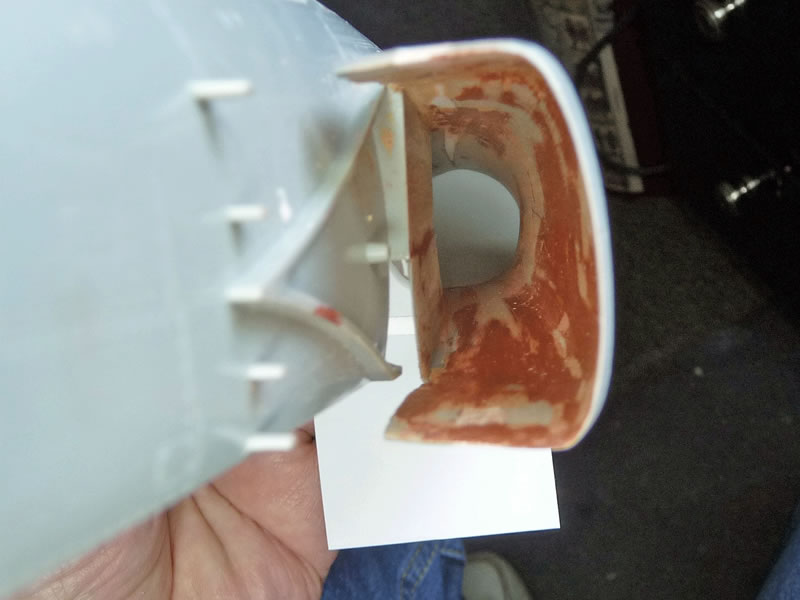
The first (and most annoying) part of the build is, of course, the intakes. Obviously, there are no seamless intakes, so one must just suck it up and use whatever tricks you have to get the job done. At least the intakes are wider so access is (somewhat) better.
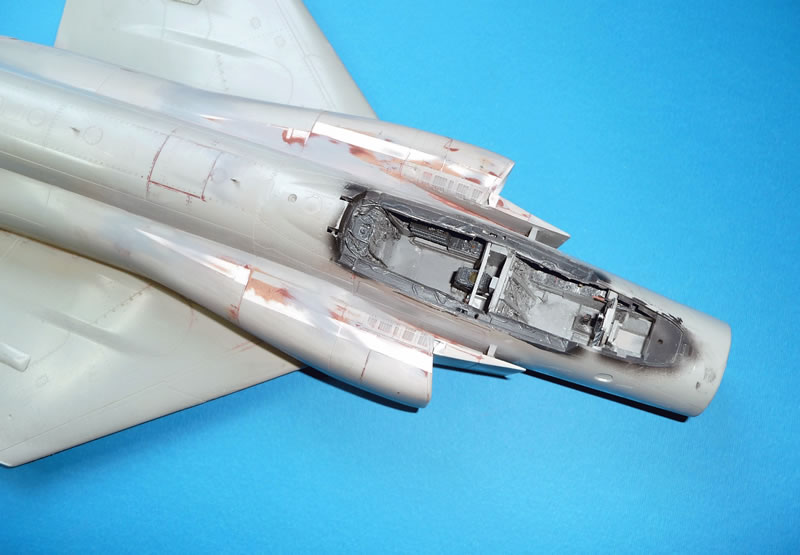
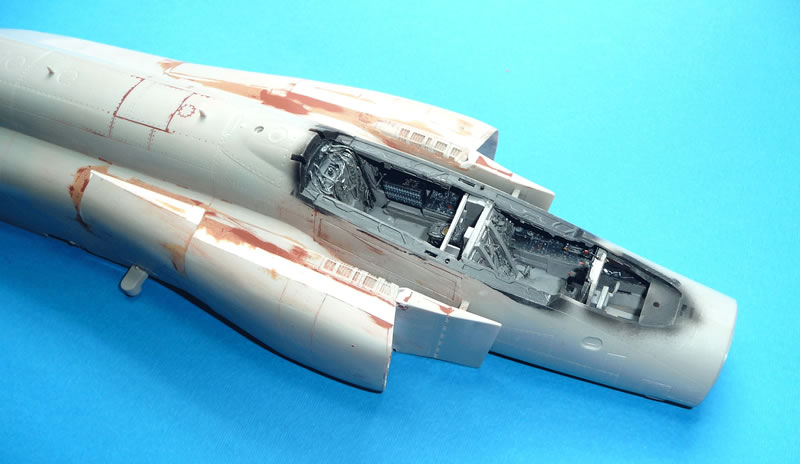
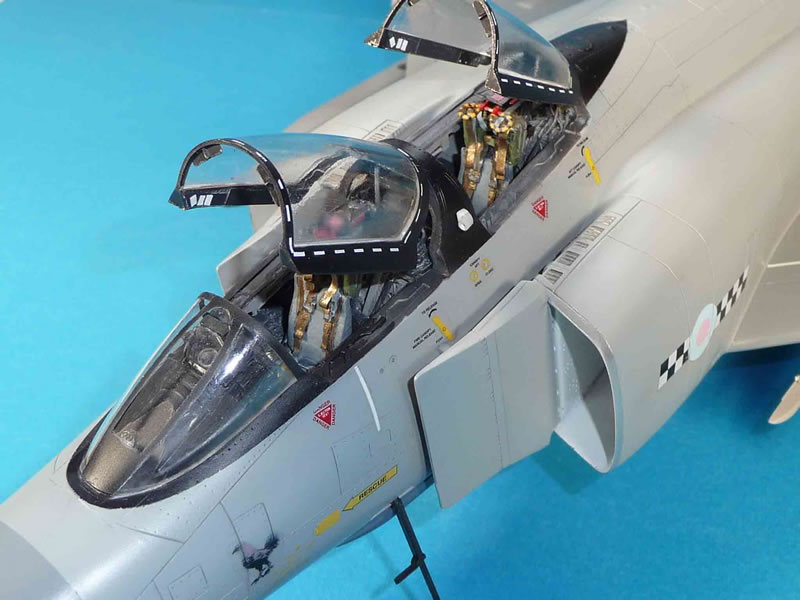
The cockpit needs a fair amount of work to get to a FGR2. As a starting point, I used an Avionics set of tubs, some AMS seats, some photoetch, etc.
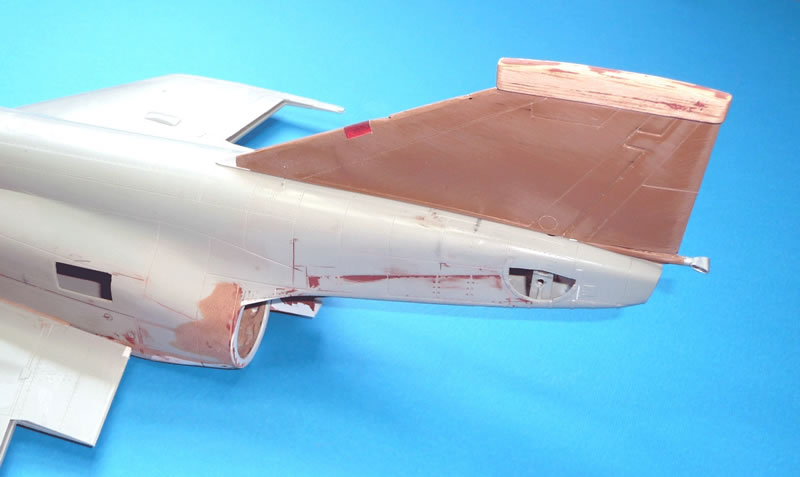
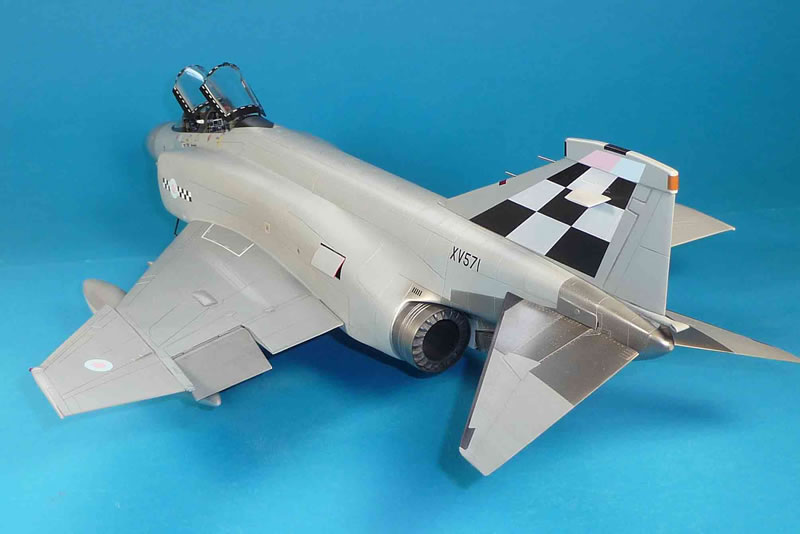
One part that I did not have was a Tamiya vertical tail, but I did have an old Revell kit (the original brown one, from the '70s). Since it turned out to be a close match for the Tamiya part, I just had to cut it off that kit and modify the leading edge intake, the fuel dump, and the red leading edge light. I also, for this particular aircraft, had to add the fin-top radar warning pod, but that would have been true with the Tamiya kit as well.
The auxiliary intakes on the rear fuselage sides also had to be added, along with the auxiliary exhaust-port holes, some antennas, etc.
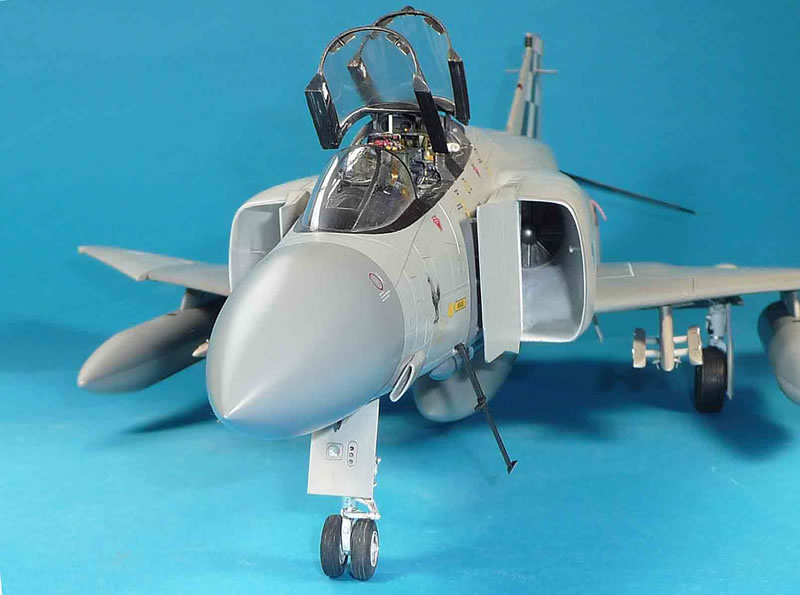
The nose radome, which started as an F-4D part, had to have the bottom opening filled in, but if one is starting from a Navy/Marine kit, that would be unnecessary.
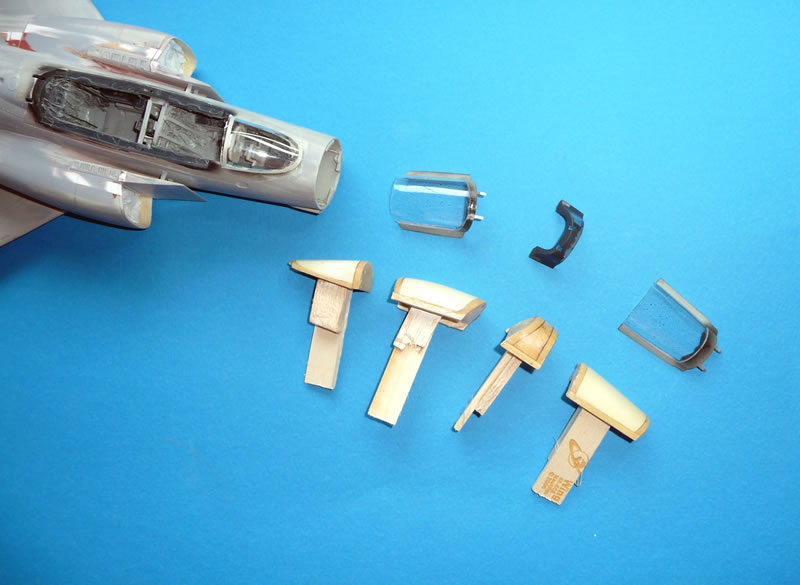
Several F-4s ago, I got tired of dealing with the prominent sprue-attachment marks on the clear canopies and windscreens, so I made up set of molds for all the clear parts, which are heat-and-smashed from .030 clear vinyl sheet. These do take a while to sand and fit (particularly the center section, which supports the front canopy), but no system is perfect.
The inner pylons were modified to the "straight" leading edge used by the British.
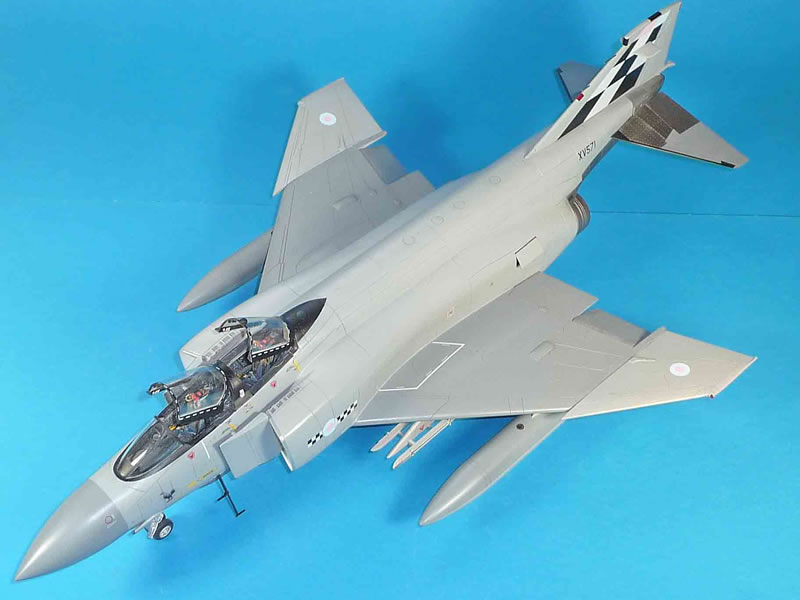
I used Gunze paints with a final coat of Floquil Flat Finish. As mentioned previously, I had some decals left over from the Wild Hare kit, so, after finding a picture of the aircraft on http://nitpics.nl, I used the markings of 43 Squadron's Commanding Officer's bird, as it appeared in 1986 (I think).

For anyone using the Meteor FGR decals that were a part of the conversion: Be aware that these are probably the thinnest and most delicate decals I have ever used, and they also stick instantaneously anywhere they are placed. Furthermore, if they fold, there is no getting them straightened out again. I have found that saliva is the best and cheapest setting solution there is, so use lots of it, and be very careful when sliding them off the carrier sheet. You have been warned.
This whole project was fun to do, but there was also, for me, a desire to reach a goal of doing an accurate 1/32 scale FGR2. The first attempt was in 2005, but that one had an incorrect landing gear tread. That was fixed in the Wild Hare conversion set, but since that is no longer available, I wanted to see if I could do a "straight" conversion using the Tamiya kit, and that led to the model you see here.
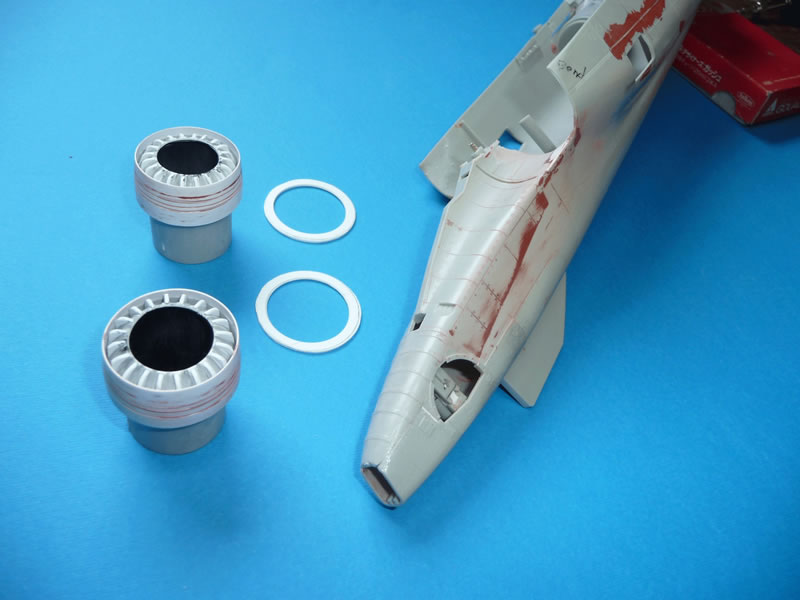
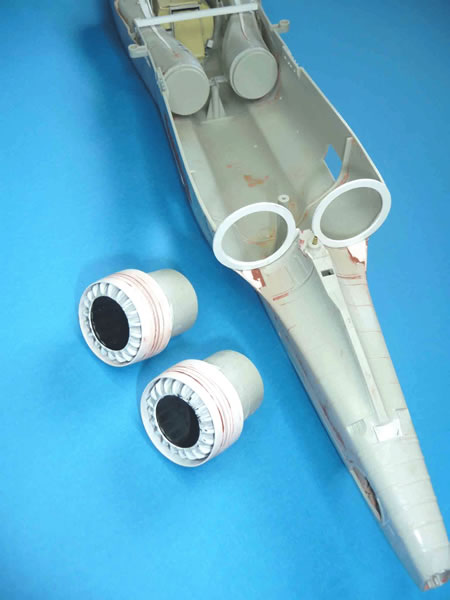
Overall, this isn't the easiest project in the world, but if one wants a 32nd FGR2, this is about the only way to get one (at least for the immediate future). The worst part is obviously the burner cans, but with a little thought, they can be produced, albeit not without some pain and tedium.
Final Note: I have combined all four parts of this epic into one Zip file, so if anyone would like to have that (or just ask questions), feel free to contact me through LSP.
If anyone has questions, please email me.
© Frank Mitchell 2005
This article was published on Wednesday, July 20 2011; Last modified on Saturday, May 14 2016