
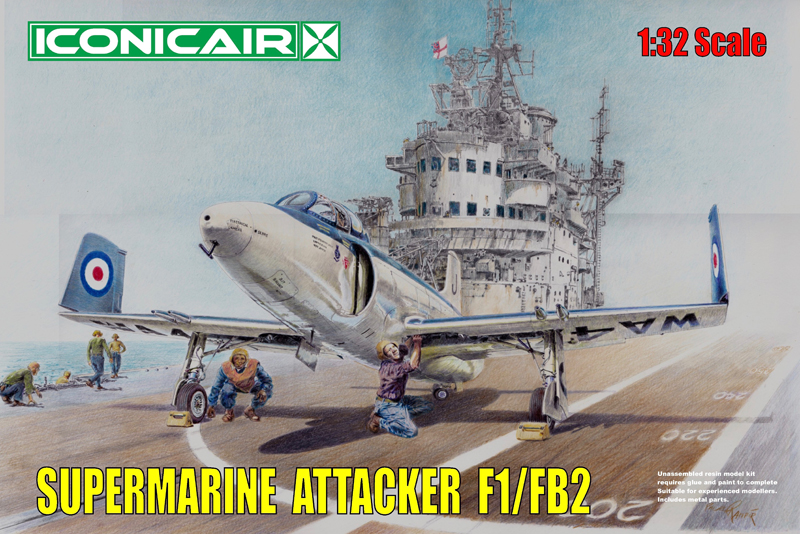
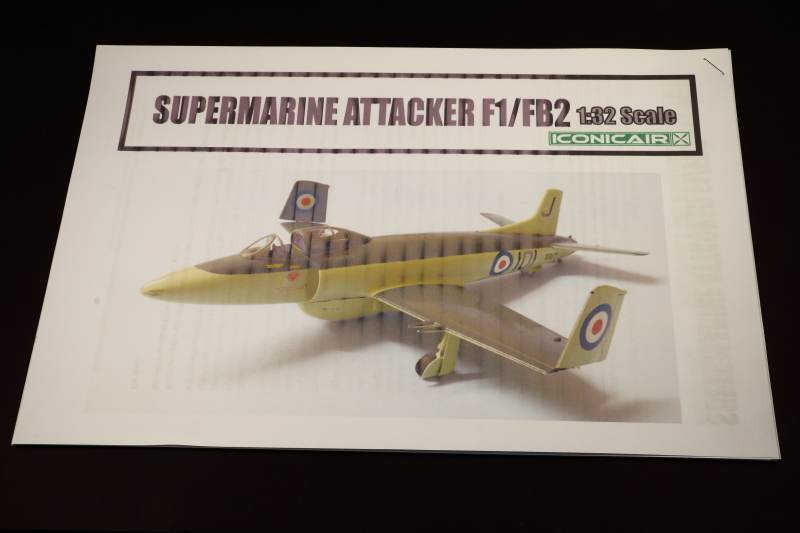
Iconicair | ICGF007: Supermarine Attacker F1/FB2
Reviewed by Iain Ogilvie
Design and development
A British single-seat naval jet fighter built by Supermarine for the Royal Navy's Fleet Air Arm (FAA), the Supermarine Attacker has the distinction of being the first jet fighter to enter operational service with the Fleet Air Arm. Like most other first-generation jet fighters, it had a short service life due to the rapid developments in military aviation during the 1950s.
Developed from a Royal Air Force (RAF) jet fighter project, under Air Ministry Specification E.10 of 1944 , the Attacker used the laminar flow straight-wings of the Supermarine Spiteful, a piston-engined fighter intended to replace the Supermarine Spitfire - the Attacker originally being referred to as the "Jet Spiteful".
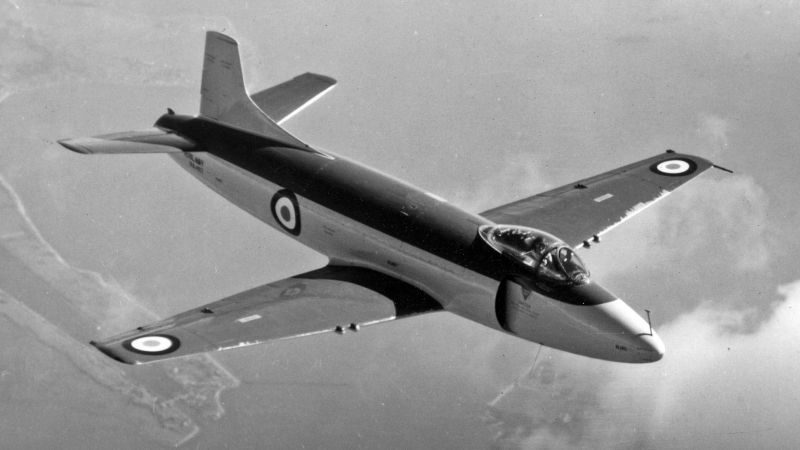
The Attacker suffered from deficiencies which led to it quickly being superseded; one area being that the aircraft retained the Spiteful's tail-wheel type undercarriage (due to the extent of the re-tooling required to alter the Spiteful's wing), rather than a nose-wheel undercarriage, thus making the Attacker more difficult to land on aircraft carriers. This same tail-down attitude meant that when operating from grass airfields the jet exhaust would create a long furrow in the ground that "three men could lie down in". Also the new wing was apparently aerodynamically inferior to the original Spitfire elliptic one, with lower critical Mach number, leading to someone quipping that "they rather should have left the Spitfire wing on the thing".
The first navalised prototype flew on 17 June 1947, with production orders for the FAA were placed in November 1949. The first production aircraft to take to the skies was the F.1 variant in 1950, entering service with the FAA in August 1951 with the first squadron being 800 Naval Air Squadron. The F.1's armament consisted of four 20 mm (.79 in) Hispano Mk. V cannons, with 125 rounds of ammunition per gun. It was powered by a single Rolls-Royce Nene Mk. 101 turbojet engine.
Operational history
The Attacker had a brief career with the Fleet Air Arm, not seeing any action during its time with the FAA and being taken out of first-line service in 1954. It remained in service with the Royal Naval Volunteer Reserve (RNVR) for a little while longer, being taken out of service in early 1957. The Attacker was replaced in the front line squadrons by the later and more capable Hawker Sea Hawk and de Havilland Sea Venom.
In the early 1950s, when the newly formed Royal Pakistan Air Force (RPAF; later Pakistan Air Force) sought to acquire jet fighters, a lack of funds, combined with pressure from British suppliers persuaded it to acquire the Supermarine Attacker "P" (Type 538), a "de-navalised" variant of the type used by the FAA.
Variants
Type 398 Attacker F.1. Production Nene 3 powered variant, 63 ordered on 29 October 1948 and built at South Marston, 50 built as F1 as two were cancelled and the last 11 built as FB.1s. First flight of production F.1 was on 4 April 1950.[12] Attacker FB.1
Attacker FB.1. The last 11 production F.1s were built as FB.1s plus an additional aircraft ordered on 27 March 1951 to replace one aircraft destroyed on a production test flight. The FB.1 had been modified from the original design to allow it to carry rocket projectiles or bombs under the wings.
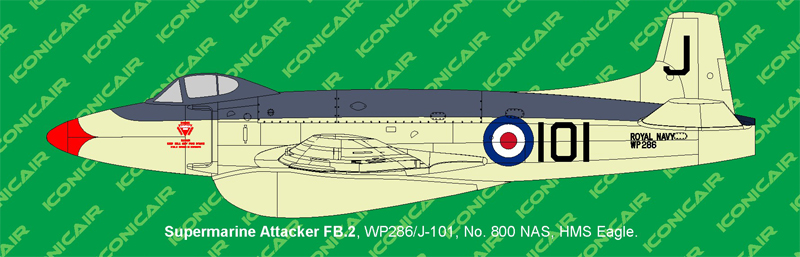
Attacker FB.2. Updated fighter-bomber variant powered by the Nene 102, 24 ordered on 21 November 1950, 30 ordered on 16 February 1951 and a further 30 ordered on 7 September 1951, all 84 built at South Marston.
The Type 538 Attacker was a land based variant for the Pakistan Air Force, 36 built with the first delivered in 1953.
The Kit
Having already produced very nice kits of the Spiteful and Seafang, it makes sense to follow these up with an Attacker - and very nice it is too!
The first impression is one of quality, before you even lift the lid. Unlike many small manufacturers, Iconicair decorate their boxes with full box art, just like a normal, mass produced, kit. OK, so we're not going to build the box art, but as an indicator of the thought and work that has gone into producing the kit inside it's a great portent!
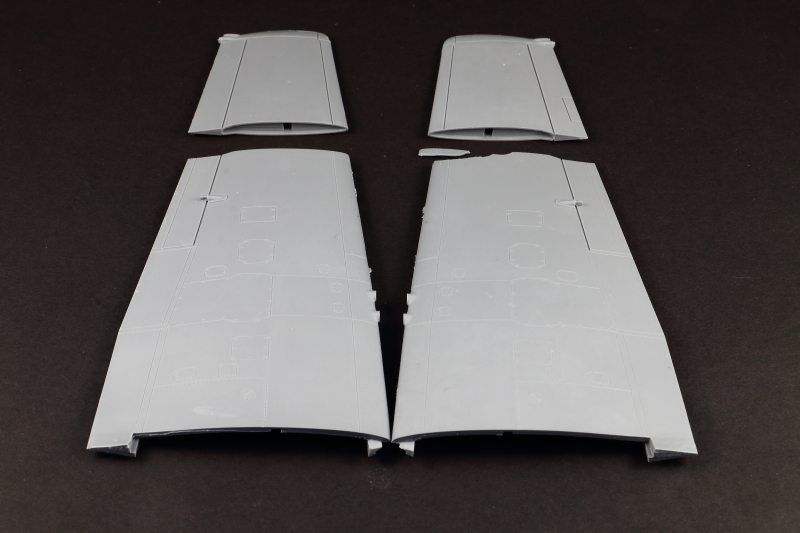
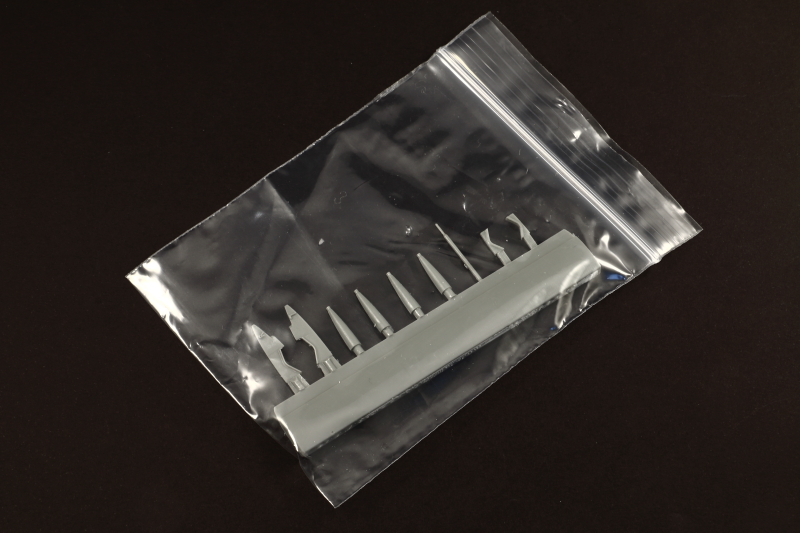
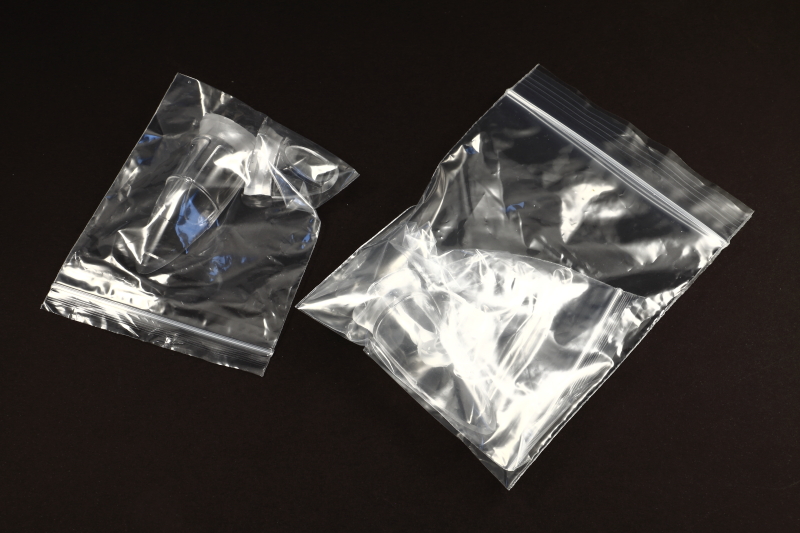
Inside the stout box all resin parts are bagged in ziploc bags, and wrapped in bubble-wrap - so should arrive intact after even the longest trip through the World's postal systems. Don't make the mistake I did though, and excitedly open the package in the kitchen and drop a resin wing on a tiled floor! It's OK, I found the chippings and have managed to repair the part involved, but mention it here in case the eagle-eyed amongst you spot the damaged wing. Purely a result of my cack-handedness, rather than any fault with the kit, or packaging.
One thing that immediately strikes you on looking through the components is the almost complete lack of pour stubs on the main components, with minimal removal issues for the smaller items. I mention this as it can often make resin kits hard work, with constant work removing pour material before making progress. A BiG thumbs-up from this reviewer!
Before I begin, I need to make it clear that the parts you see in the photos are as they came in the box (wing damage excepted), no preparation/clean-up work has been performed in any way.
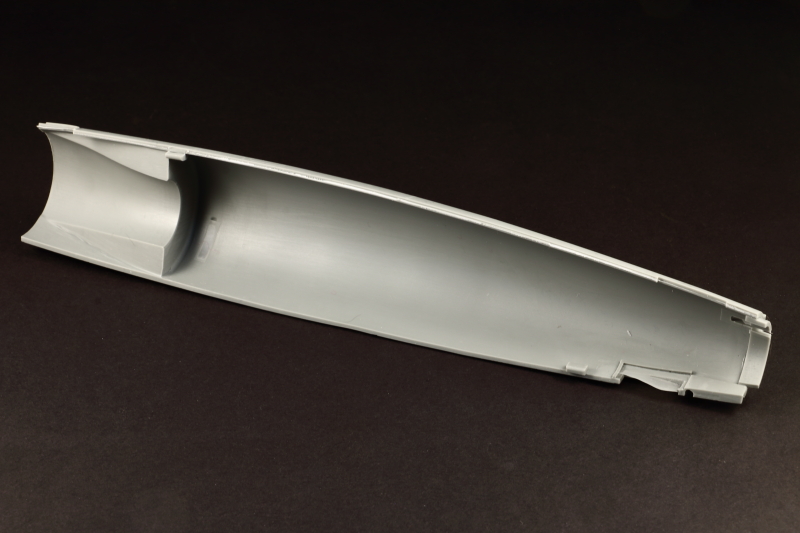
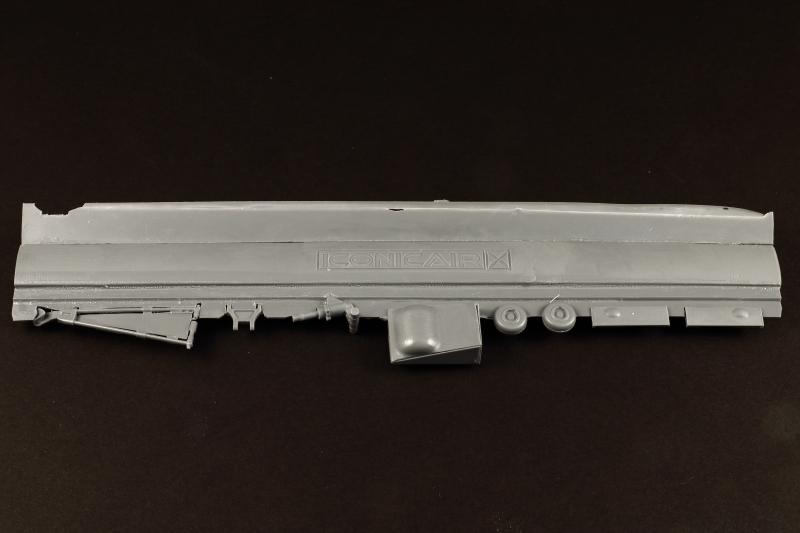
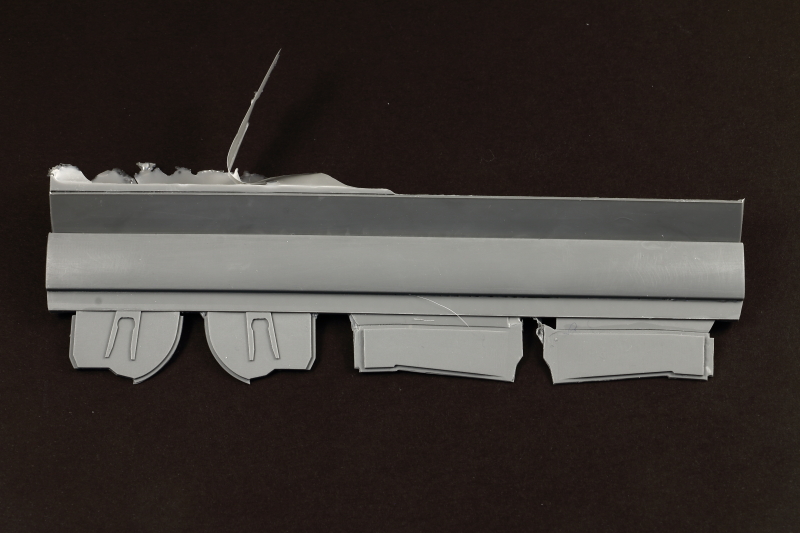
Fuselage
I can only introduce this with one word - beautiful!
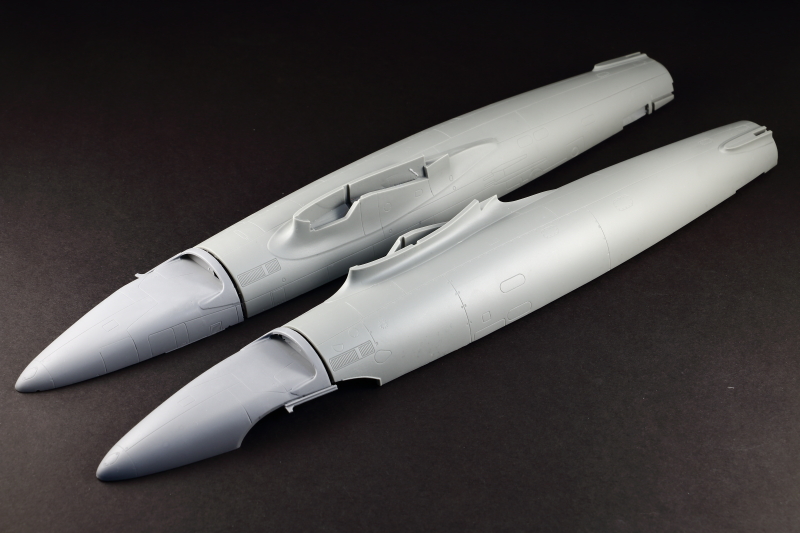
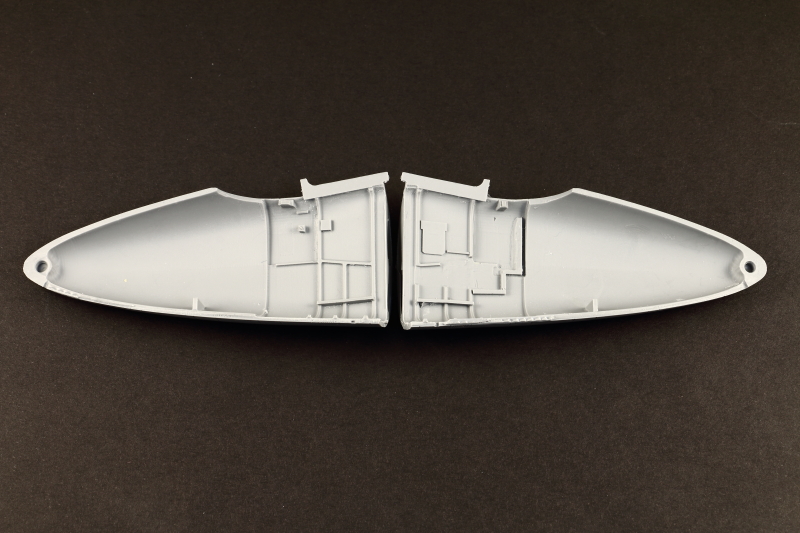
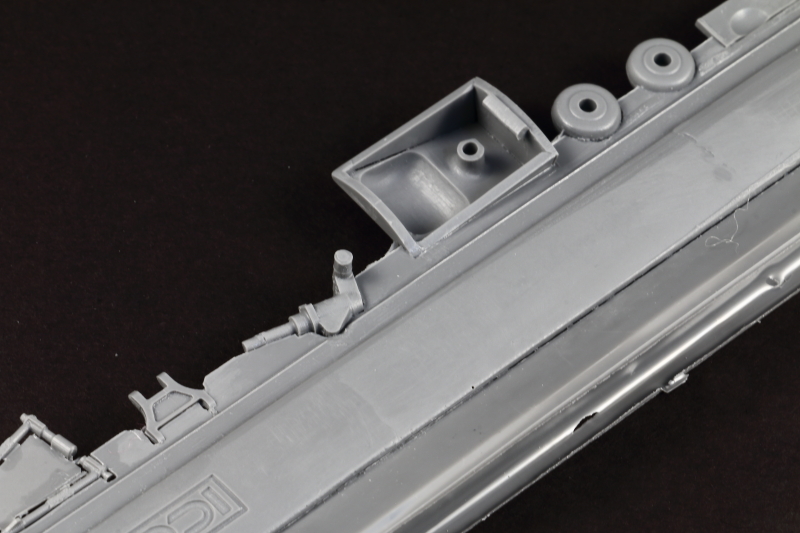
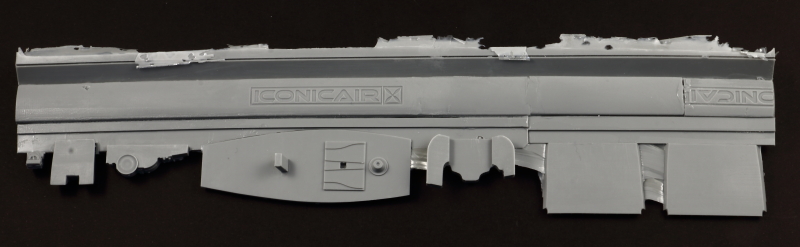
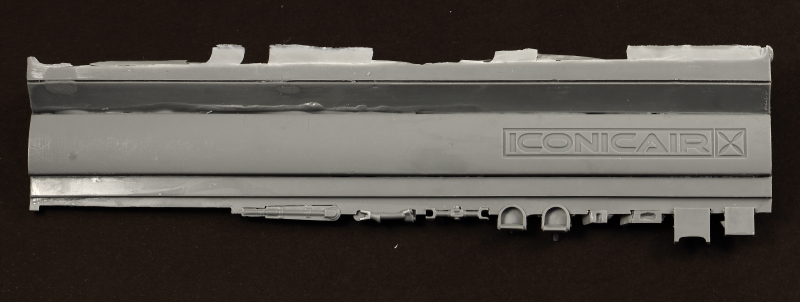
The fuselage is broken down into three sections; nose, main fuselage halves from just behind the intakes and a separate jet pipe/rear fuselage section. The fin and rudder is a separate part. Having owned and built quite a number of resin kits over the years I have to say that the quality of the patterns and subsequent moulding quality, is amongst the best I have seen. The mouldings are superbly clean and free of flaws, with superbly neat incised panel detail that would embarrass a lot of high-end injection moulded kits, they really are that good.
As well as external detail, there is some really neat internal detail on the cockpit sides; the kit includes a full cockpit, which we'll get to later. The halves feature alignment tabs and look like they'll fit together beautifully, subject to a tiny bit of clean up on mating surfaces, albeit absolutely minimal for a resin kit.
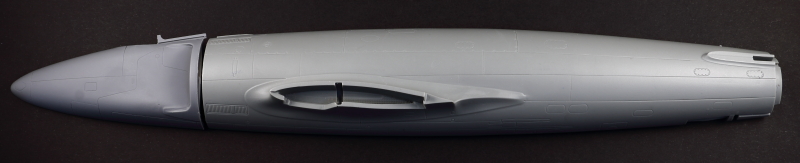
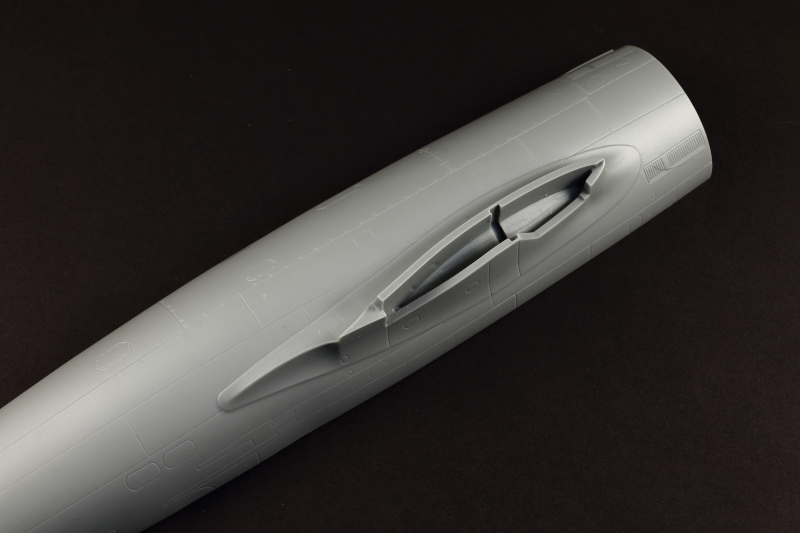
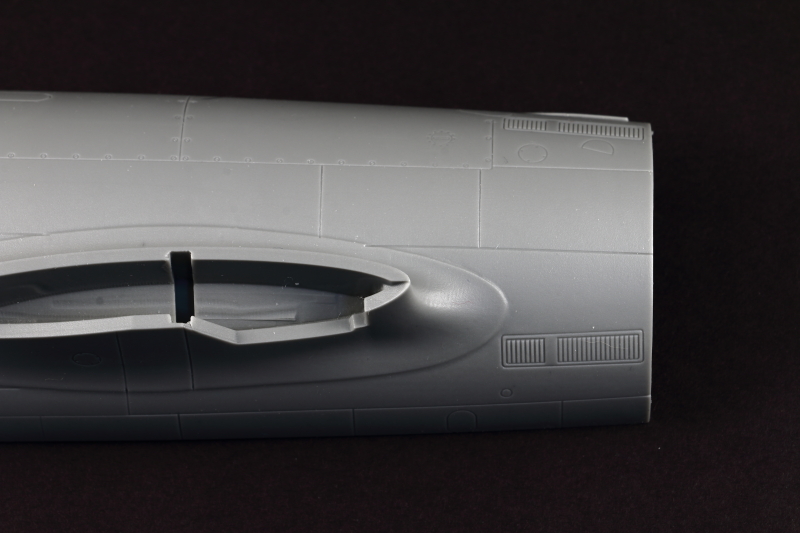
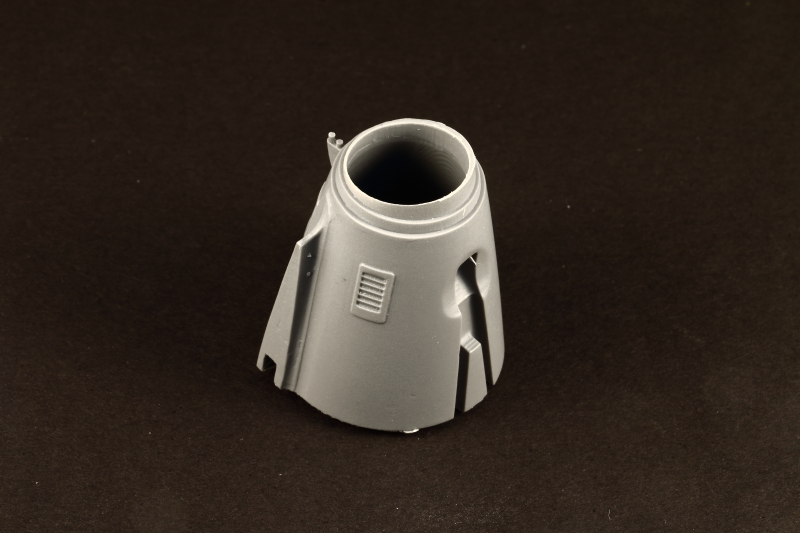
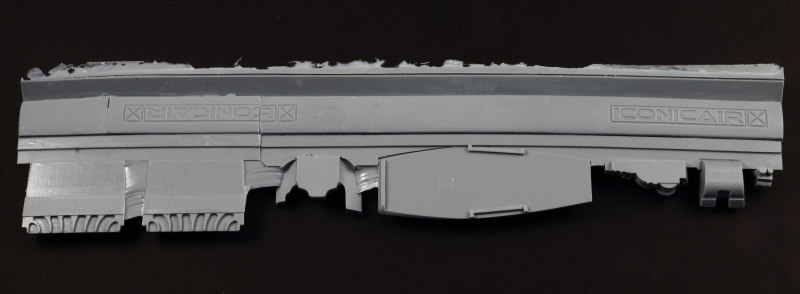
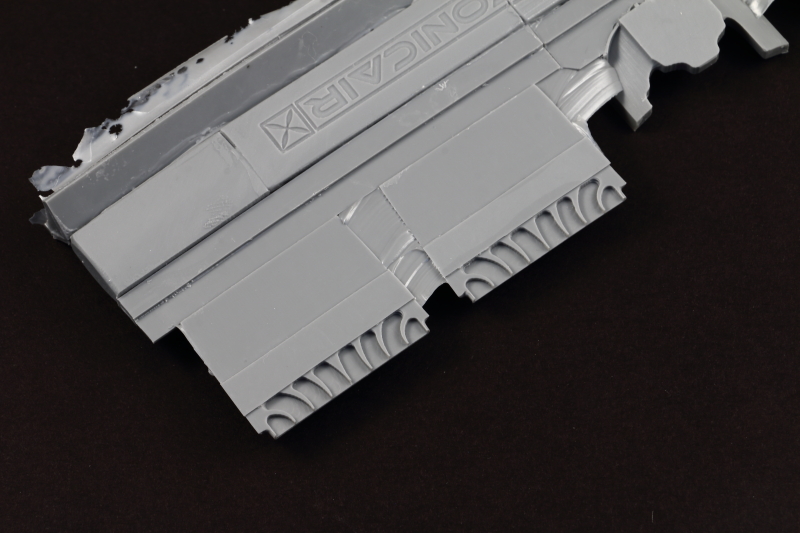
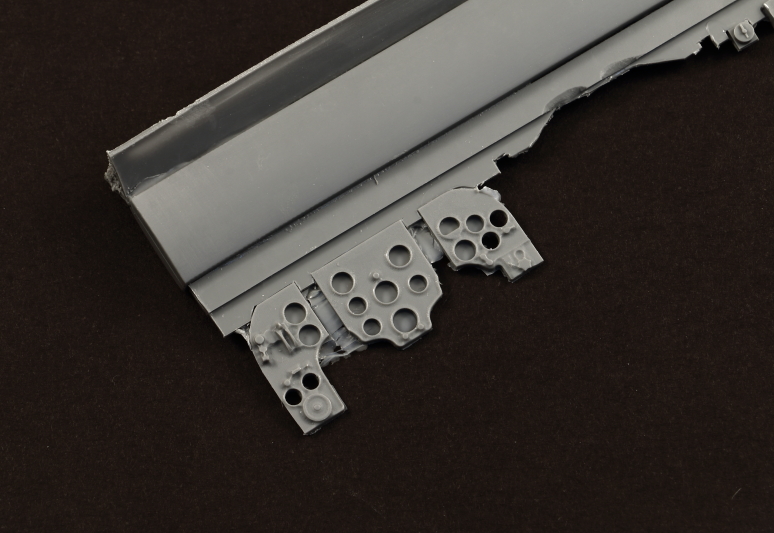
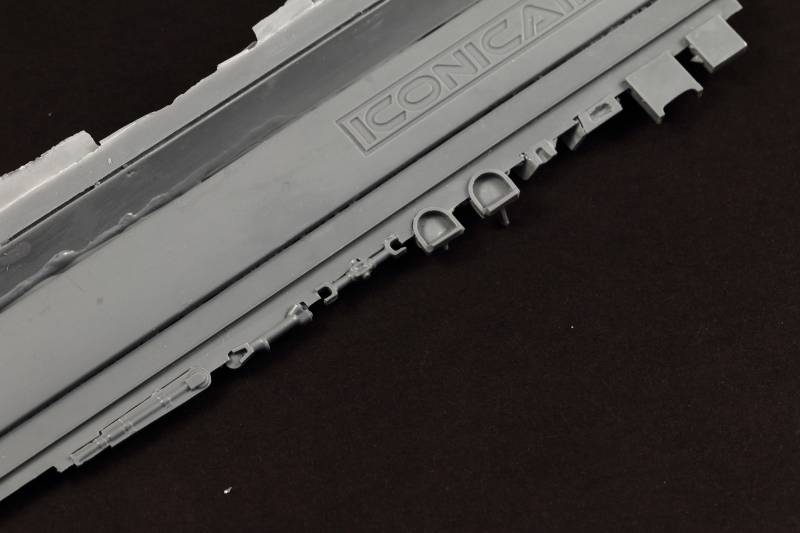
If I were to make any comment it would be really nit-picking; the louvres above and below the intakes are beautifully rendered in the kit, but in an ideal world could probably use a little more depth, as these are very noticeable on the full-size airframe.
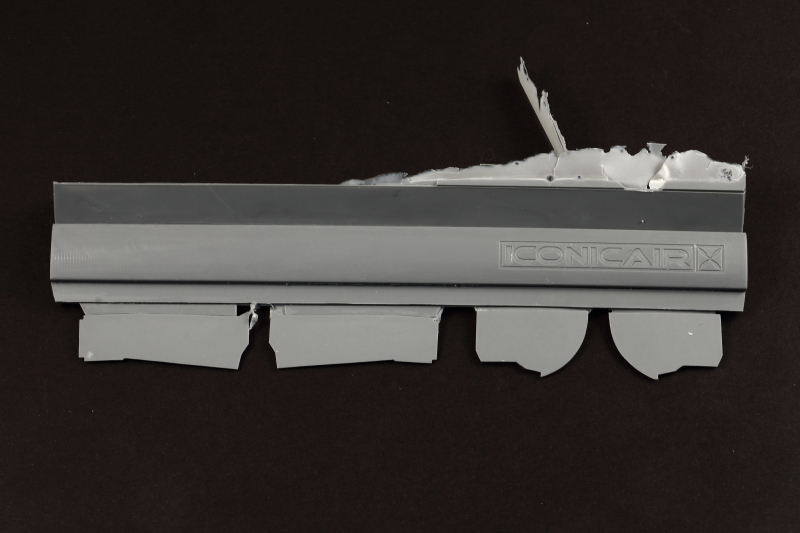
As you'll see in the photos, the quality and breakdown of parts is much more akin to an injection moulded kit, rather than a traditional 'cottage industry' resin kit and is testimony to the technology that Iconicair's owner, Graham, uses to produce the patterns. Components are designed in 3D using Computer Aided Design and masters created using CNC Milling and 3D printing. And that shows!


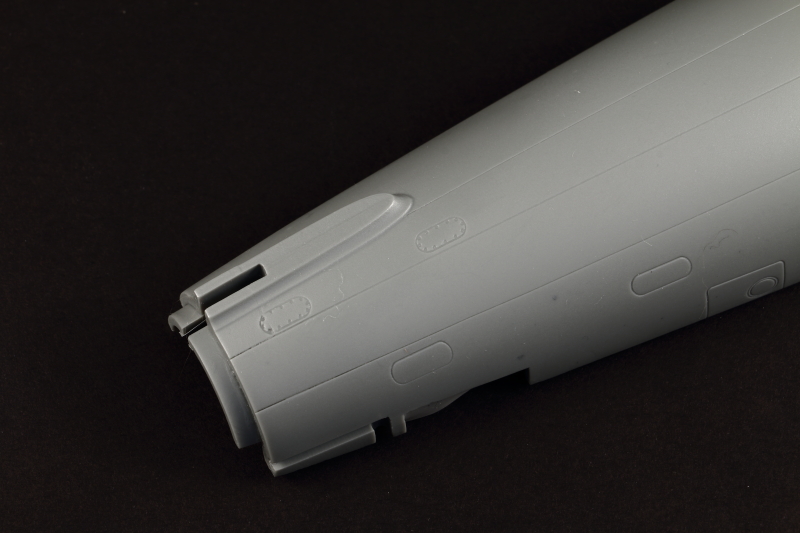
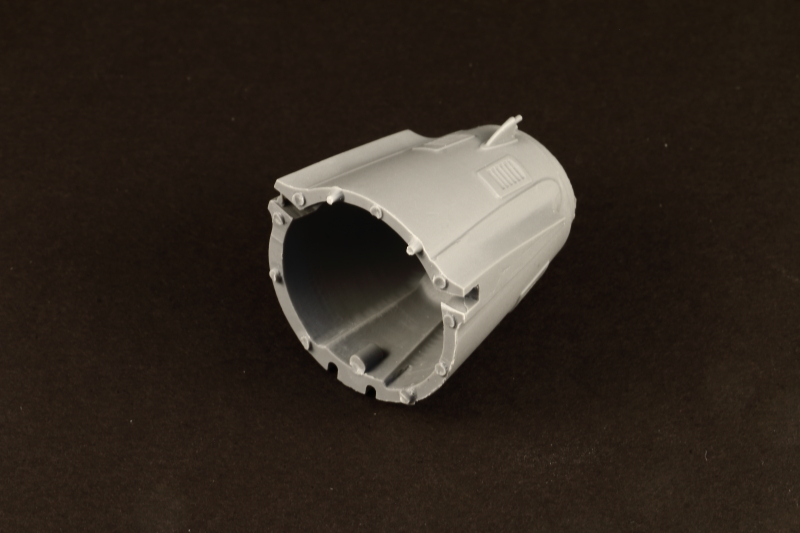
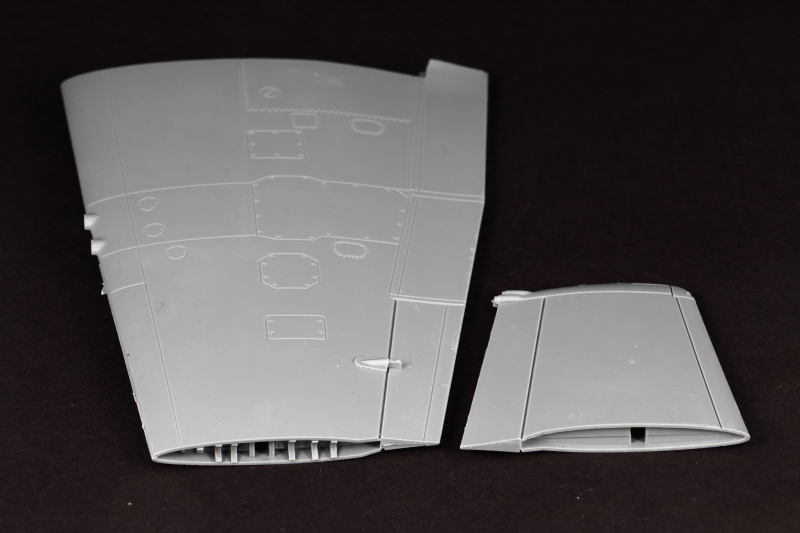
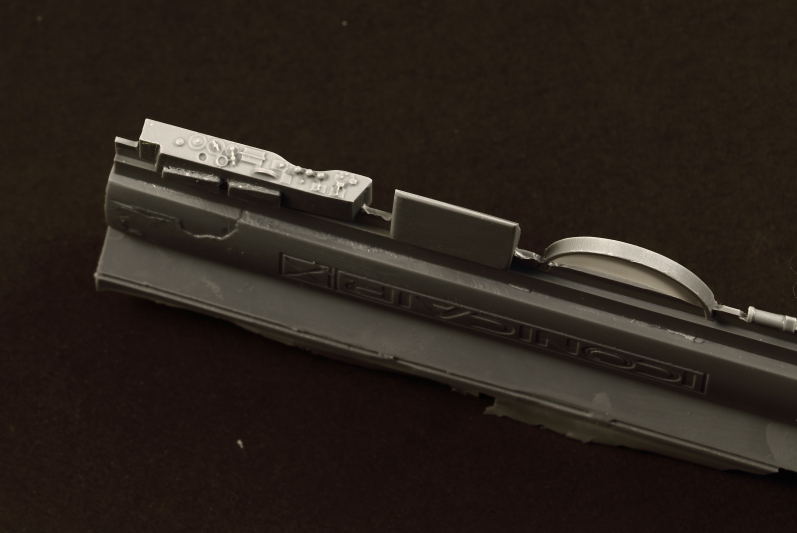
The jet-pipe section is moulded integrally with the rear fuselage, very neatly and sharply, but may benefit from a 'tube' adding during the build to provide some depth. The section features the vents added to Attacker airframes later in their lives, presumably to improve cooling in the fuselage area around the jet pipe, but the kit omits the intake ears that are present on such modded airframes, that sit on top of the fuselage behind the engine access cover. I suggest builders of this kit refer to photos of specific subjects they want to build; it would be equally straightforward to sand off the vents if not applicable, or add the intakes from scrap material if warranted.
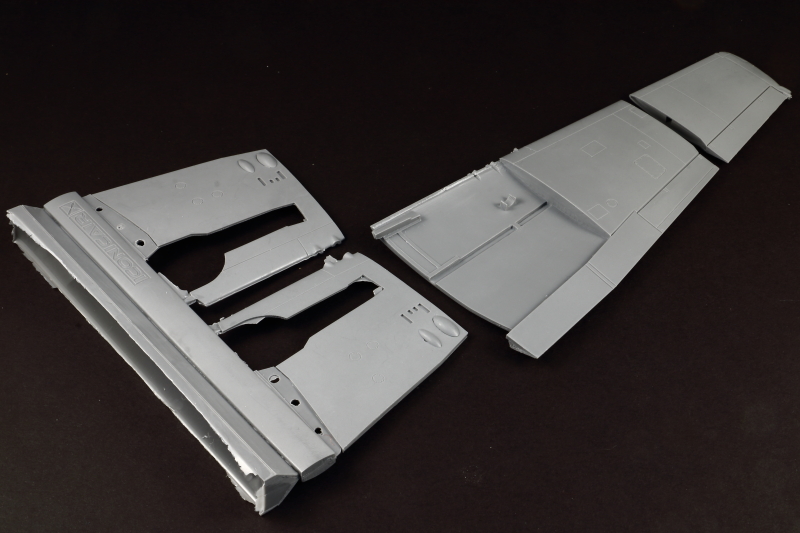
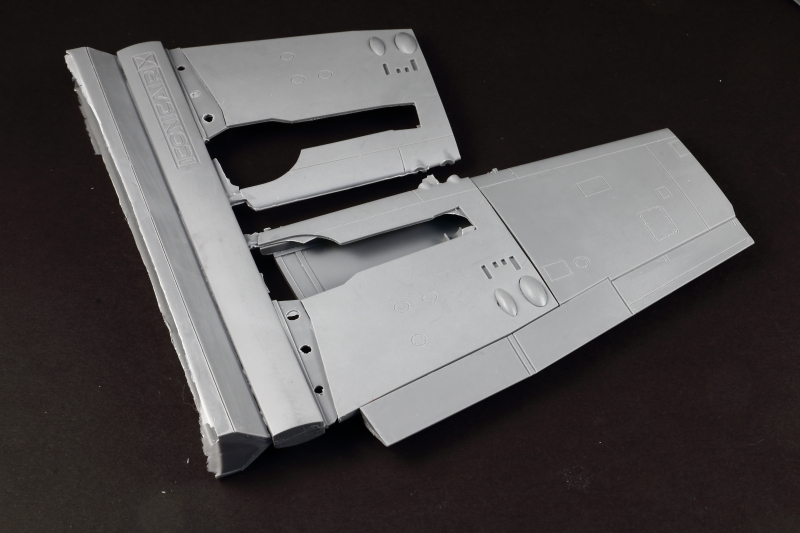
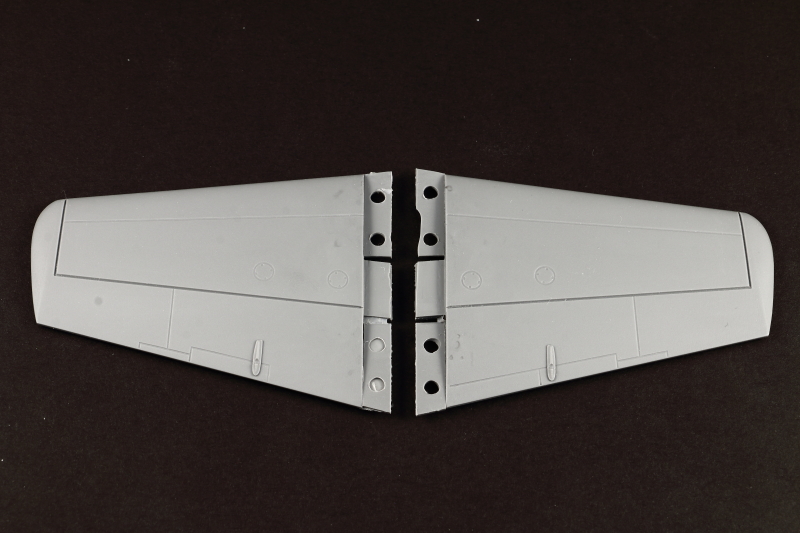
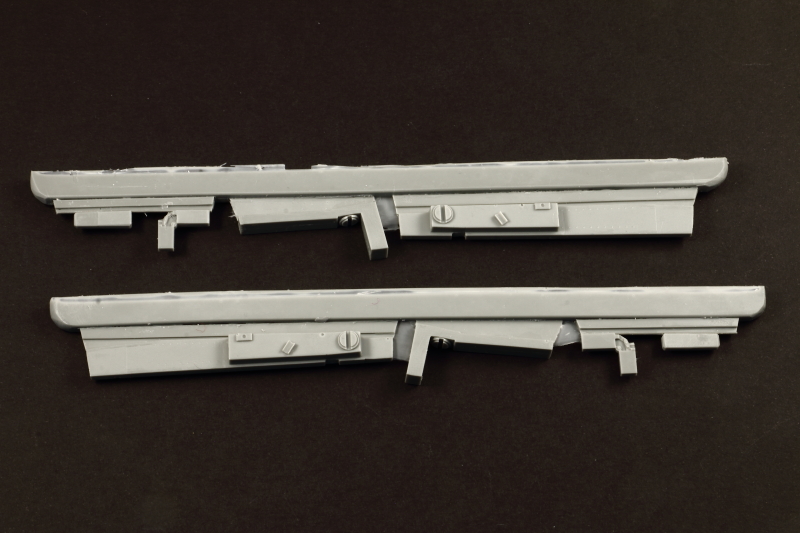
Wings
Again, beautiful castings that include stub spars, undercarriage bay components/detail, wing fold detail and separate folding wing tips. As with the fuselage, component breakdown is very similar to an injection moulded kit and looks like it will be pretty gremlin free. Control surfaces are moulded integrally, which makes a lot of sense as you'd only really see flaps deployed on take-off and landing and keeps the parts breakdown relatively simple.
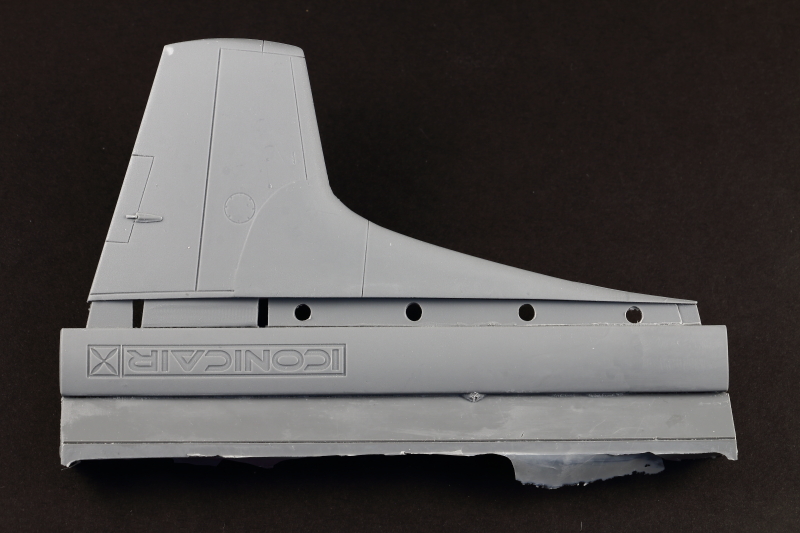
Fin and Tailplanes
More quality casting here, beautifully done. I think the photos say it all...
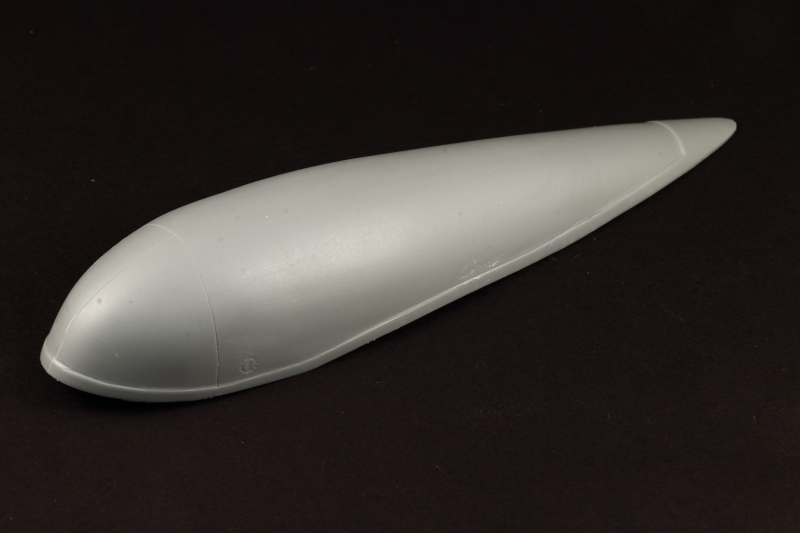
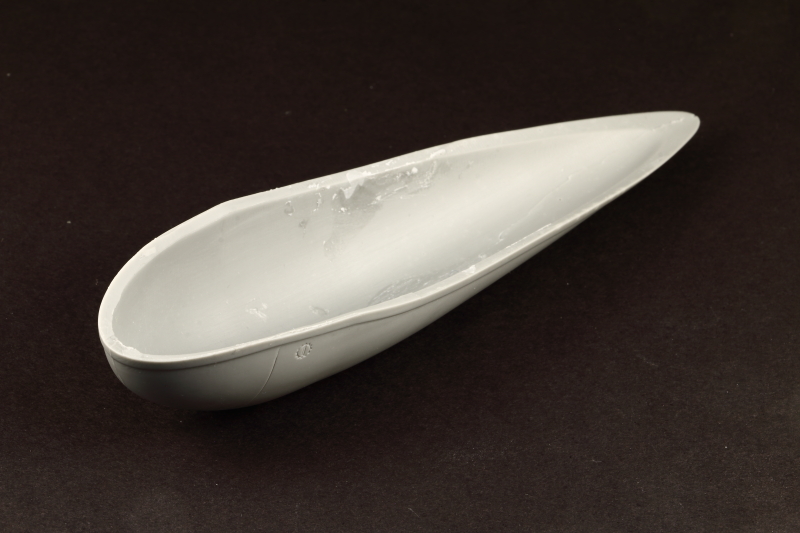
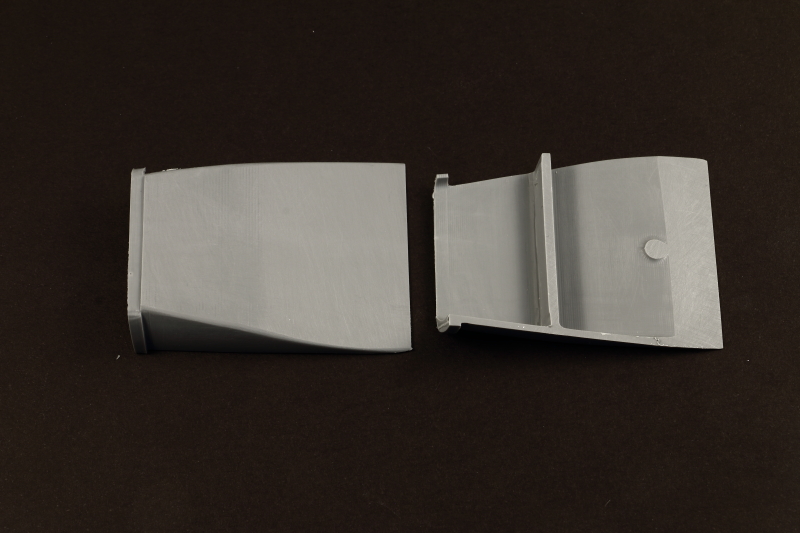
Belly Tank
A big feature of Attacker operations was fuel tankage and, so, the belly tank was more often than not fitted to operational aircraft. Happy to report that the shape of this prominent item looks excellent, far better than that in the Trumpeter 1:48th version.

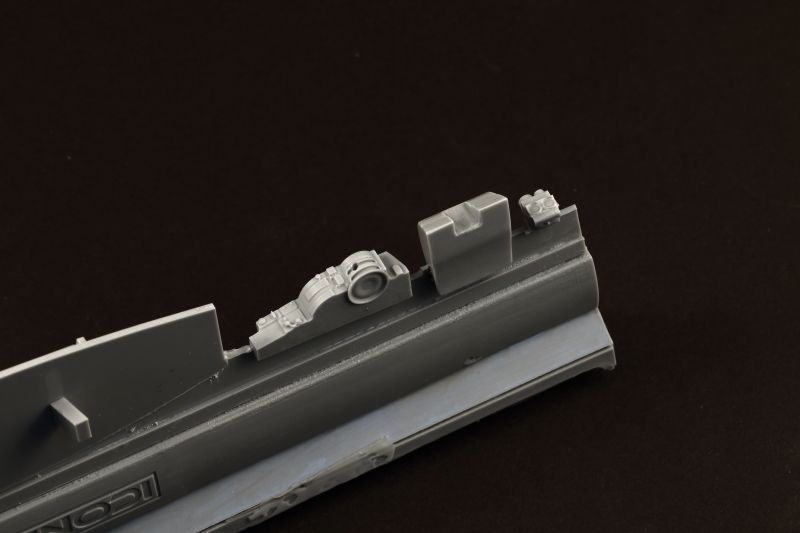
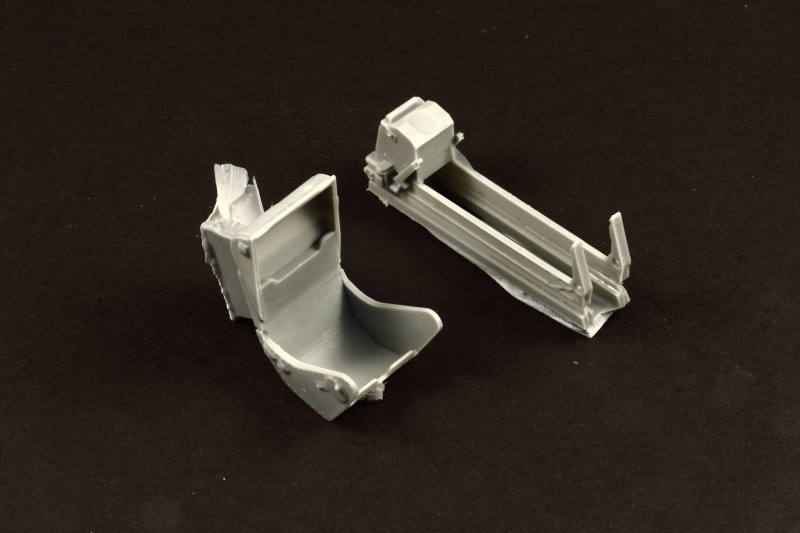
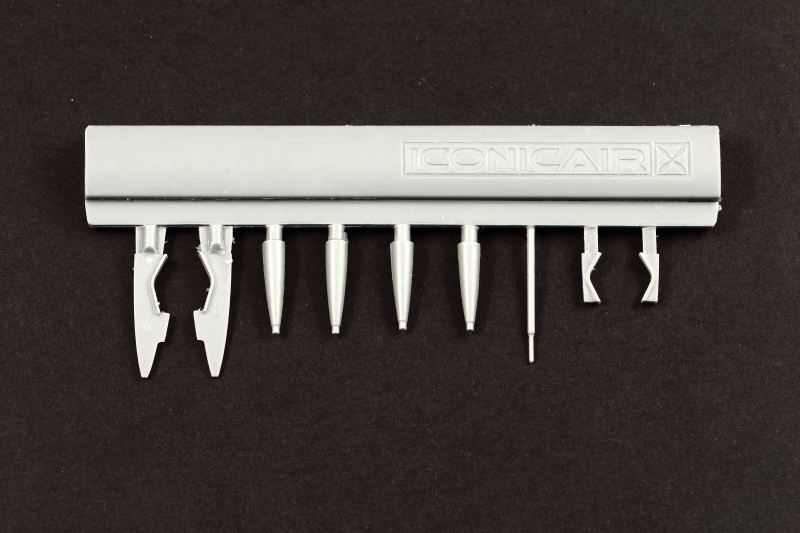
General Parts
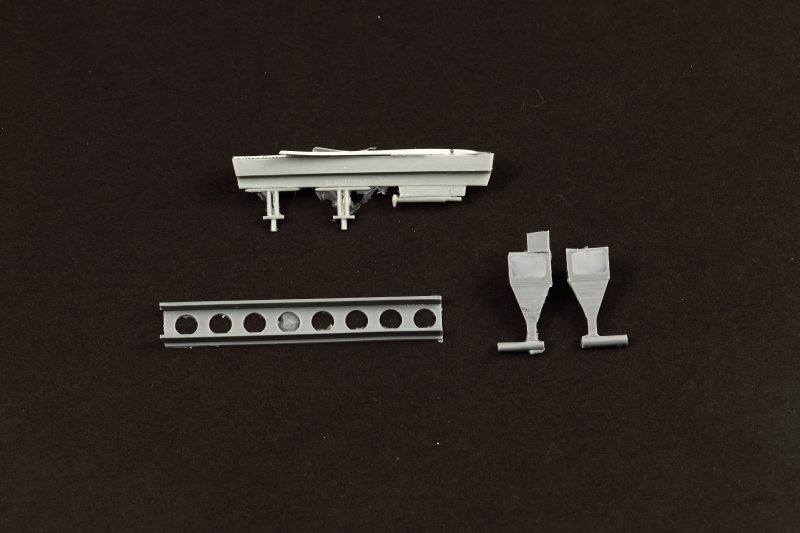
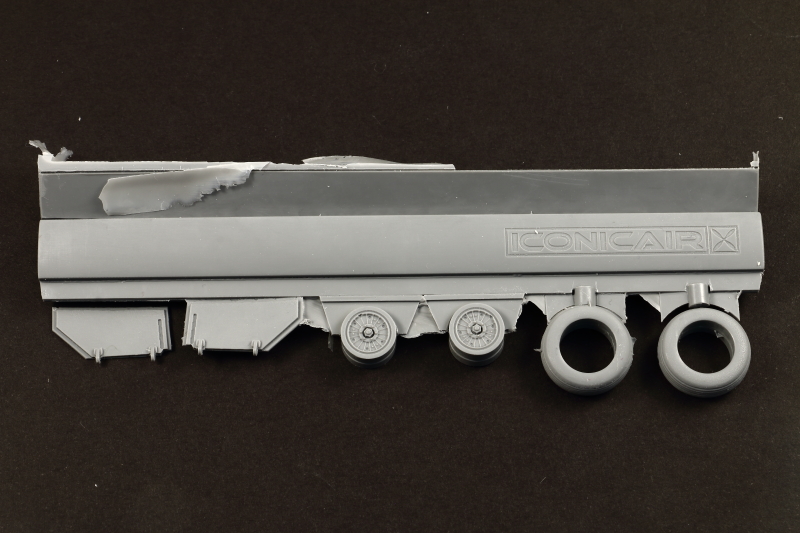
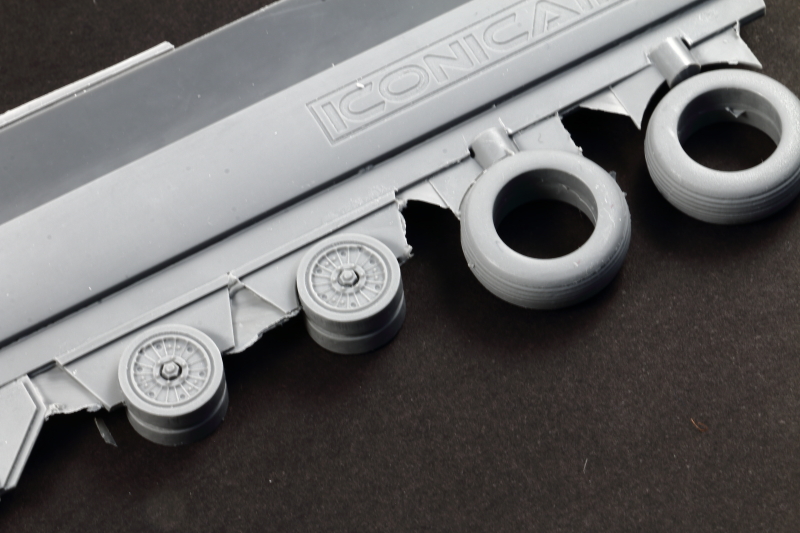
Smaller components are supplied on a number of pour stub sprues, with minimal 'gate' areas, so removal of the parts should be quick and straightforward. A full cockpit interior is provided with Martin Baker seat, instrument panel, side consoles, floor and rudder pedals. Main wheels are supplied hubs with separate tyres, the detail on the outside ofthe hub is exquisite, whilst the reverse sides are featureless - something I need to investigate when I build my kit. A very nice gear bay is provided for that unique (for a jet) twin tail-wheel arrangement.
The kit also supplies boundary layer splitter-plates and intake liners.

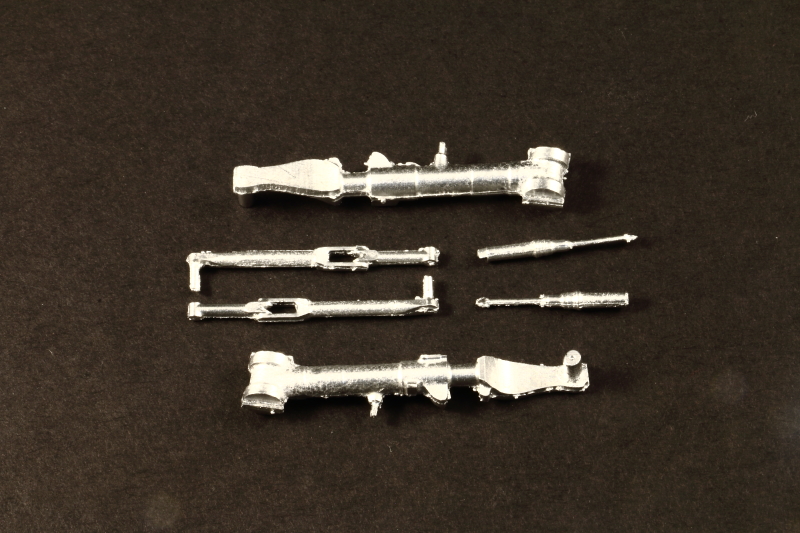
Undercarriage Legs
These are cast in good quality white metal and should look good once a minor clean-up with a file has been completed, and should support the model with no problems at all.
Etched Brass Fret
A simple etched fret supplies the seat harness and coaming over the instrument panel.

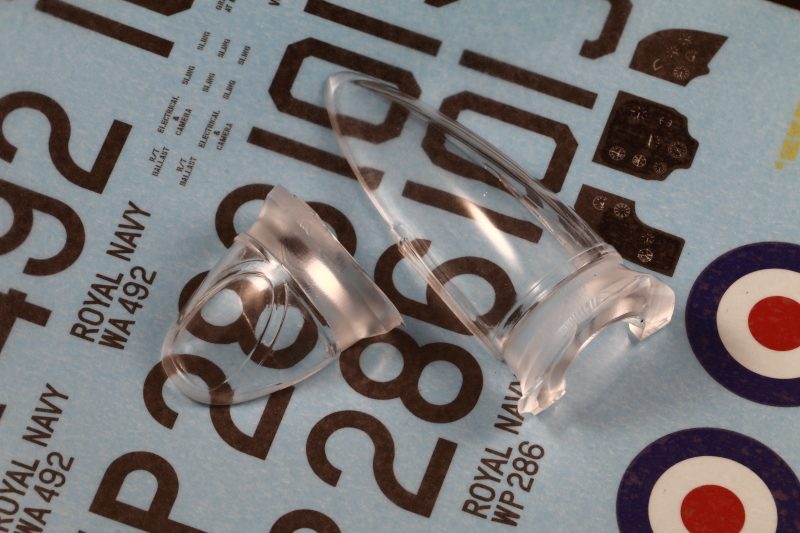
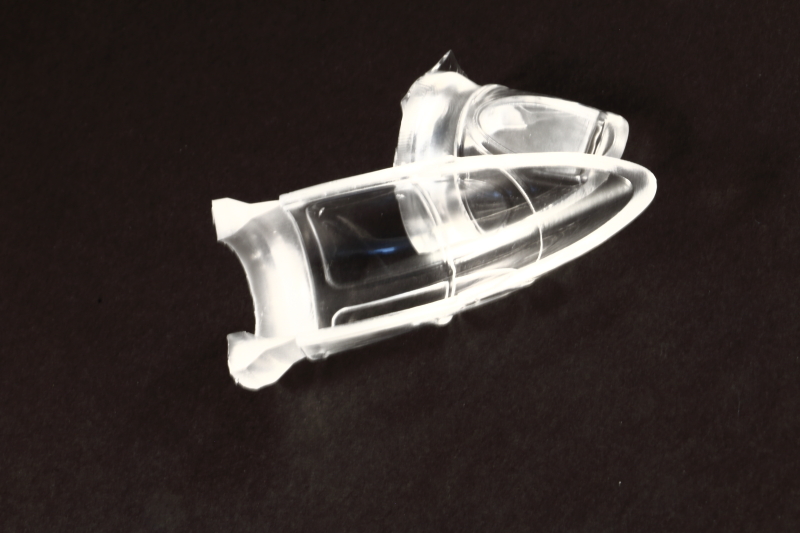
Clear Components
Two complete two-part canopies are provided to cover all options. A rounded windshield with un-framed canopy for the F.1, flat windshield and framed canopy for the FB.2. The FB.2 framed canopy in my kit has surface imperfections on the inside that should, hopefully, polish out. Reference photos will be useful in deciding which windshield is applicable to the subject airframe you are building and the curved windshield was seen on both marks, and was removed as salt could get trapped behind the curved outer glazing - something impossible to clean without removal.
All transparencies are supplied in clear resin - with very good clarity.

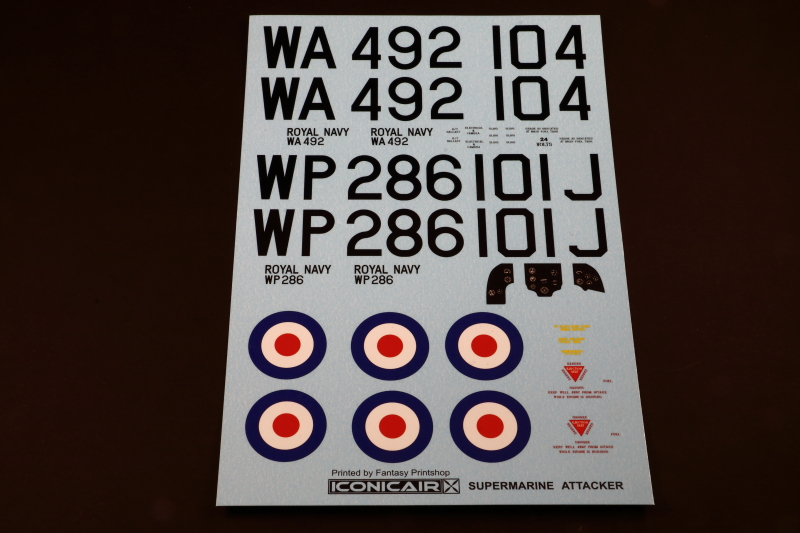
Decals
Markings for two aircraft are provided:
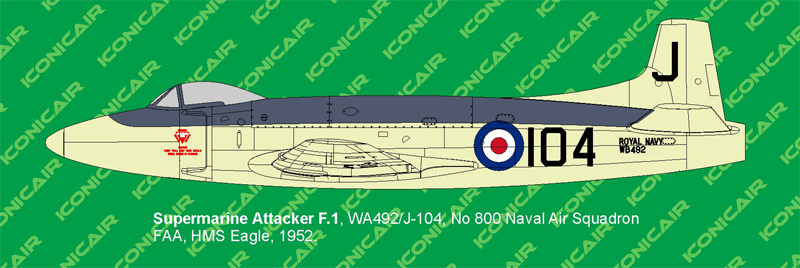
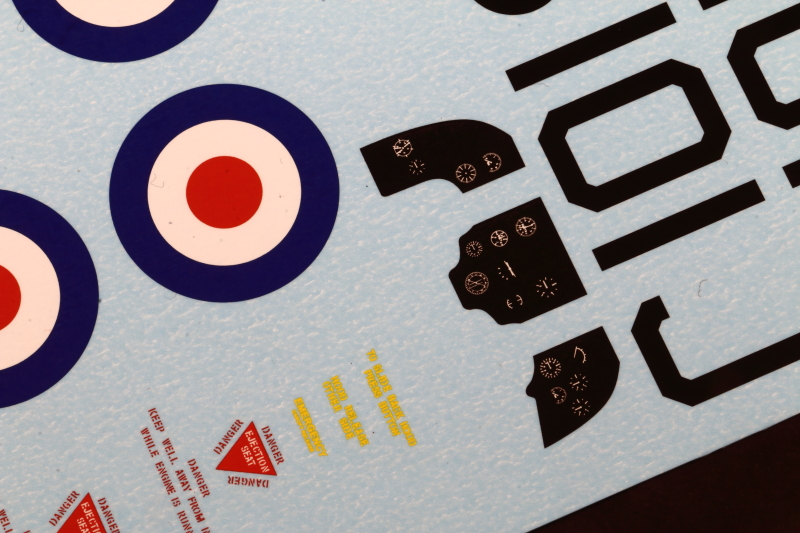
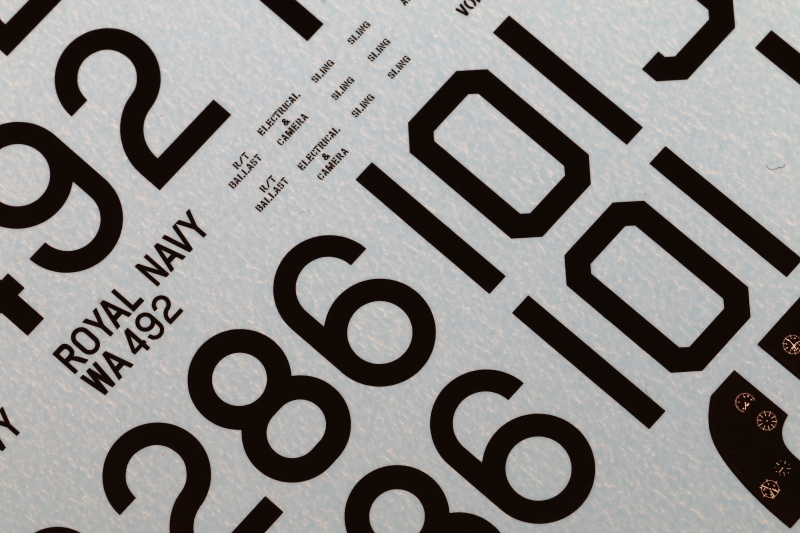
The decal sheet is cleanly printed, in good register, colour and density. A full set of airframe stencils is included, along with a set of cockpit instruments.
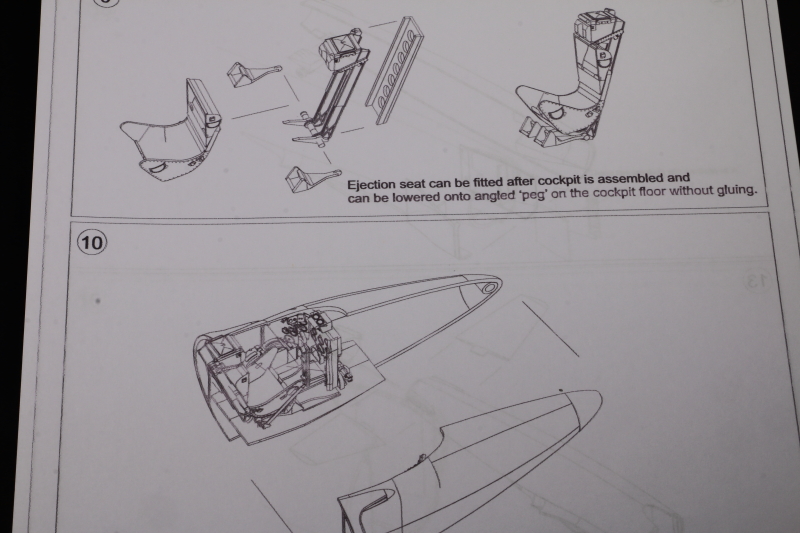
Instructions
Instructions look pretty clear and construction should prevent few problems. The cover on my set has banding that suggests the printer was running low on toner - hopefully a sign that Graham has sold a reasonable number of these kits already!
Graham informs me there's an omission from the first set of instructions in that they miss the photo-etched instrument panel coaming is not shown.
Conclusion
At last, I can build a subject that sparked an interest in early jets as a teenager, having built the 1:72 Novo (Frog) kit back in the very late '70s. This is a subject I really never expected to see in my favourite scale; what chance a Seahawk, or, dare I say, Scimitar appearing from somewhere in the future?
In my opinion the best rendered, most accurate, Supermarine Attacker kit to date, in any scale. With its relative simplicity, and quality of production, this would make an ideal introduction to building resin kits - look out for this one being built soon.
Very highly recommended - high quality and amazing value for money, given the costs and time involved in resin casting. Iconicair deserve to do well with this kit.
Availability
This kit is available direct from Iconicair.
Recommended Reading
Two books I've recently purchased that I'd recommend as good reference sources - links to separate reviews below:
- Attacker: The Royal Navy's First Operational Jet Fighter - Richard Franks
- Attacker: From the Cockpit - Graeme Rowan-Thomson
Review kit courtesy of my wallet.
Iain
© Iain Ogilvie 2018
This review was published on Tuesday, December 11 2018; Last modified on Wednesday, December 12 2018